Custom Map Markers
In Maptive, the Customize Map Markers panel under Map Settings swaps default pins for icons, colors, or a company logo file, then ties those styles to a group on the map.
Map Markers Tuned for the Story
Map Marker Style drop-down: Pick a marker set for the whole map from the pull-down at the top of the panel, applying a consistent pin style across all the plotted rows.
Customize Map Markers panel: Open this panel by the drop-down to adjust markers to individual specifications using the styling controls Maptive shows in the screenshot.
Upload Custom Marker: Bring in your own marker styles, images, or company logos through the Upload Custom Marker button so brand pins replace the default droplet pin.
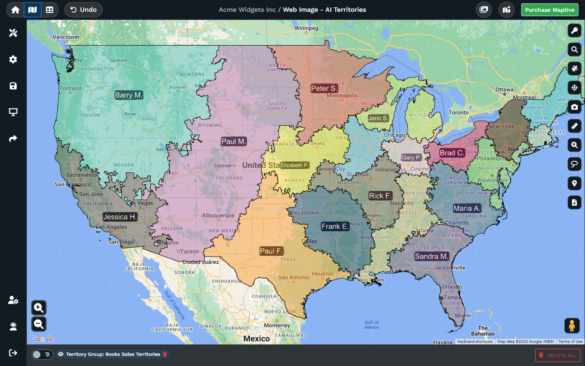
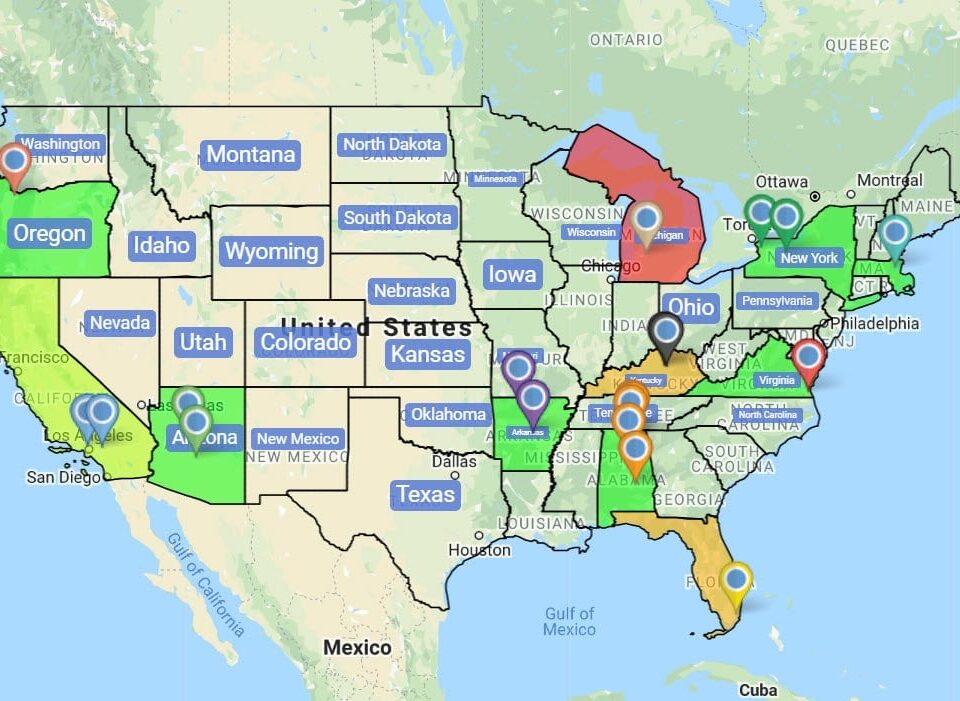
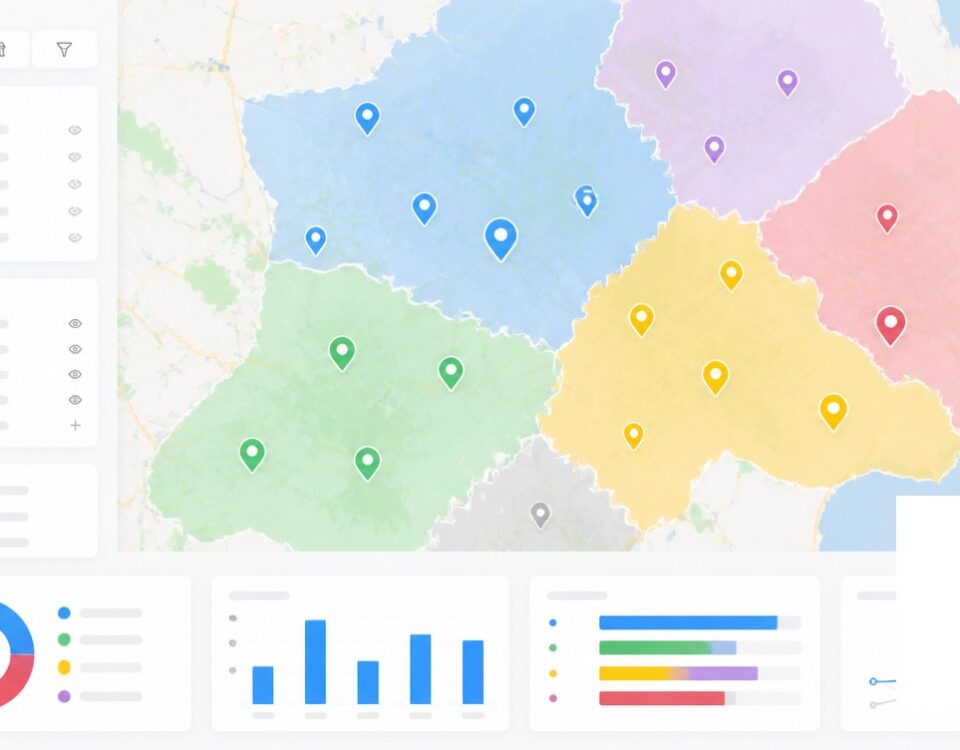
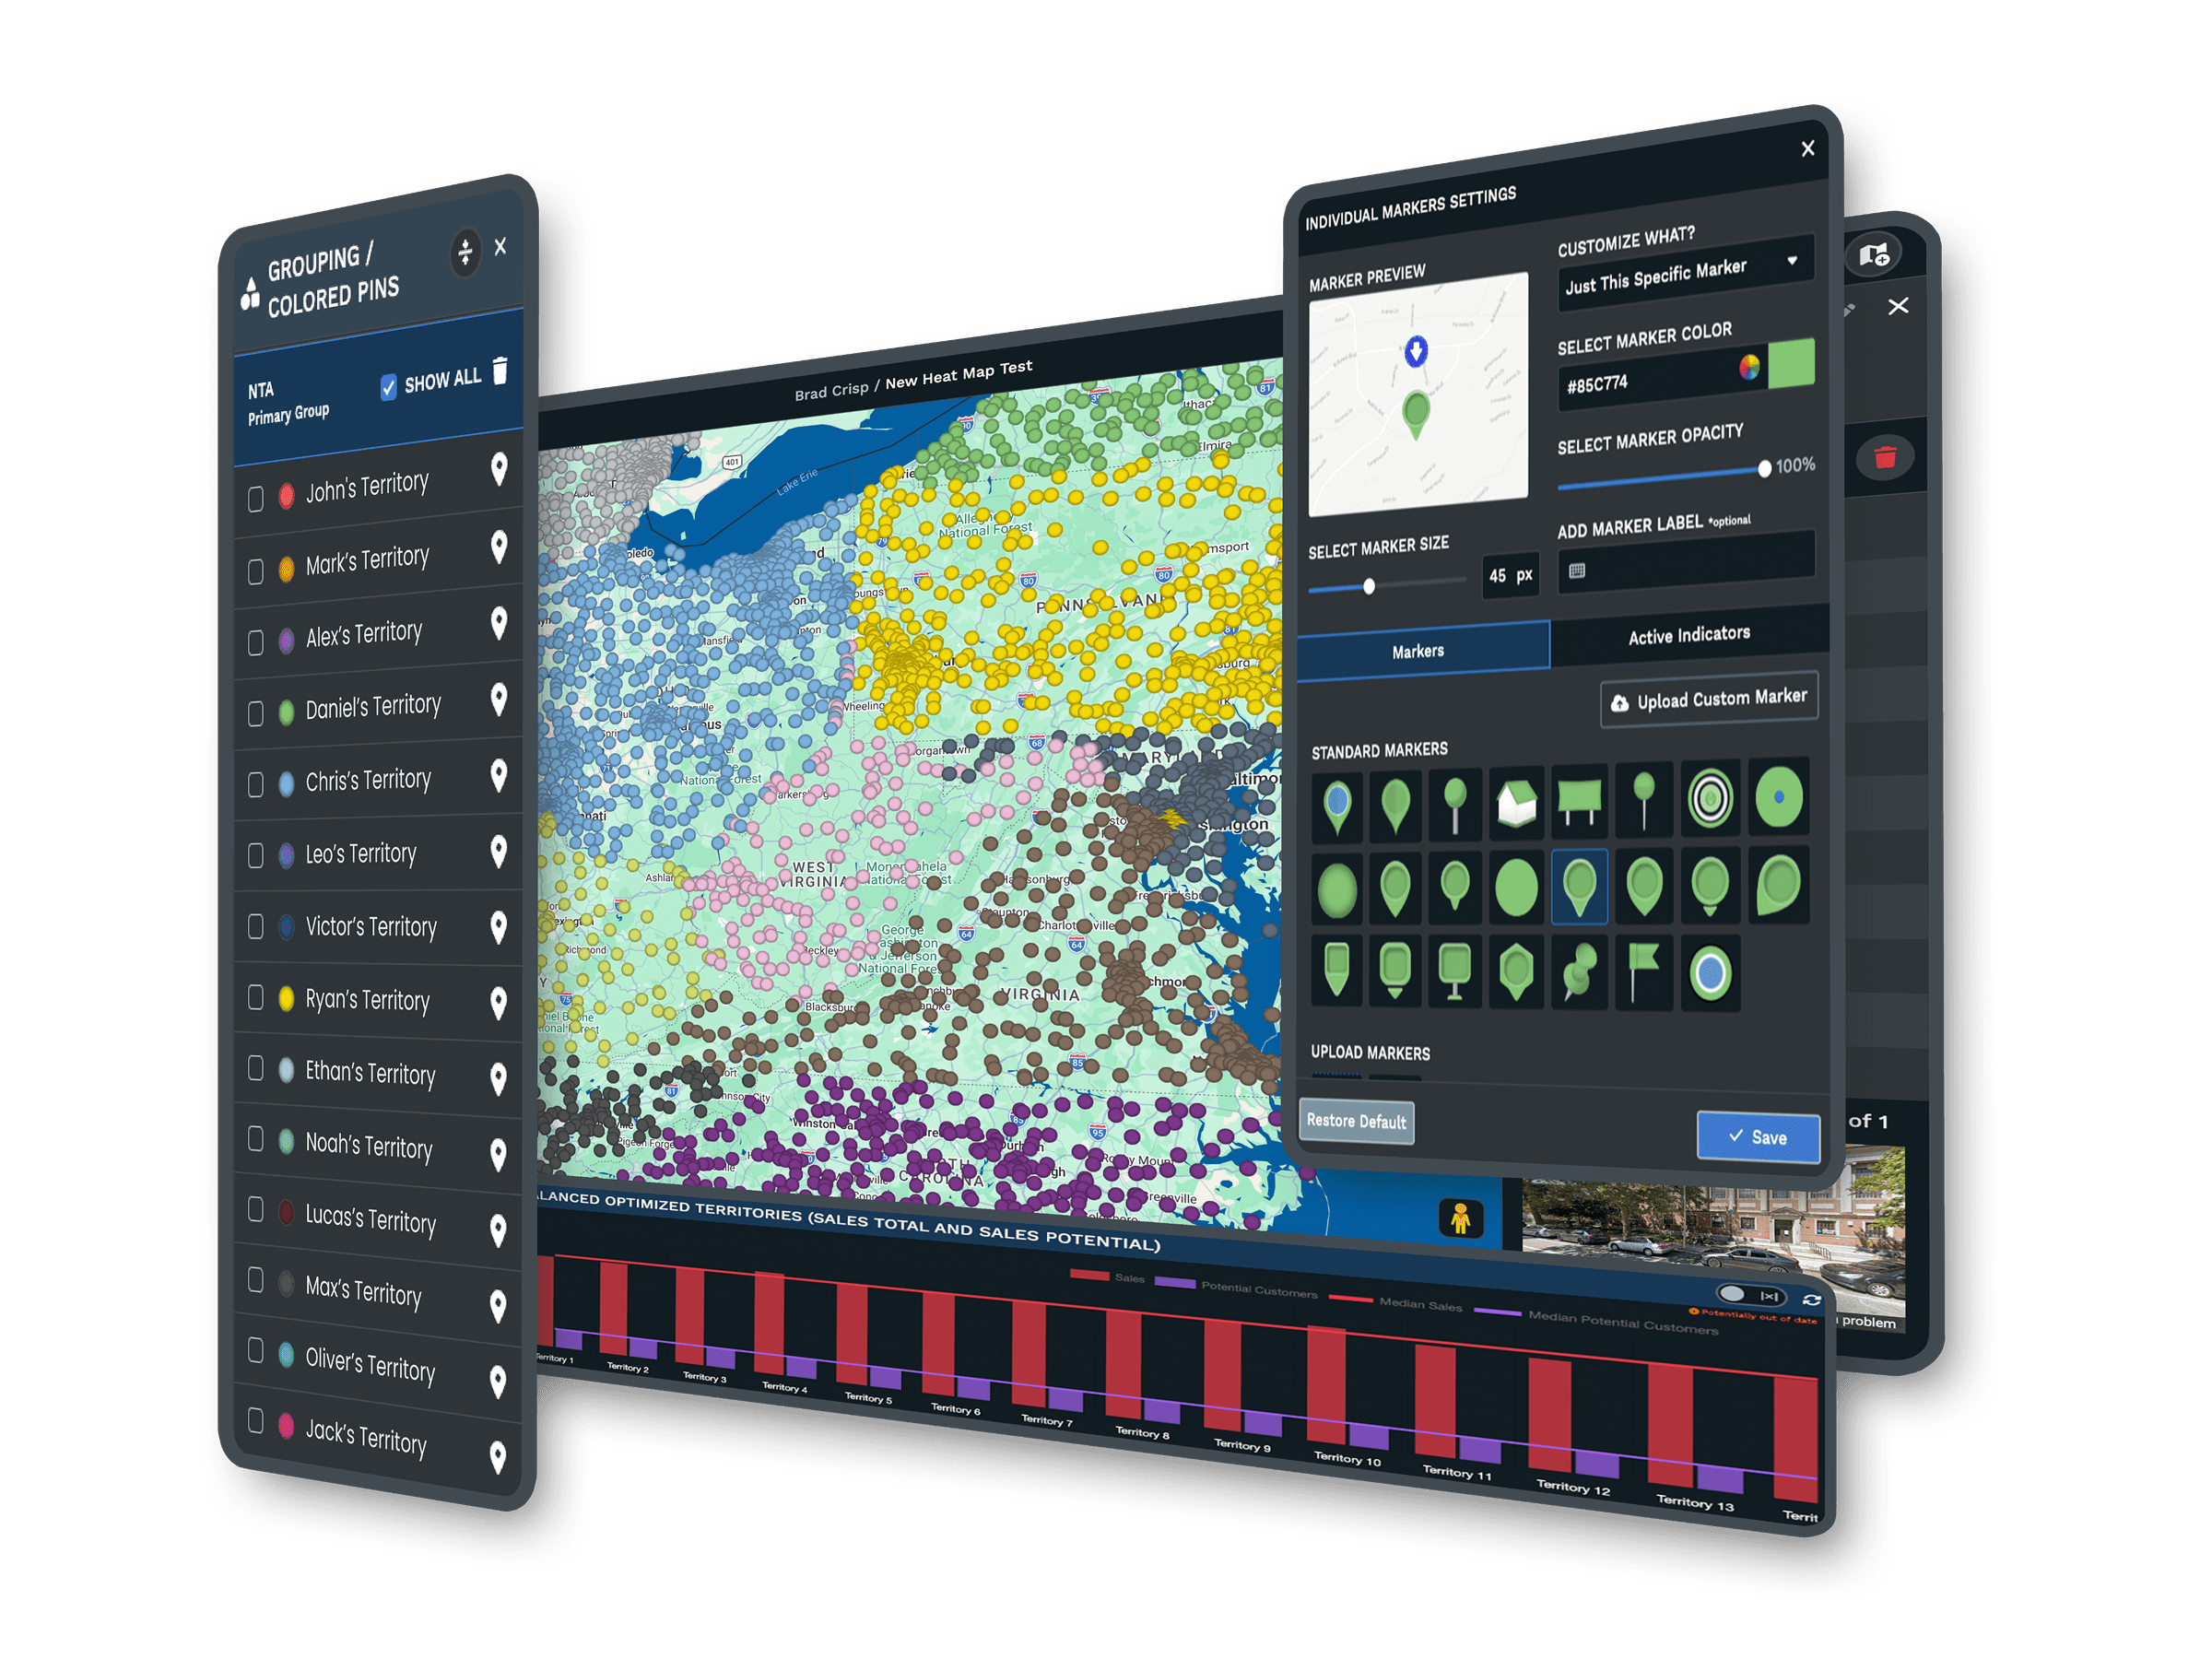
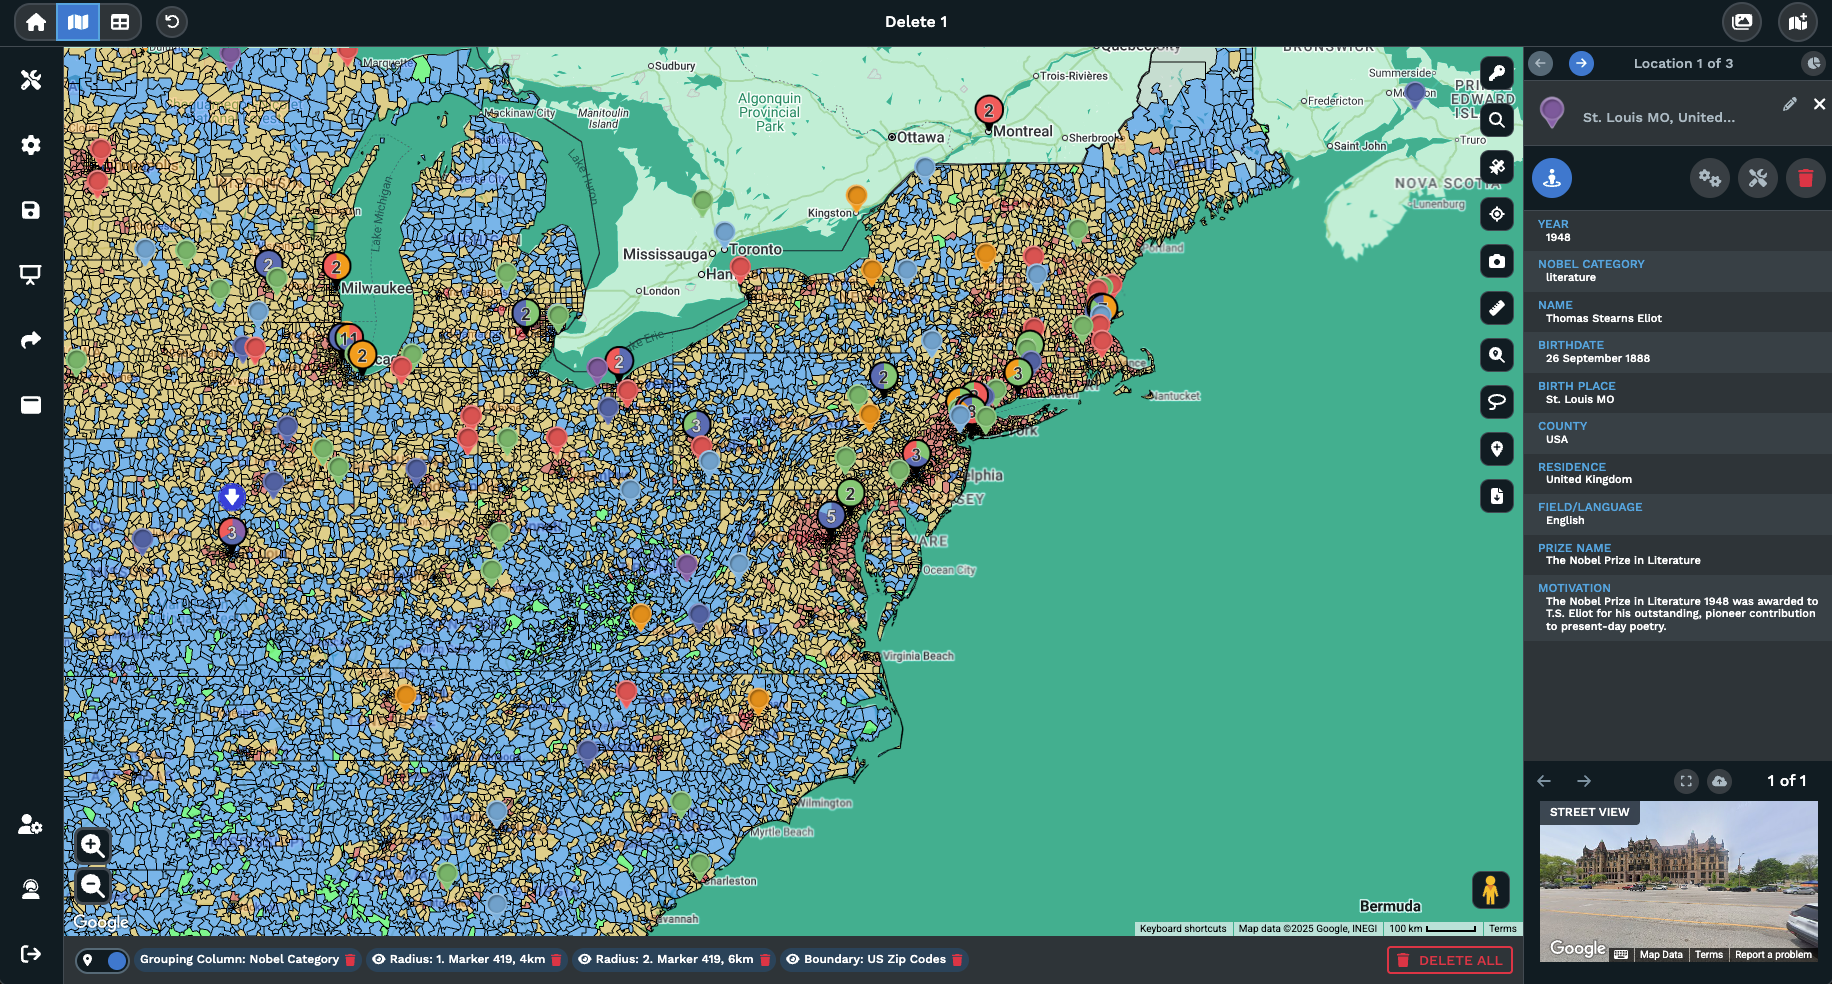
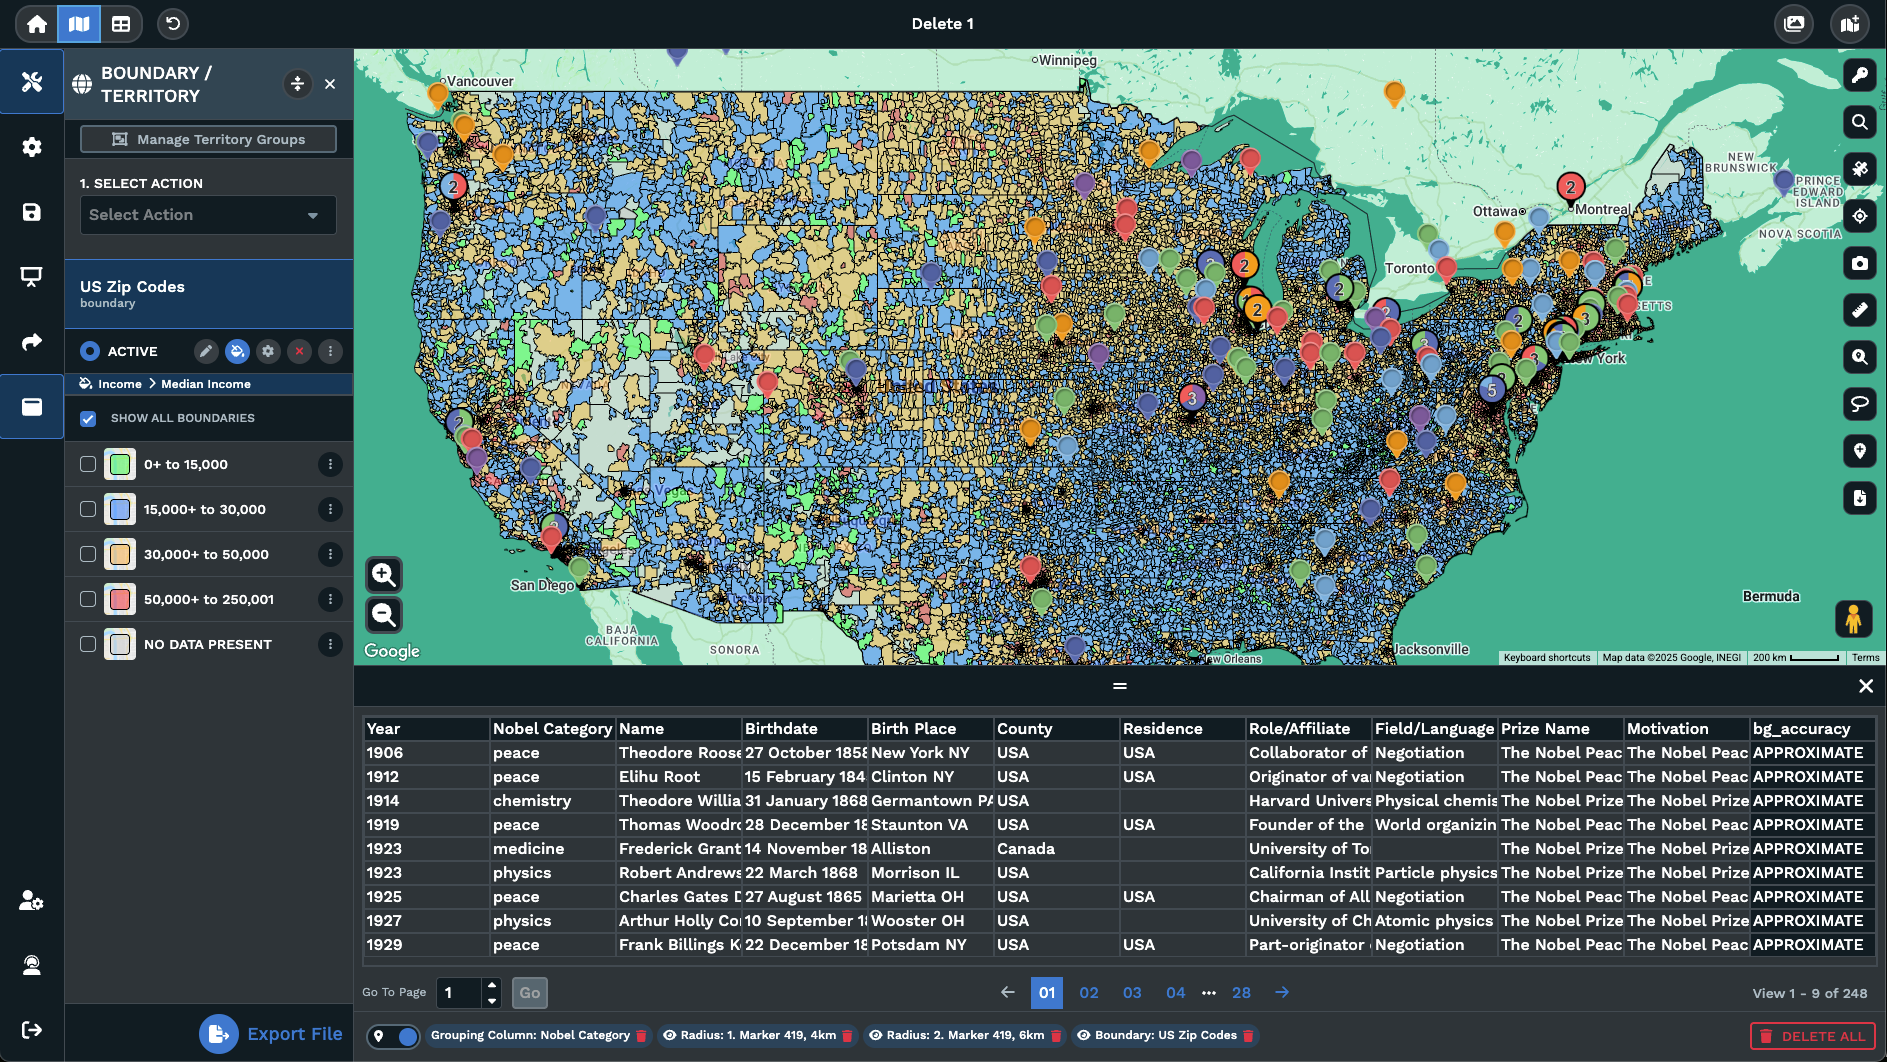
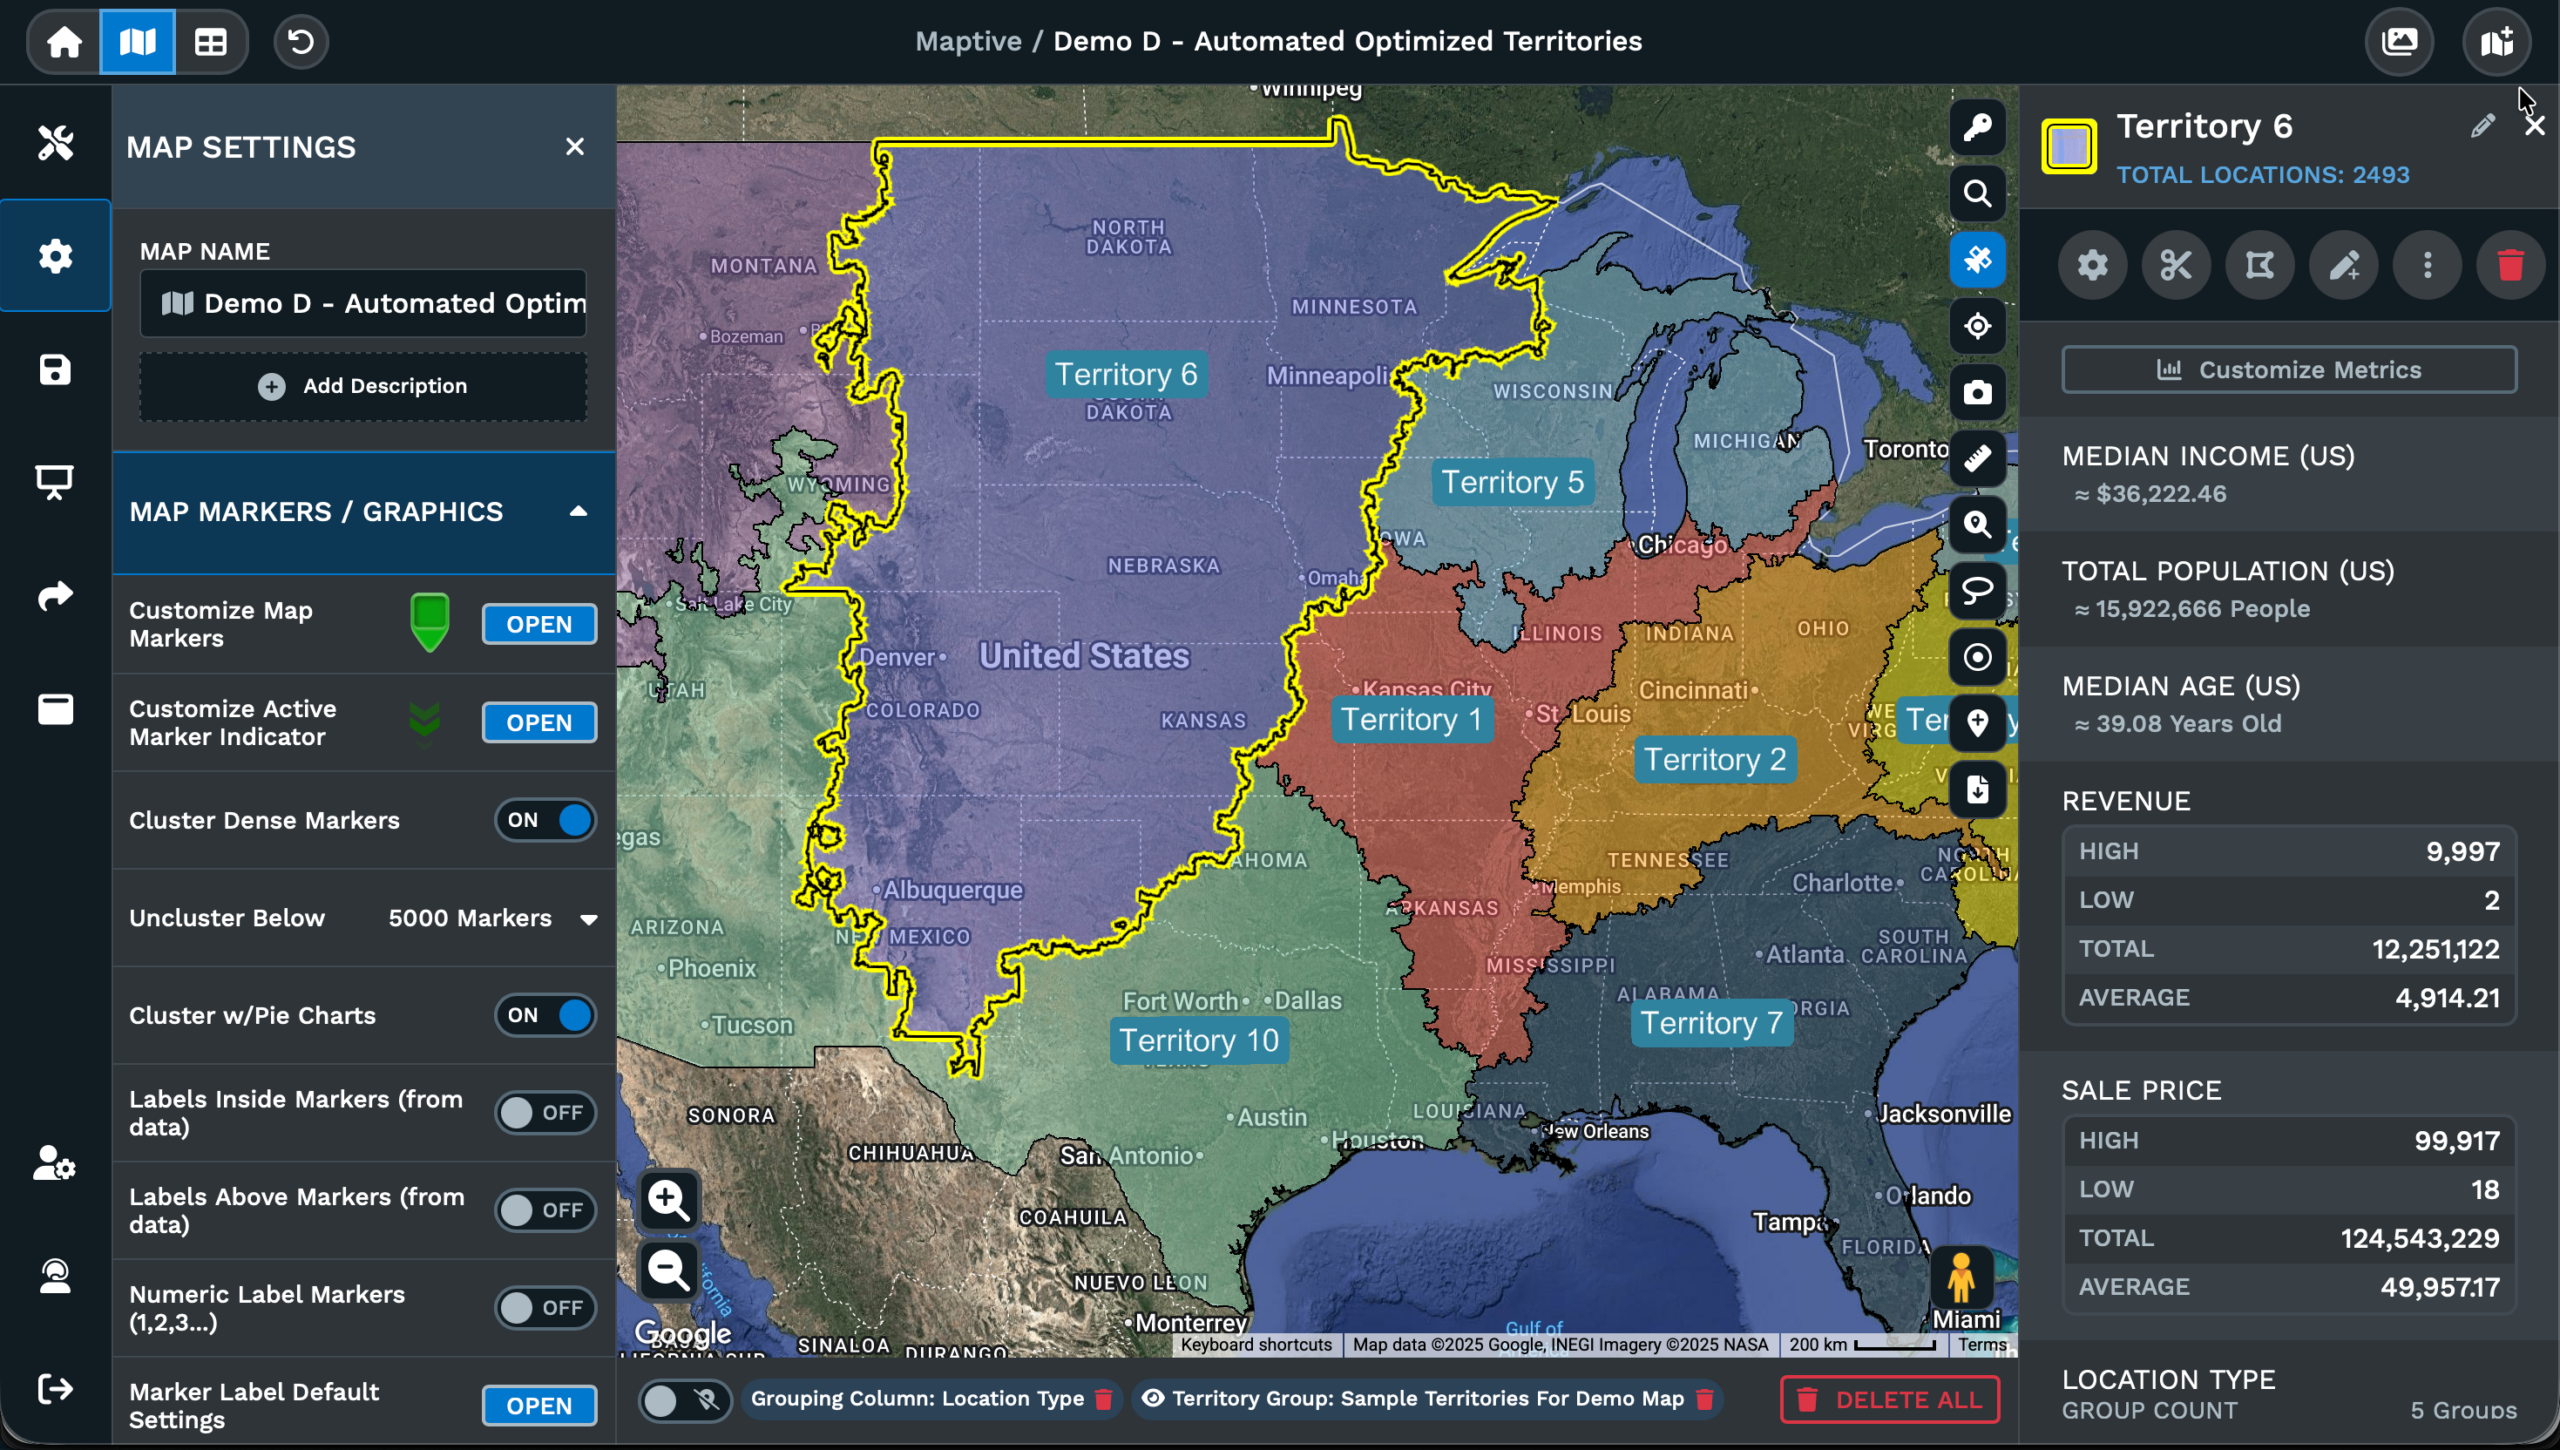
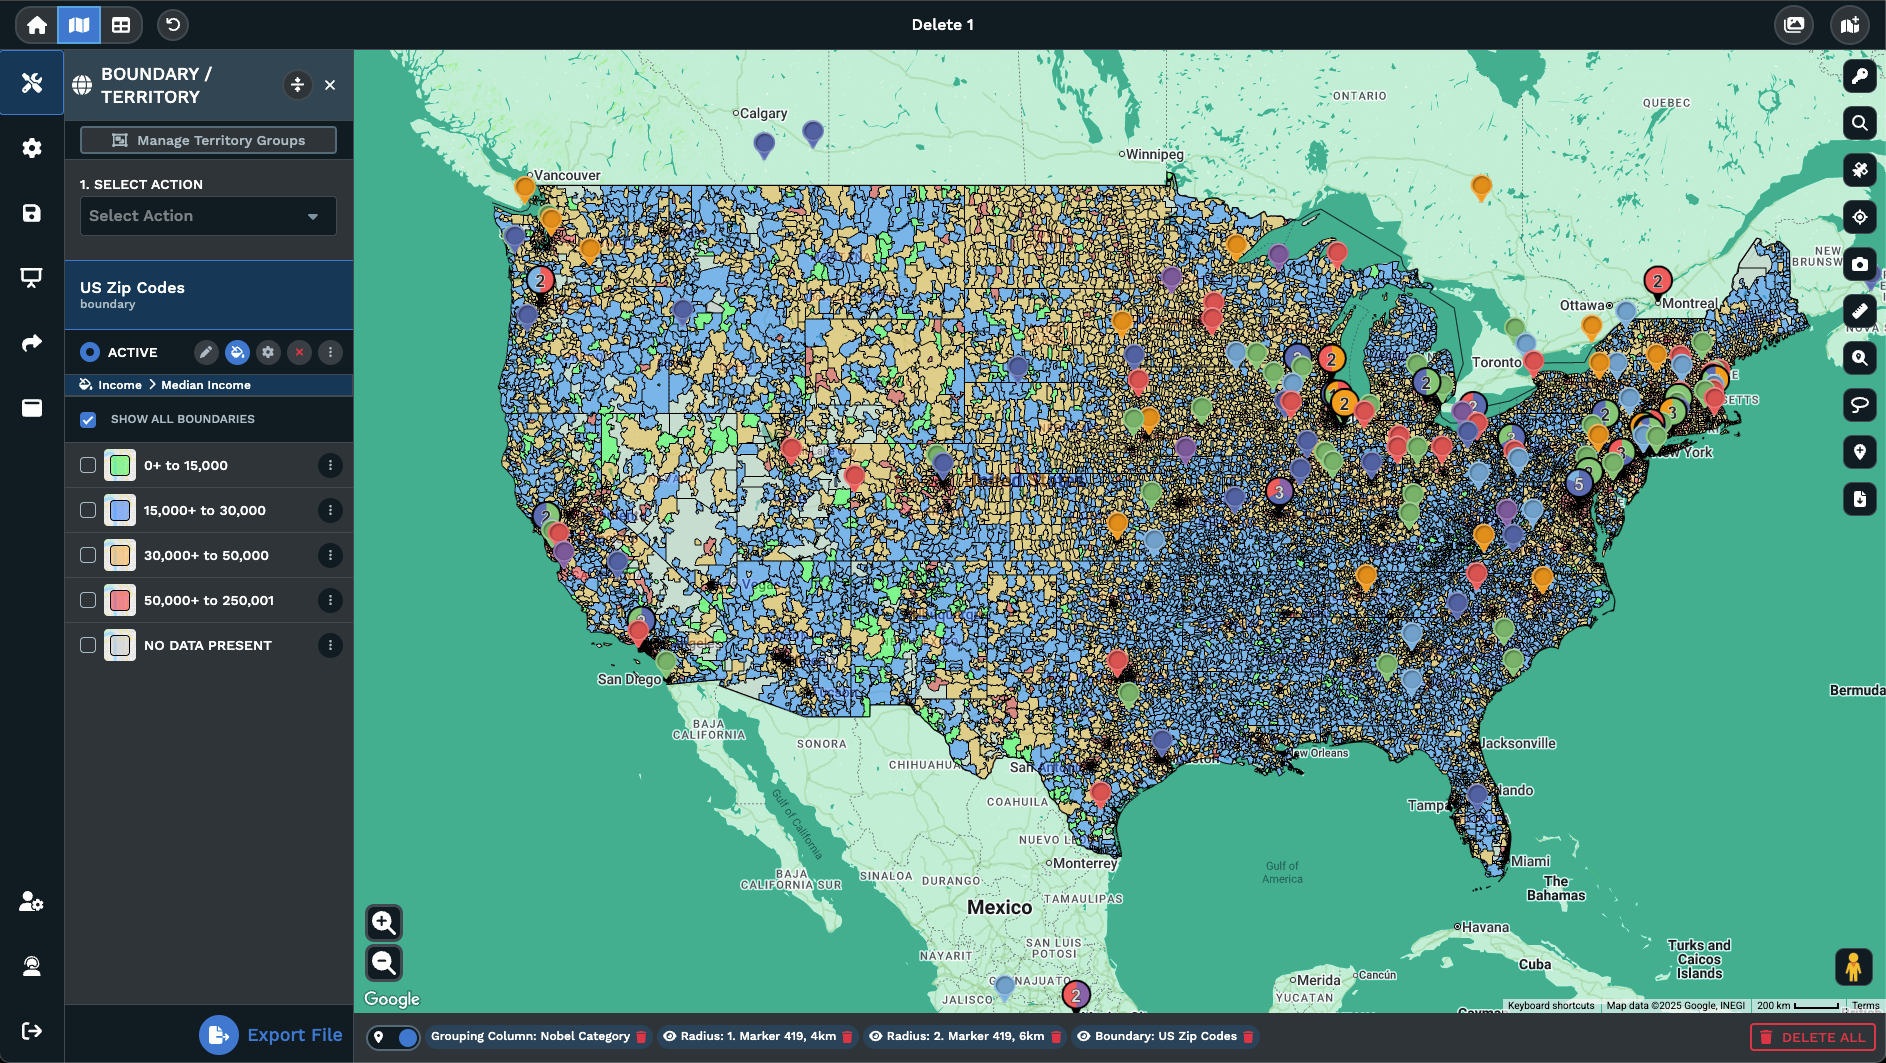
Grouping / Colored Pins: Open this from Map Tools and Maptive lists primary groups and secondary groups, so the same panel doubles as a per-group marker styling surface.
Group Marker Settings: Click the location pin icon by a group to open Group Marker Settings, where per-group markers are styled together as a set across the whole group.
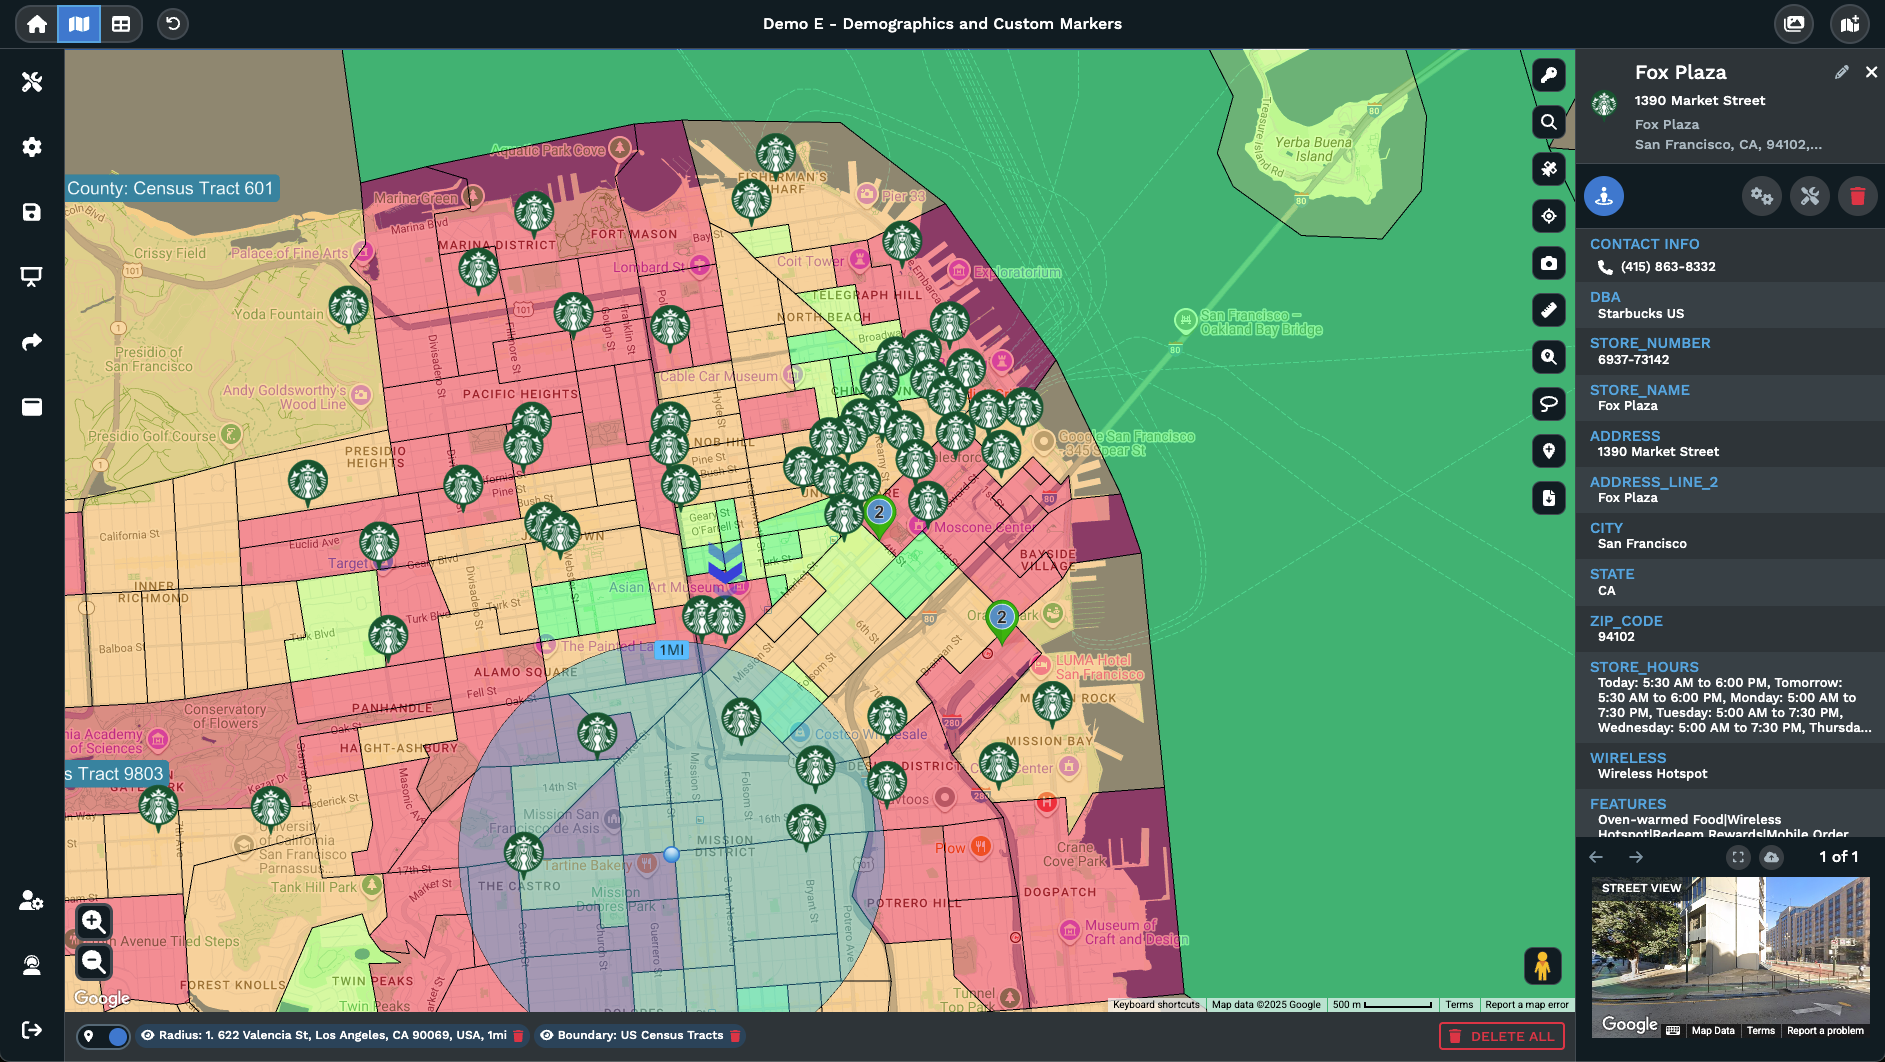
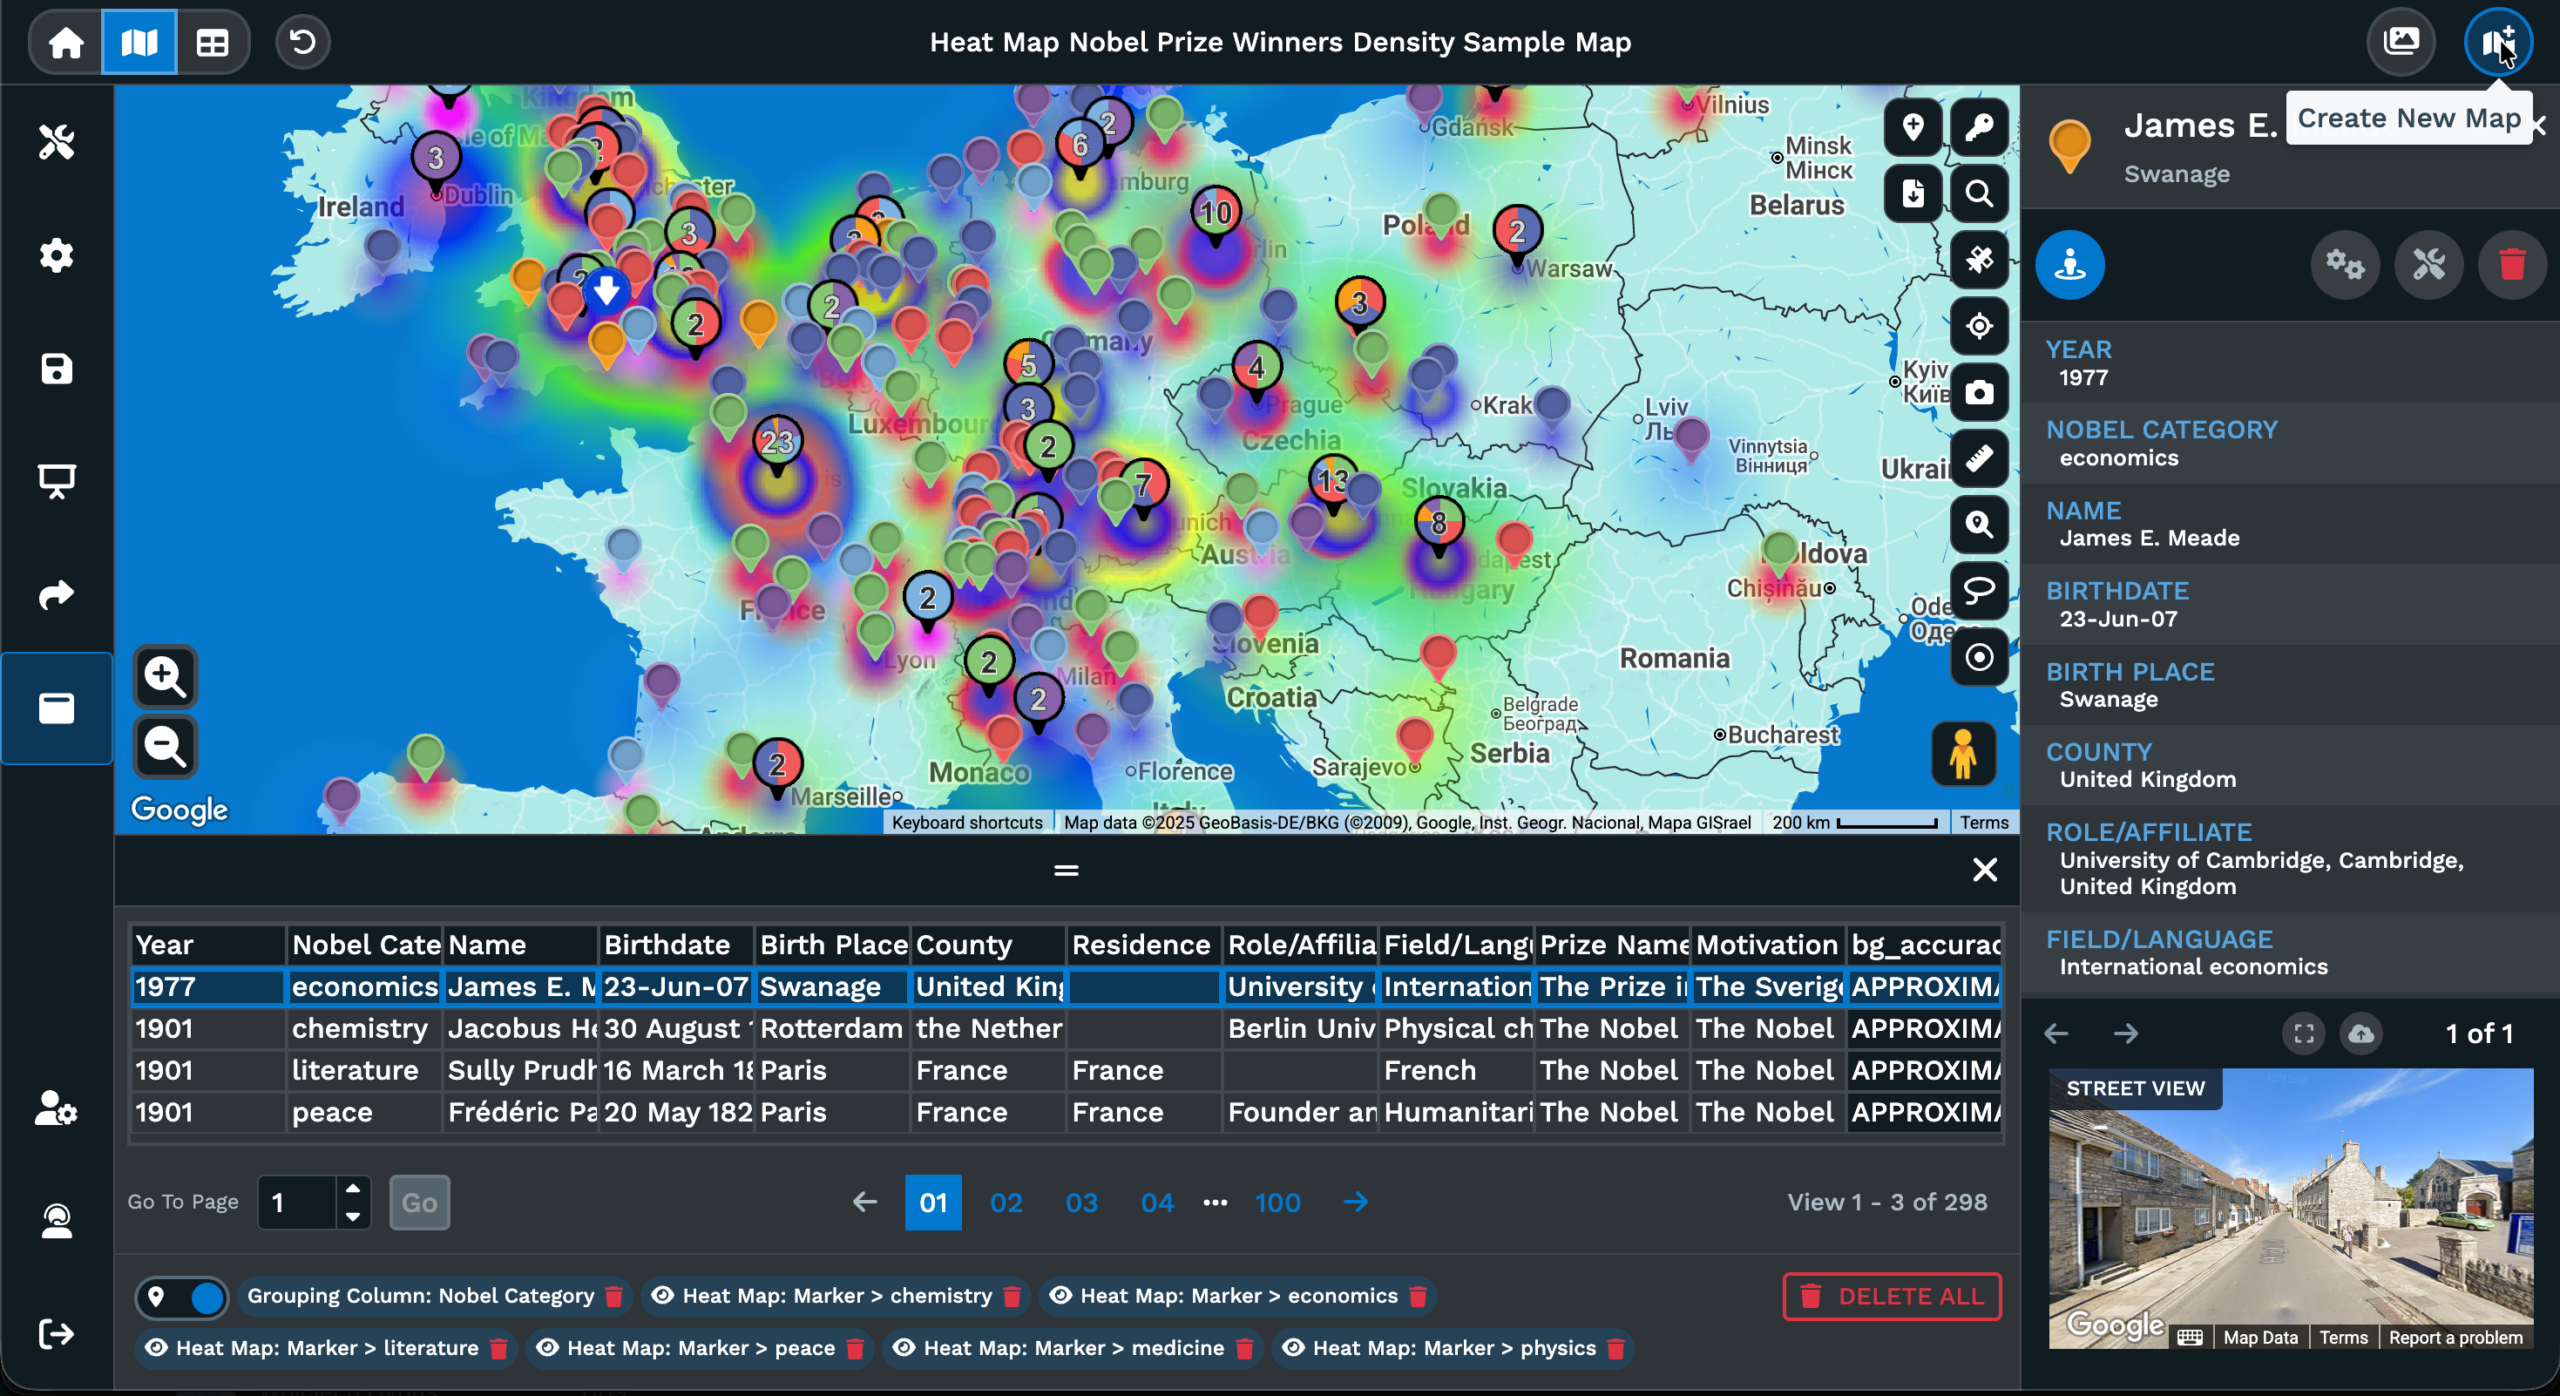
Customize Marker popup: Click a pin on the map, click the Settings and Customization icon, then open Customize Marker to tweak that single pin from the popup that opens.
Customize Markers in 3 Steps
1
Open
On the map, click Map Settings, then click Map Markers / Graphics to open the marker styling panel for the whole map.
2
Style
Pick a marker set in the Map Marker Style drop-down, or open Customize Map Markers and the Upload Custom Marker button.
3
View
Maptive applies the new pin style across every row plotted on your map, so every reader sees the same icons and colors.
Brand the Pins
Read Categories Faster
Triage by Color
Size by Value
Flag the VIPs
Match Asset Types
Custom Marker Design for Maps
Why Custom Pins Help
A default pin set works at the start of any map, and the moment your data carries categories, statuses, or priorities the same droplet on every row hides the signal. The Maptive support article on Customizing Map Markers names a panel inside Map Settings called Map Markers / Graphics, where the Map Marker Style drop-down sets the look for the whole map and Customize Map Markers opens the per-style editor for finer work.
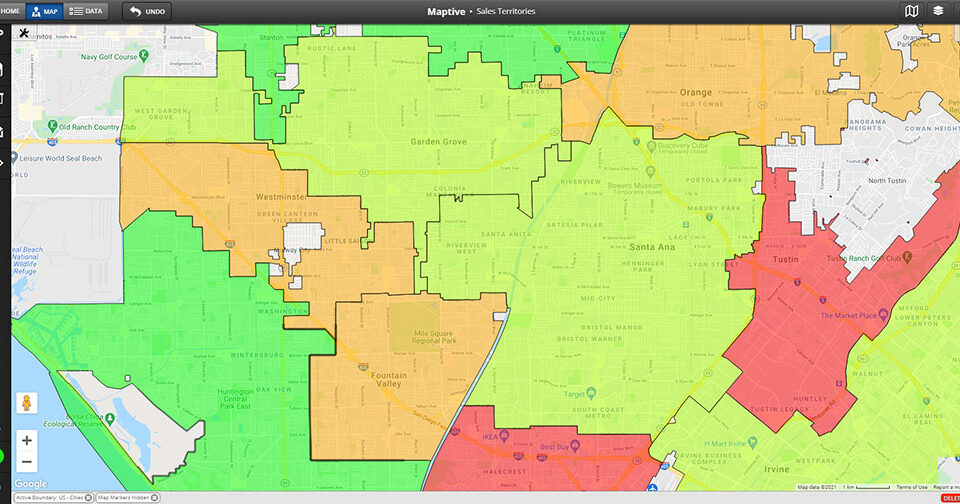
The reason custom pins help is the second column of meaning they carry. A category column with type, product, or segment values reads instantly when each value has its own icon. A status column reads at a glance once green, yellow, and red pins are styled across the matching groups. A priority column lifts the VIPs out of any cluster once a distinct pin is set on the flagged rows in the panel.
The Maptive doc adds a caveat the article puts in plain text. Whenever possible use the grouping tool when customizing markers, because changes to individual markers will not show in the map key and can get overwritten when the data is reloaded. Built through Grouping / Colored Pins, the styling sticks across reloads and the map key carries the legend for every reader of the file.
Where Marker Styling Lives
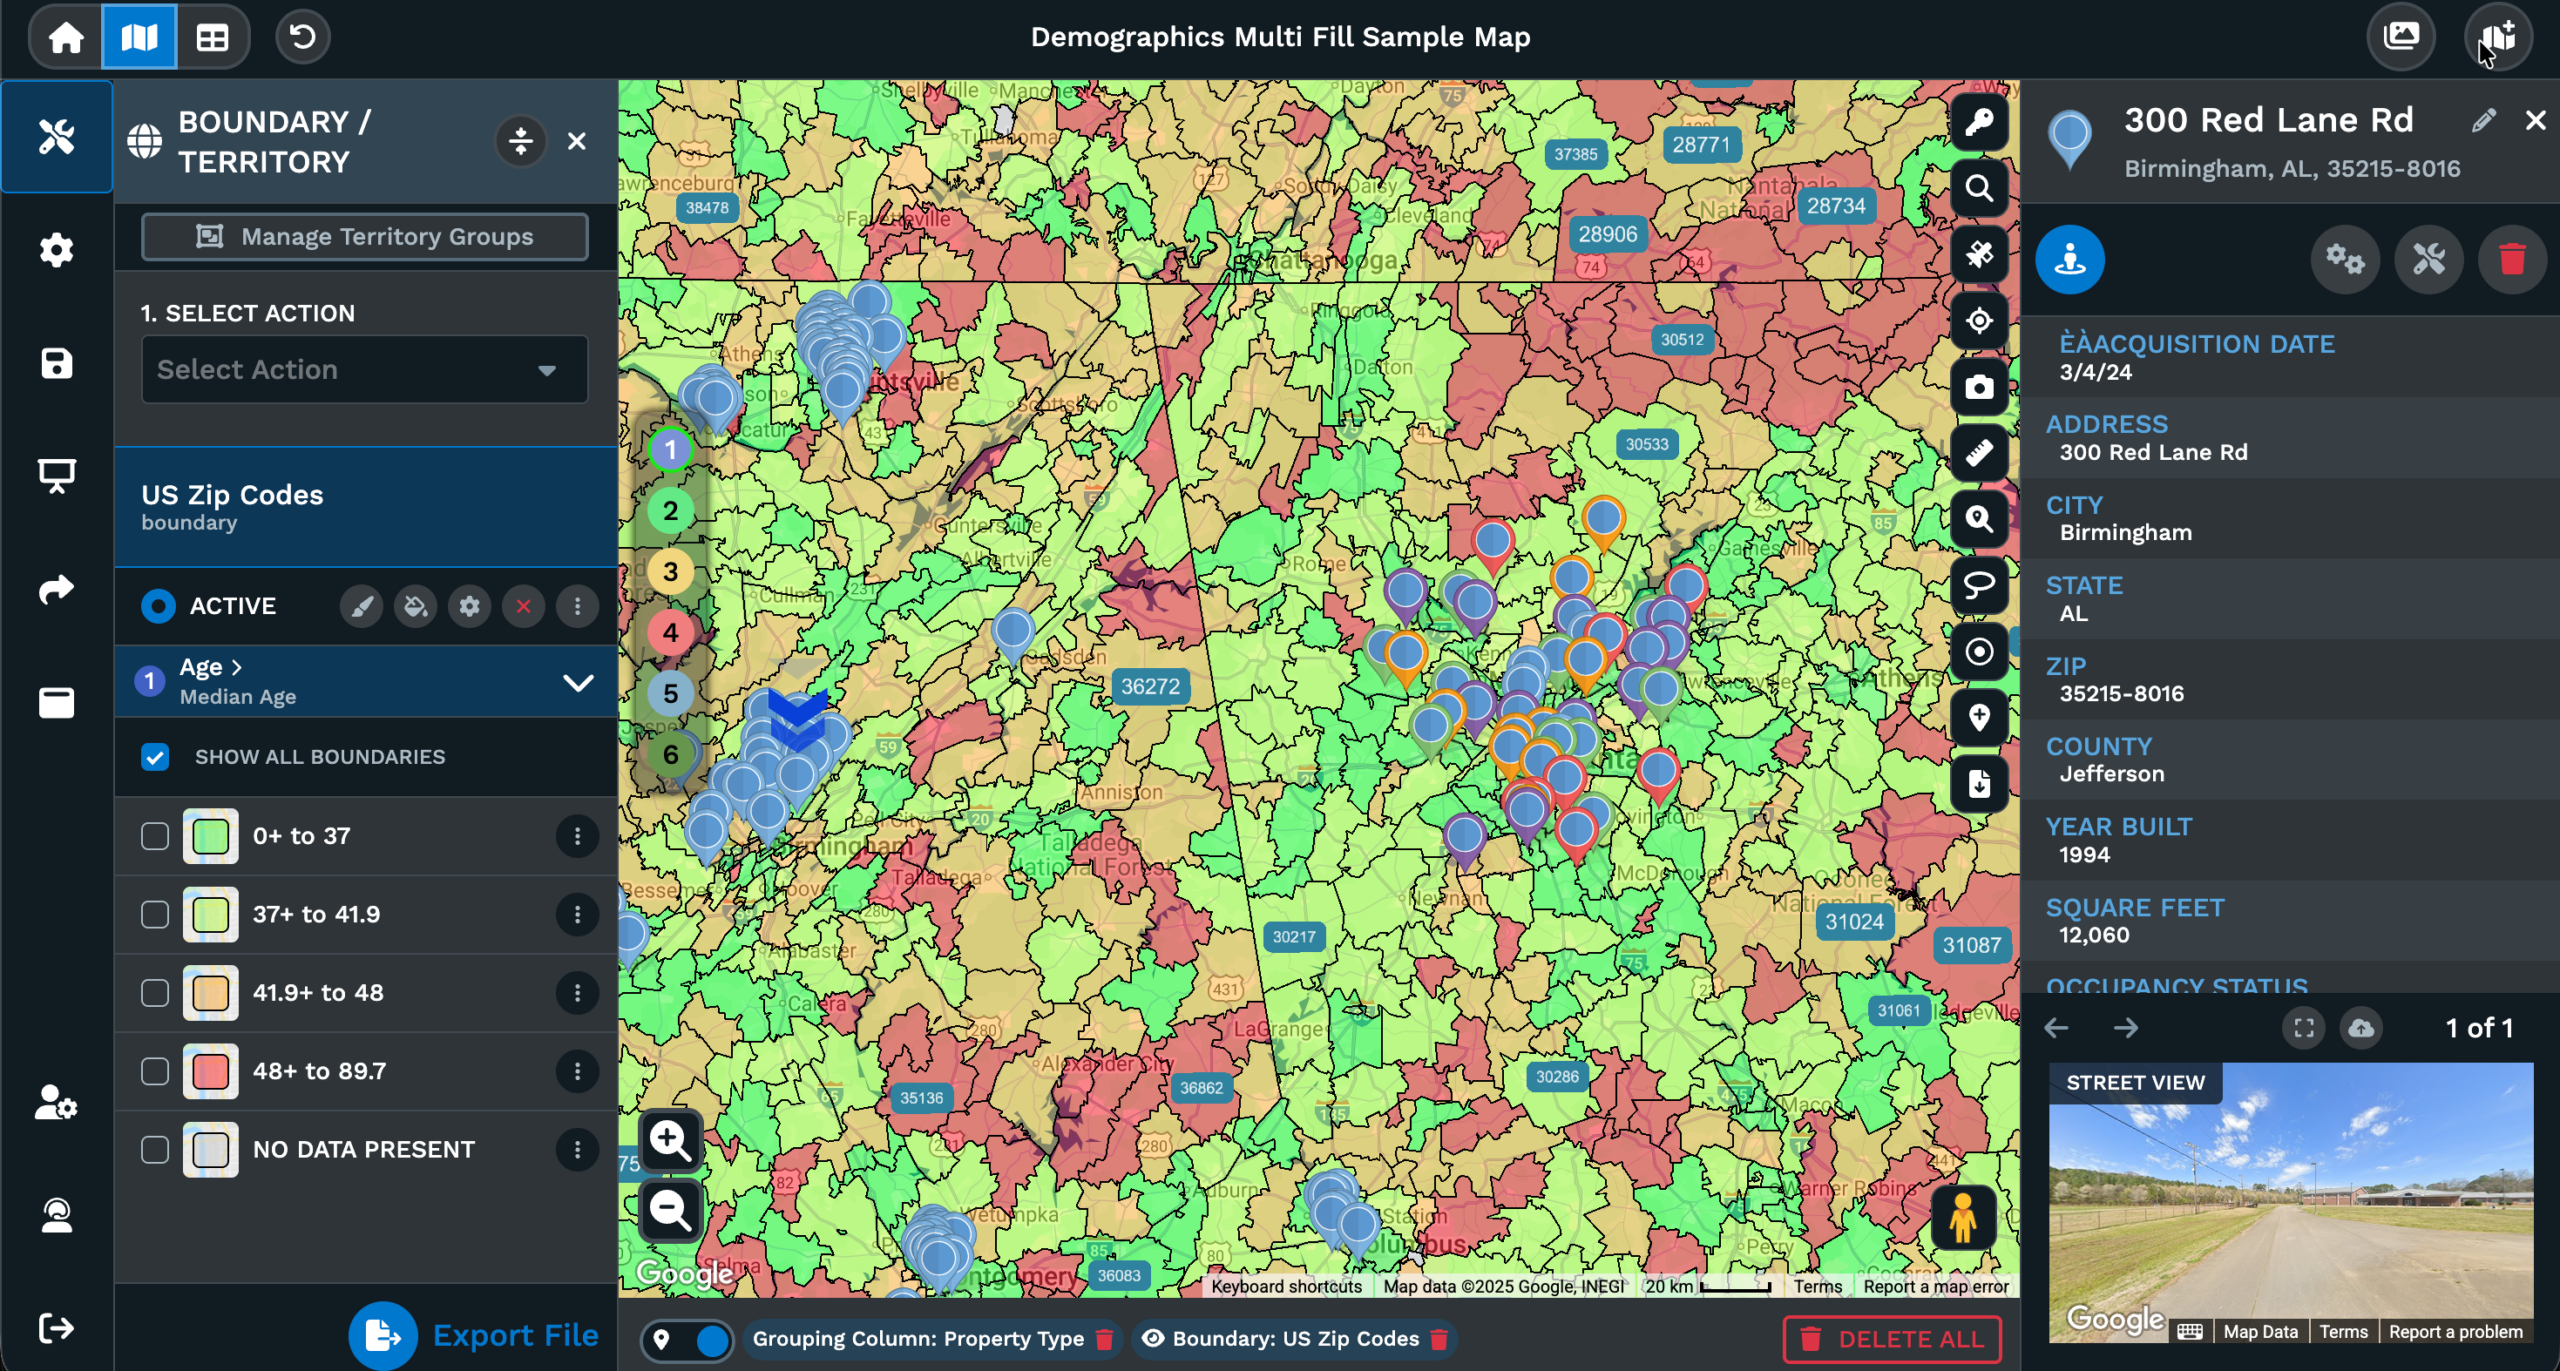
Marker styling on a Maptive map opens from a few places, and the support article lays out each path step by step on the page. The first is Map Settings on the home menu of an open map. Click Map Settings, then click Map Markers / Graphics, and the panel for the whole map opens. The Map Marker Style drop-down sets a marker set from a preset list. Customize Map Markers opens beside the drop-down for fine work.
The second place is Map Tools on the same map. Open Grouping / Colored Pins from Map Tools and Maptive lists every primary group and every secondary group on your map. Click the location pin icon next to a group and Group Marker Settings opens for that group. Style the markers there as a set, and the styling rides with the group across the map every time a reader opens the view.
The third place sits on the map itself. Click any pin and a popup appears with a Settings and Customization icon. Click Customize Marker and a popup opens with the styling controls for that single pin. The Maptive article notes that changes made to a single pin will not show up in the map key and can get overwritten when the data is reloaded, so this path is the right pick for a quick fix on a record only.
Group vs Single Edits
Customizing Map Markers has 2 paths for styling a marker, and the paths behave in different ways once the map is shared with a team. The group path runs through Grouping / Colored Pins on Map Tools. Maptive lists every primary group and every secondary group built on the map, and the location pin icon next to a group opens Group Marker Settings. Styling done there applies to every pin in the group.
The single-marker path runs through the map itself. Click on a pin, click the Settings and Customization icon that appears, then click Customize Marker to open the popup with the styling controls for that pin. The single-marker path is useful for a quick tweak on a record that does not belong to a group, or for a quick visual test on the map before any group settings are built.
Whenever possible use the grouping tool when customizing markers. Changes to a single marker will not show in the map key and can get overwritten when the data is reloaded. Group Marker Settings carries the styling into the key and across reloads, so any styling that needs to be seen by a reader belongs on the group path instead.
FAQs About Custom Map Markers
How do I open the marker styling panel inside Maptive?
On the map, click Map Settings, then click Map Markers / Graphics from the Map Settings menu. The panel opens for the whole map with the Map Marker Style drop-down at the top and Customize Map Markers beside it. The drop-down sets a marker set across every plotted row on the map. Customize Map Markers opens an editor for finer work, with an Upload Custom Marker option for bringing in your own marker styles, images, or company logo files instead of the default droplet pin.
Can I upload my own logo as a pin on the map?
Yes, the Customize Map Markers panel includes an Upload Custom Marker option. The Maptive support article on Customizing Map Markers says the option supports your own custom marker styles, images, or company logos. Open Map Settings, click Map Markers / Graphics, open Customize Map Markers, and click Upload Custom Marker to load the file. The pin set on the map then carries the file you uploaded instead of a default droplet pin. The doc does not list file size or format limits.
How do I color pins by a status column on my data?
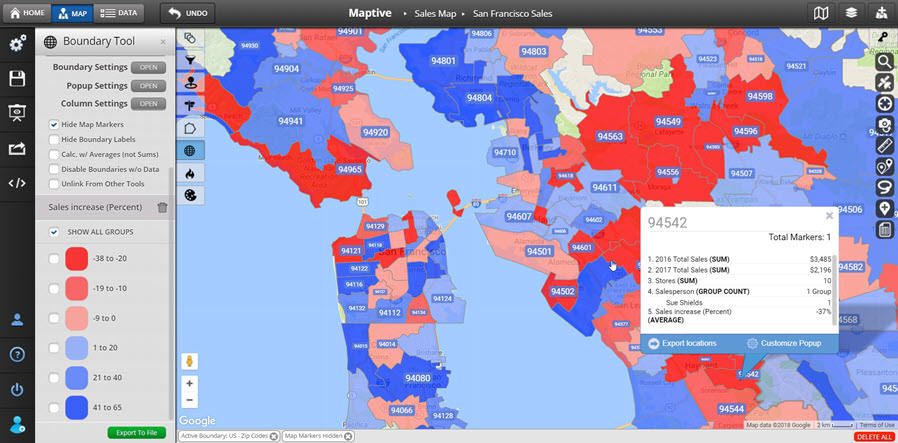
Open Grouping / Colored Pins from Map Tools and group the rows by your status column. Maptive lists each group from the values it finds in the column. Click the location pin icon next to a group to open Group Marker Settings, then style the pins for that group. Repeat on every group so each status reads in a different color across the map. The grouping path keeps the styling in the map key for every reader who opens the file.
Can I customize a single pin without changing the rest?
Yes, click on the pin you want to edit and the marker info opens on the right side of the map. Click the Settings and Customization icon, then click Customize Marker to open a popup with the styling controls for that pin. The Maptive doc notes that single-pin changes will not show in the map key and can get overwritten when the data is reloaded into the map. Use the grouping path for any styling meant to last across reloads of the data set.
What is the difference between primary and secondary groups?
Maptive lists both primary groups and secondary groups inside Grouping / Colored Pins on Map Tools. The location pin icon sits next to every group on either list, and clicking it opens Group Marker Settings for that group. The Customizing Map Markers article does not define the split between primary and secondary on the same page, so refer to the Grouping Tool article for the setup. Either level styles its markers from the same Group Marker Settings panel inside the same tool on the map.
How do I keep markers styled after the data reloads?
Use the grouping path. The Maptive article on Customizing Map Markers says changes to individual markers will not show in the map key and can get overwritten when the data is reloaded. The note recommends the grouping tool whenever possible for this reason. Open Grouping / Colored Pins from Map Tools, group your rows by the column that drives the styling, then open Group Marker Settings on each group. The styling rides with the group across reloads and shows up in the map key.
How do I delete a pin from the map?
Click the location point on the map and the marker information appears on the right side of the screen. Click the red Delete Marker icon among the options shown there. A drop-down appears with a Delete Marker option that confirms the action. Click it to delete the pin from the map view. The Maptive support article shows the action with a screenshot of the popup after the delete is confirmed, so the workflow runs in the same panel as the marker info read by the user.
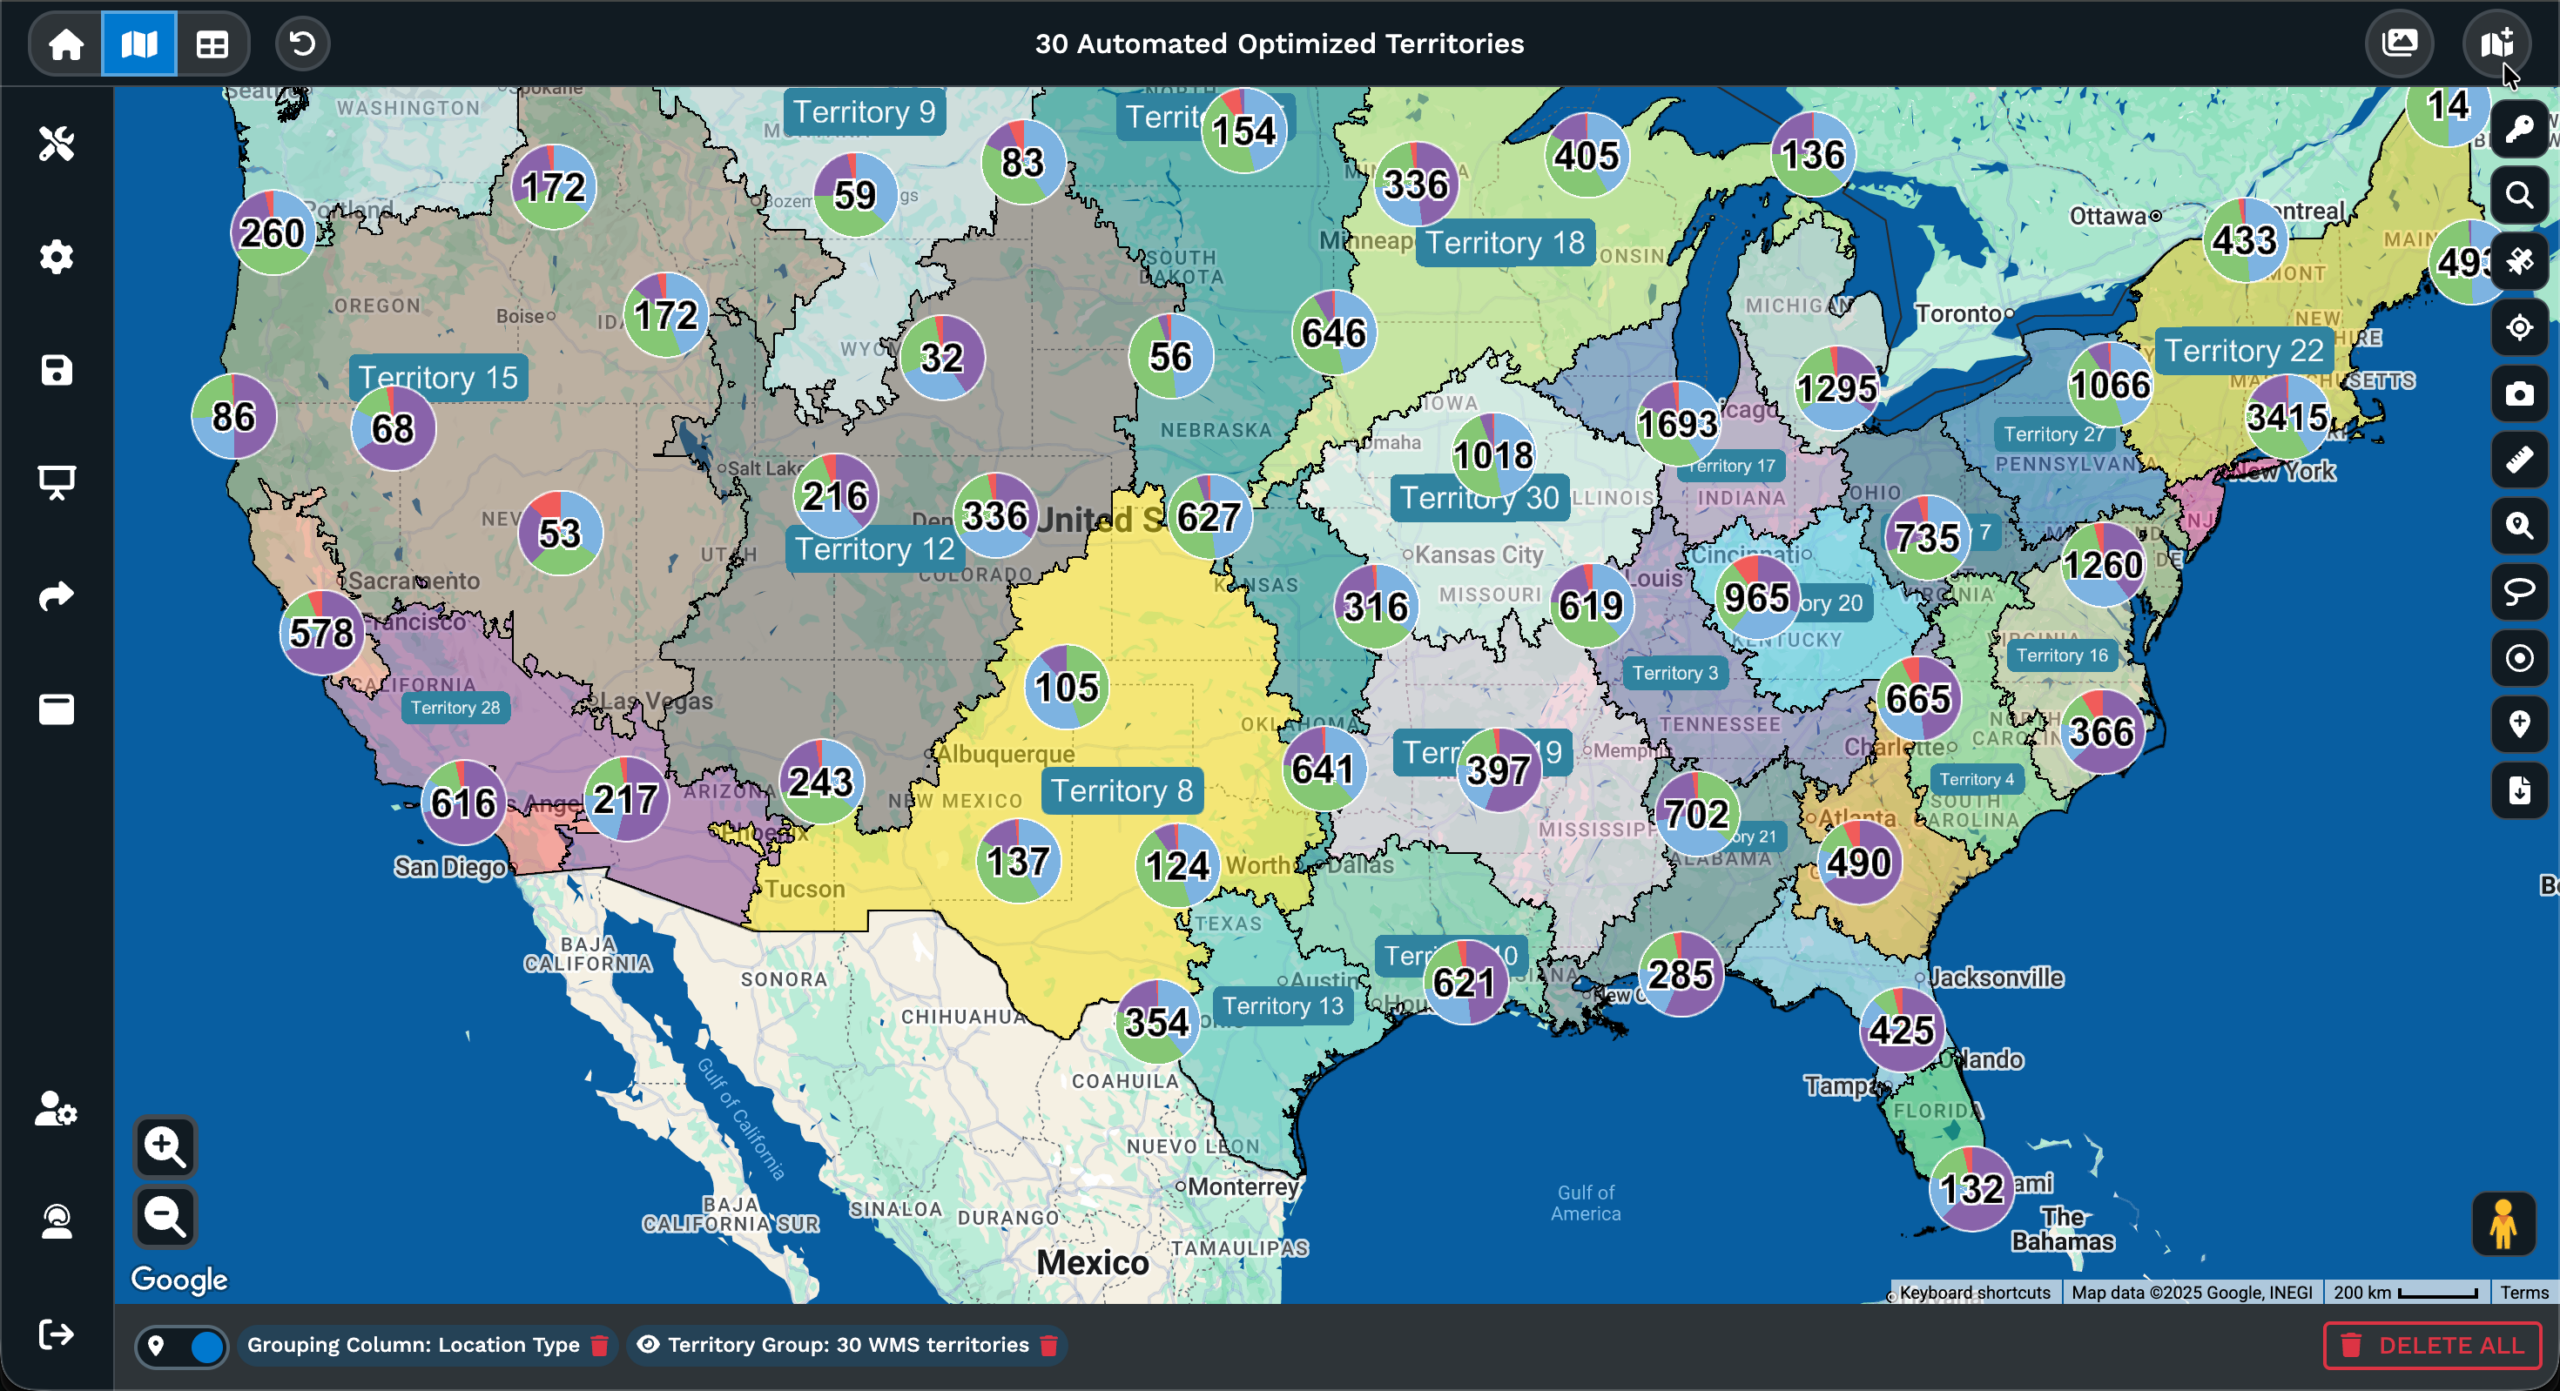
Can I size pins by a number column in my data?
Maptive lets you build groups around a numeric column inside the Grouping Tool, then style each group from Group Marker Settings on the same panel. Open Grouping / Colored Pins from Map Tools, group rows into bands, and pick a larger marker style for the top band. Pair the size with a color set on the same group and a map carries 2 dimensions of meaning. The Customizing Map Markers article points to the Grouping Tool for any styling that should sit in the map key.
Does the Map Marker Style drop-down work on the whole map at the same time?
Yes, the drop-down at the top of Map Markers / Graphics applies the picked marker set to every row plotted on the map together. Click Map Settings, click Map Markers / Graphics, and the drop-down opens for selection from the preset list. The article calls the menu the Map Marker Style drop-down. For per-row or per-category styling, open Customize Map Markers beside the drop-down, or use Grouping / Colored Pins from Map Tools to style by group rather than across every pin.
Where does the Customizing Map Markers article live for reference?
The Maptive Answer Center hosts the article at answers.maptive.com under the Customizing Map Markers page, and it sits on the most-popular list on the home of the Maptive support collection. The page covers Map Markers / Graphics, the Map Marker Style drop-down, Customize Map Markers, Upload Custom Marker, Group Marker Settings, and the Settings and Customization icon on a single pin. A related article on the Grouping Tool sits at the bottom of the page on the site for follow-on reading.