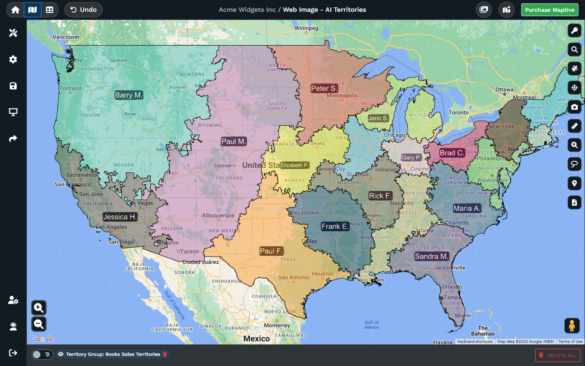
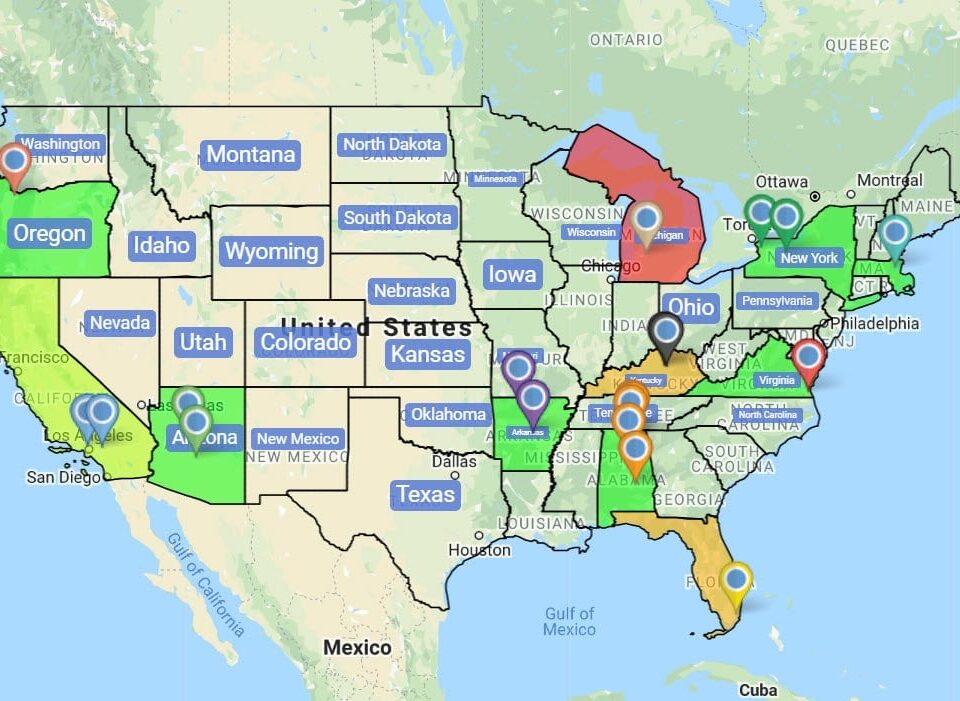
Store Locator & Location Finder Tool
Type any address into the Location Finder and the closest places from your imported list come back ranked by distance, with the count you set, ready to zoom, route, or export.
Closest Locations Ranked by Distance
Ranked nearest list: the closest places from your imported rows return in order of distance inside the right side panel, with the count you set in the box, ready to read.
Green pin anchor: the address you typed shows on the map as a green pin, so the search origin sits visible on the map next to every result row returned in the side panel.
Count selector: a checkbox plus a number control lets you ask for the 3, 5, 10, or any other count of nearest matches, and the panel returns exactly that many rows back.
Current location option: leave the starting point input blank and the tool defaults to your current location, so a search runs from where you sit without typing anything.
Zoom and route handoffs: each row in the list lets you zoom the map to that pin, or hand the result to the Routing/Directions tool for turn-by-turn driving navigation.
File and clipboard export: the result list saves as .xlsx, .tsv, or .csv, or copies to the clipboard, so a ranked answer drops into a sheet, an email, or a dispatch board.
Find Locations in 3 Steps
1
Open
Click the Location Finder icon on the right of your map, then type an address or leave blank to use current location.
2
Search
Check the count box, pick how many nearest places to return, then click Find Now to run the search against your data.
3
View
A ranked list of nearest matches arrives in the side panel, where you can zoom, route, or save as .xlsx, .tsv, or .csv.
Answer the Nearest Question
Hand Out Ranked Shortlists
Route Work Closer
Pick the Right Hub
Search Without Typing
Send Results Anywhere
Nearest Location Lookup on a Map
Nearest Address Lookups
Finding the closest place from a list of addresses used to mean copy-pasting an address at a time into a separate map and reading off the distance line by line. That approach works for a single lookup. It breaks down once a queue of requests piles up on your end, or once the data on your side runs into the hundreds or thousands of rows that need to be searched against the incoming address.
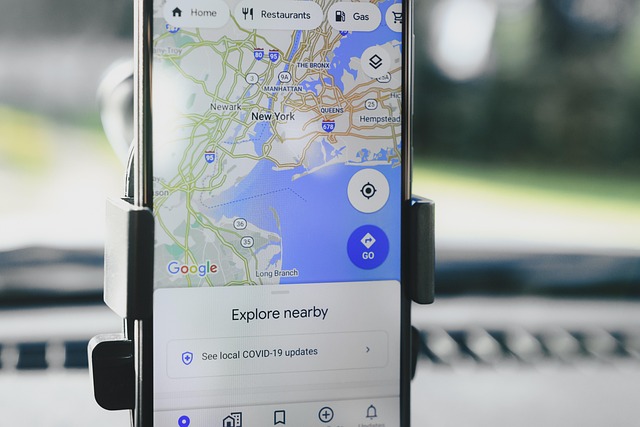
The Location Finder shortcuts the whole lookup. You type any address into the starting point box, or leave it blank to default to your current location. The tool runs the search against the rows already on the map, then returns the closest places in the right side panel as a ranked list. The address you typed shows on the map as a green pin so the search origin stays visible to anyone reading the result.
Once the ranked list appears, each row is interactive on the panel. Zoom the map to a result, hand it off to the Routing and Directions tool for turn-by-turn navigation, or save the rows as .xlsx, .tsv, or .csv from the same screen. The clipboard copy works well for shorter ranked answers headed to an email or a quote. The same lookup that took a tab swap now sits inside a single panel inside the map.
Searching an Imported List
A spreadsheet of customers, stores, hubs, or technicians holds the answer to a proximity question, but a sheet on its own cannot tell you which row is closest to a new address. Sorting by zip code does not help much. Sorting by city does not help either. The data needs to be placed on a map first, then queried by a starting point that the tool can compare against every single row in the file.
Maptive handles that step end to end. You import an .xlsx, .tsv, or .csv list, and every row becomes a marker on the map. The Location Finder then sits in the right toolbar of the map, ready to read those markers as a searchable set. Type a new address into the starting point box, set the count box to the number of nearest matches you want back, and click Find Now to compare against the imported rows in your file.
The side panel returns the matches in order of distance, with the green pin marking the address you searched from. Each row in the panel ties back to a marker on the map, so the answer is grounded in the source file you uploaded. From there, the rows save as .xlsx, .tsv, or .csv, copy to the clipboard, zoom to the pin, or hand off to Routing for turn-by-turn directions to that result.
Proximity Search Basics
Proximity search is the act of asking which points on a map are closest to a given address, and then returning those points in order of distance. The math runs on latitude and longitude, not text. A list sorted by zip code mixes places that share a code but sit on opposite sides, and a list sorted by city scrambles the order. Proximity sorting answers how far each row sits from a chosen origin.
Maptive runs that math against the rows you import. The Location Finder reads every marker on the map as a candidate, takes the address from the starting point box, and ranks the candidates from closest to farthest. You set how many rows come back through the count box, with a tick to confirm the number, and click Find Now to run the search. The address shows on the map as a green pin to mark the origin.
The side panel returns a ranked list with the closest at the top. Each row links to the Routing and Directions tool for turn-by-turn navigation, zooms the map to the chosen pin, and saves out as .xlsx, .tsv, or .csv from the same place. A clipboard copy is also available for shorter answers. The same panel handles a quick question or a busy queue of incoming requests for service or dispatch.
FAQs About the Location Finder
Can I find the nearest location to any address?
Yes. Click the Location Finder icon on the right side of the map, type any address into the starting point box, and click Find Now. The closest place from the rows you imported sits at the top of the side panel, followed by the runners-up in order of distance. The address you typed shows on the map as a green pin so the origin is visible. From the panel you can zoom to a pin, route to a result with the Routing and Directions tool, or save the rows as a sheet.
How do I set how many results come back?
There is a checkbox plus a number control inside the Location Finder. Tick the box, pick the count of nearest matches you want back, and click Find Now to run the search. The side panel returns exactly that many rows from the data on the map, ranked by distance from the address in the starting point box. The number is up to you, so a quick lookup might ask for the closest 3 and a dispatch board might ask for 10.
Can I search from my current location?
Yes. Leave the starting point box blank, then click Find Now. The Location Finder defaults to your current location and runs the search from there against the rows on the map. The closest places appear in the side panel as a ranked list, and a green pin marks the spot you searched from. This works for any user with the map open, so a rep on the road can pull up the nearest hub without typing in their address each time.
How do I export the results?
From the ranked list in the right side panel, the Location Finder exports the rows as .xlsx for a spreadsheet, .tsv for a tab-separated pipeline, or .csv for a quick import into another tool. The same panel offers a copy to the clipboard for shorter answers headed to an email, a quote, or a chat. The export ships with the address column from the source file, so the ranked answer travels alongside the rest of the row data from your file.
Does the Location Finder give turn-by-turn directions?
The Location Finder ranks the closest rows from your data and shows them in the side panel. For turn-by-turn directions to any of those results, you hand the result off to the Routing and Directions tool inside Maptive. The Routing tool then builds the road-by-road navigation from the address you searched to the result you chose. This split keeps the proximity question and the directions question on their own panels, while letting the first feed the second.
Can I use this as a store locator?
The Location Finder lets anyone with access to the map type any address into the starting point box and see the closest places from your imported list. It works as a store locator inside Maptive against the data you uploaded. The result returns in the right side panel with a green pin on the map, ranked by distance, and the count of matches you set in the count box. Each result row exports to .xlsx, .tsv, or .csv for sharing.
What file types does the export support?
The Location Finder export covers .xlsx, .tsv, and .csv. Pick .xlsx when the answer is headed to a spreadsheet with formatting, .tsv when a downstream pipeline expects tab-separated input, and .csv when the destination tool wants a quick comma-separated import into another system. A clipboard copy is also available from the side panel for short answers. The file ships with the address columns from your imported data, so the ranked answer carries the source row data with it.
How do I close the Location Finder when I am done?
There are 2 ways. Click the Location Finder icon again from the right side of the map, and the side panel closes for you. Or click the X in the top of the right side panel to dismiss it. Either action removes the green pin from the map and returns the view to the rest of the markers. Reopening the panel by clicking the icon a third time starts a new search with an empty starting point box, ready for the next address.
What shows on the map after I click Find Now?
After you click Find Now, the address from the starting point box appears on the map as a green pin. The count of nearest places you chose then appears in the right side panel as a ranked list, ordered from closest to farthest. Each row ties back to its marker on the map, so clicking through the panel zooms to that location on the canvas. The view stays on the same map as the rest of your data without a tab swap.
Is the Location Finder available on every plan?
The Location Finder sits among the core tools inside Maptive. The icon appears on the right toolbar of the map for any user with access to the Maptive tools panel. To use it, the map needs an imported list of places in .xlsx, .tsv, or .csv. Once the file uploads and the rows place as markers, the Location Finder reads those markers as the search set. For plan-by-plan availability, the Maptive pricing page is the source of record.