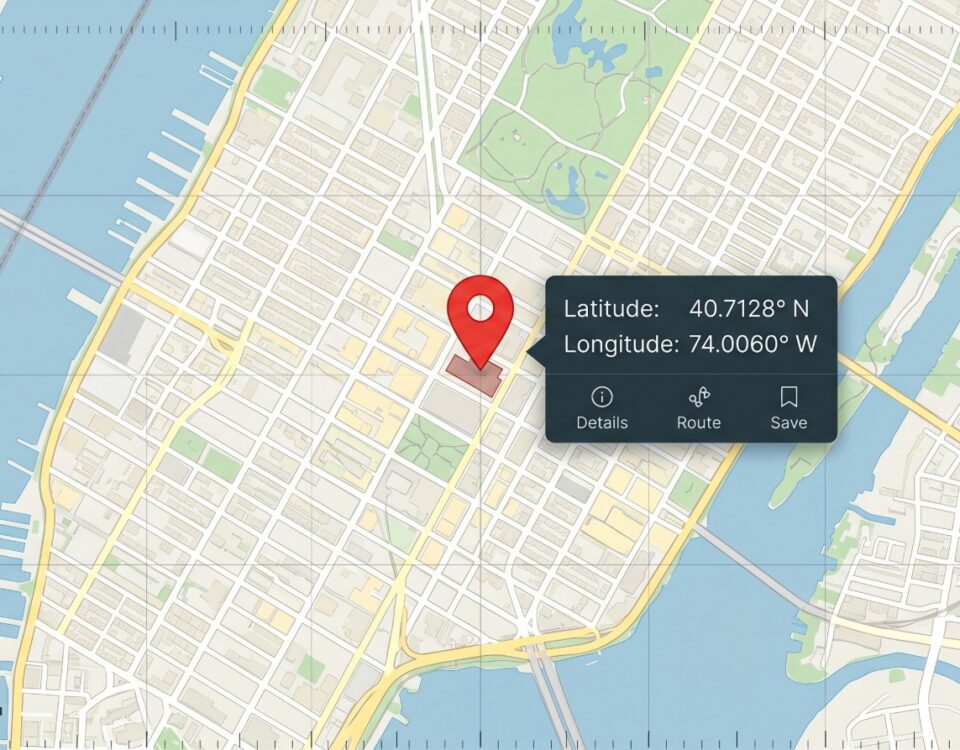

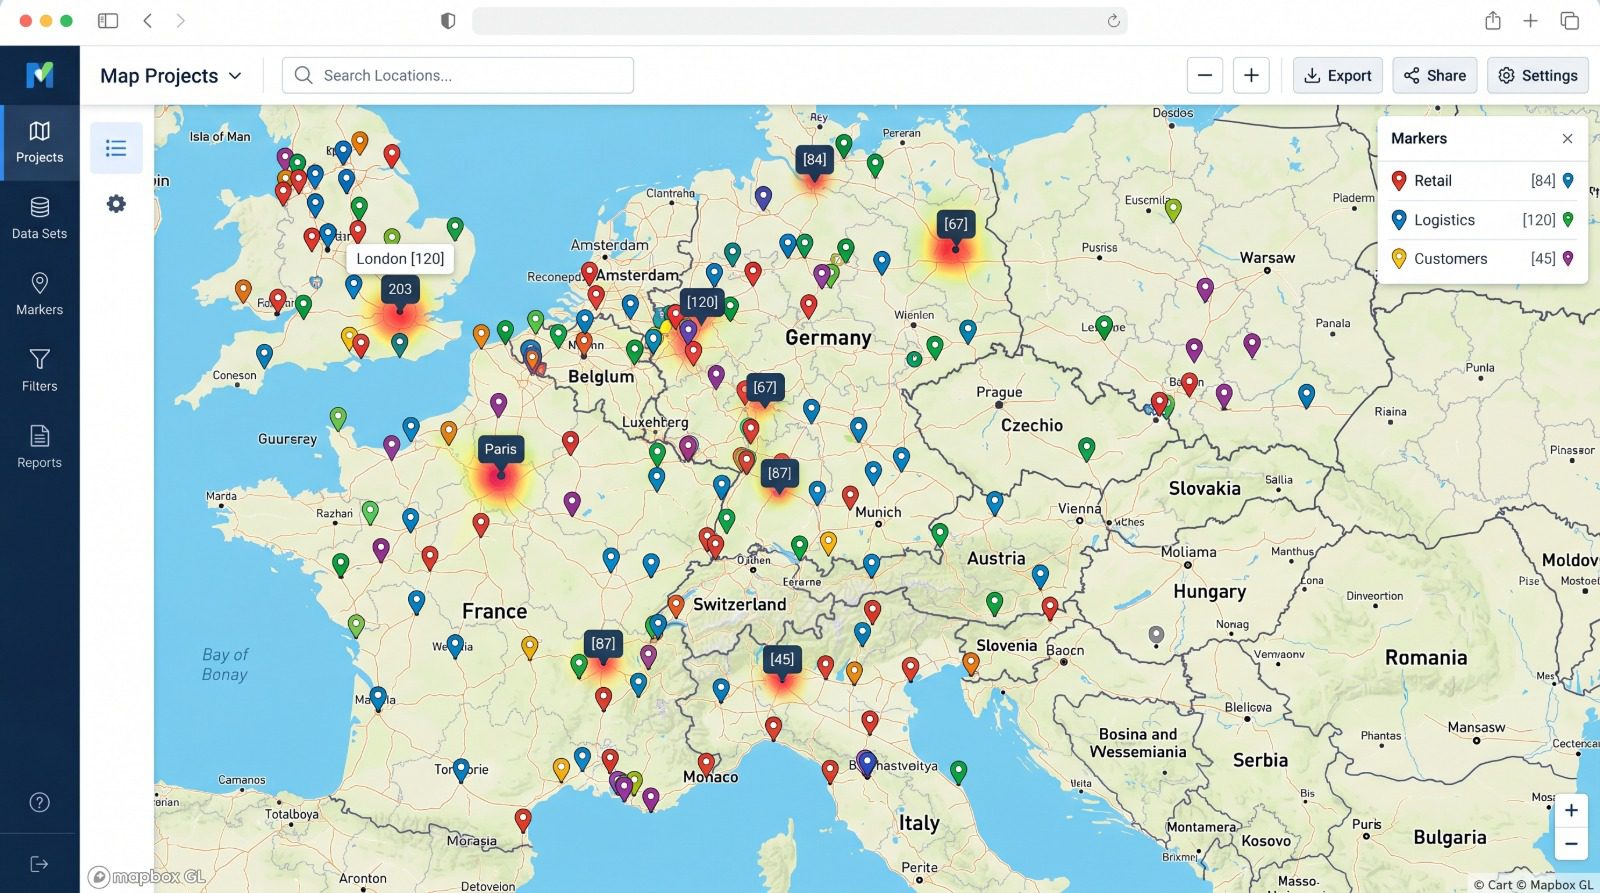
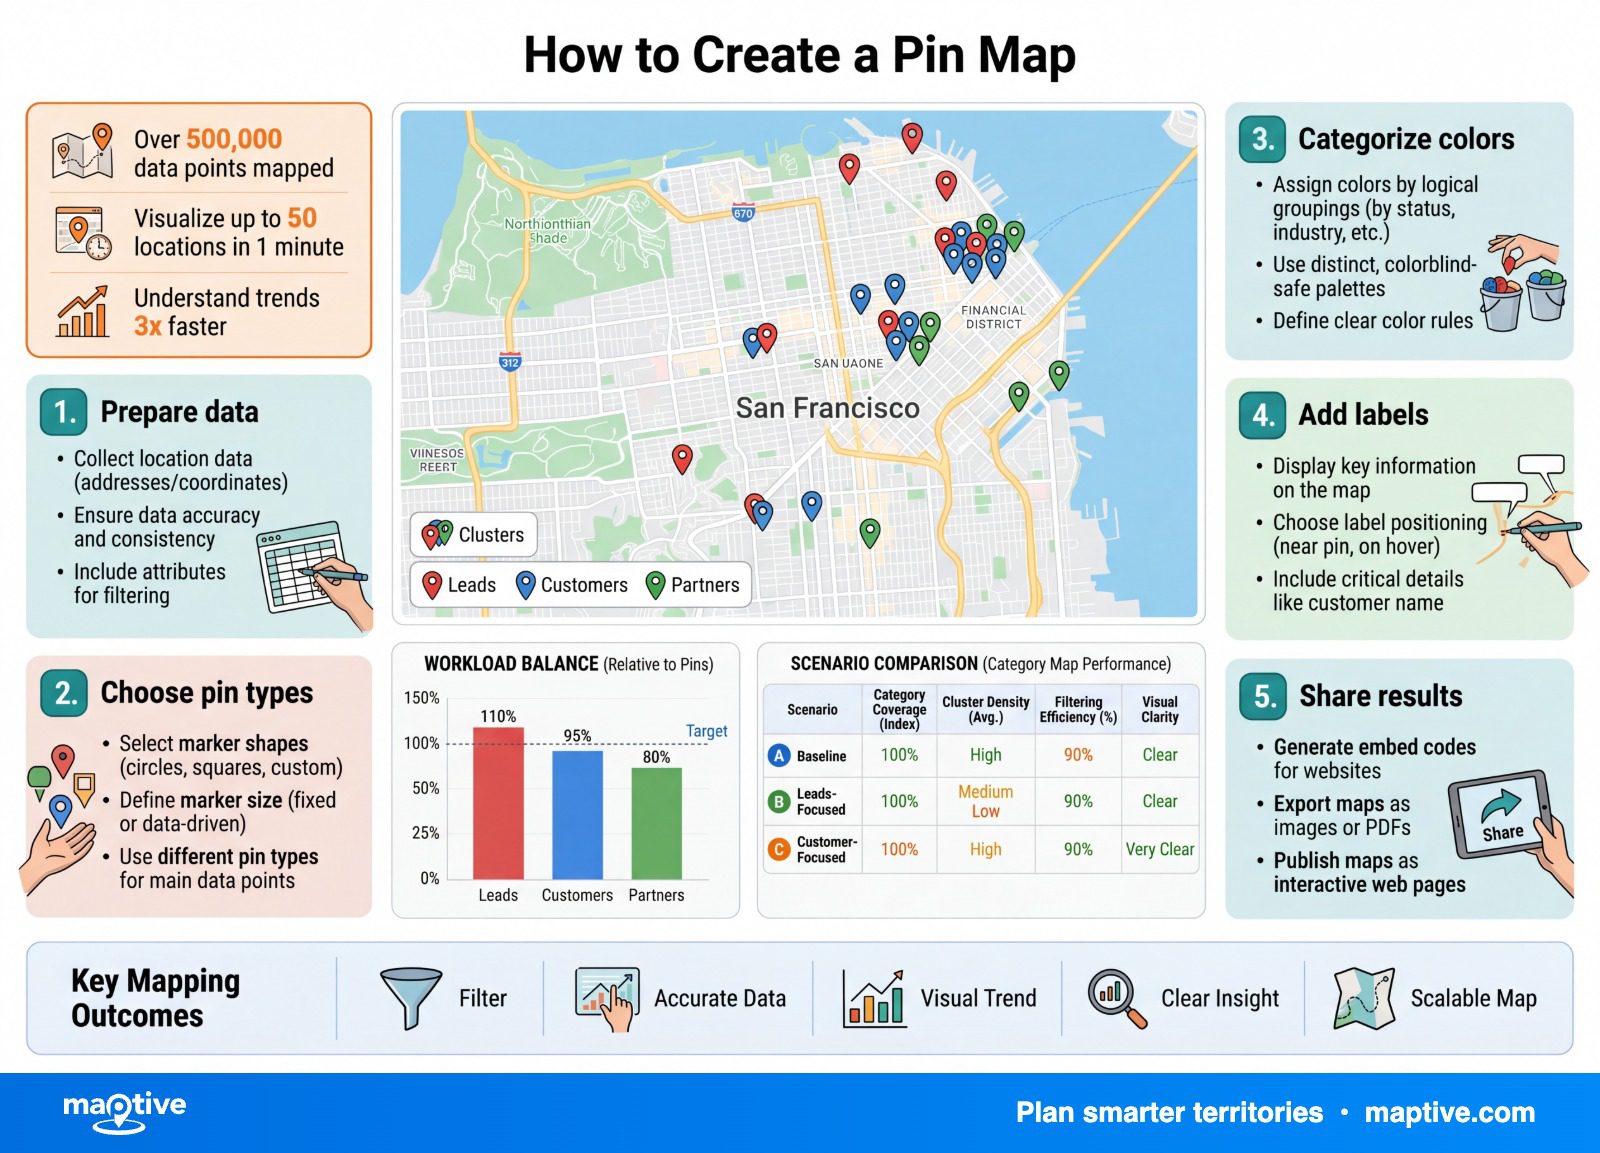
A pin map plots one marker for every row of location data, so each pin marks a single place, a store, an account, a delivery stop, a candidate site. Upload a spreadsheet of addresses and the tool drops the pins for you.
The map starts to do real work at the next step, when a pin’s color, icon, or size shows a piece of data on top of marking a spot. A bare pin only tells a reader that something is there, while a pin that encodes a second attribute lets them read the data off the map.
One Pin, One Place, Plus the Extra Attribute

A pin map is the on-screen heir to the cork-board map with pushpins in it, and it does the same job your old wall map did, only it holds far more and lets you ask more of it. Each record in your data becomes one point on the base map. Rows of addresses keep the pattern hidden, where a map shows where activity clusters and where it thins out.
The work of a good pin map happens after the points land. A reader looking at a field of identical markers learns only that you have locations, which they probably already knew. The map repays the effort once each pin says a second thing about the place it marks, its category, its status, its value, or its priority. That second channel of meaning is the whole reason to build a pin map, the thing the raw spreadsheet cannot show you, and almost every decision below is about choosing that channel well and protecting it through to the person who finally looks at the map.
Plotting Pins From a Spreadsheet

The build itself takes only a few steps. Upload or paste a spreadsheet whose rows hold either a street address or a latitude and longitude pair, and the tool geocodes the addresses into coordinates and drops one pin per row. Your column headers come in with the data, which matters more than it sounds, because every field you bring in is then available for labels, grouping, and the popup a reader opens on click. Bring in the columns you might want to show or sort by, not only the address.
One caution belongs here and then we can move on. The pins are only as well placed as the addresses behind them, so a wrong ZIP code or a unit number dropped into the wrong field can put a marker on the wrong block or fail to place it at all. Clean the address list before you plot it and the map you get back is the map you expected. After plotting, the map stays a working object you can keep changing. You can move a pin, remove one, regroup the set, and reload fresh data over the top of it.
Choosing the One Attribute a Marker Encodes
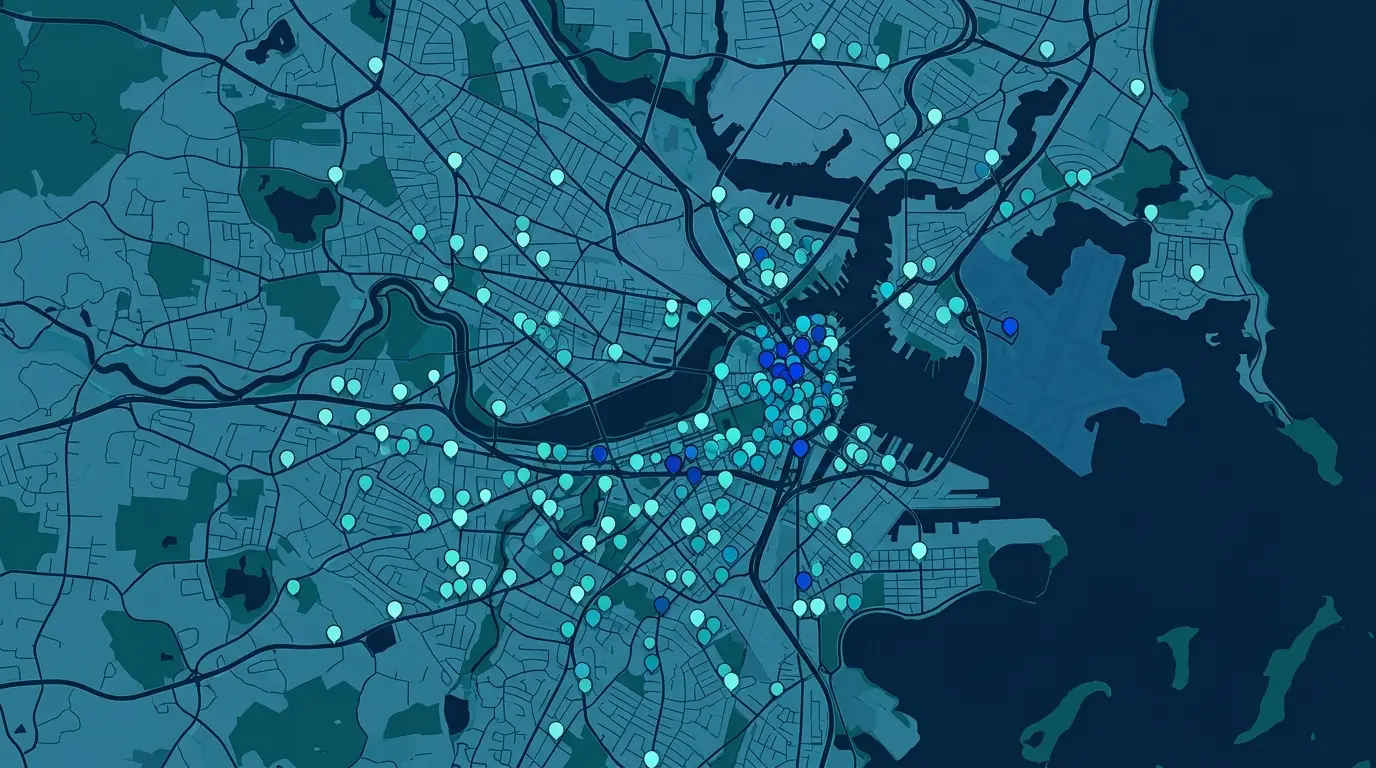
The single most consequential choice in the whole build is which column drives how a marker looks. A pin map can comfortably hold one attribute through color or icon, and a second through size, and that is roughly the ceiling before the map turns noisy and a reader stops trusting it. The question worth asking is which one or two attributes matter most for the decision the map has to support, more than the number you could technically encode. The four patterns below cover almost every business pin map, and each one fits a particular kind of column.
Icons for Category Columns
When the column sorts records into kinds, type of site, product line, segment, the strongest encoding is a distinct icon per value. A truck icon marks a vehicle, a cross marks a clinic, a storefront marks a store, and the icons themselves become the legend, so a reader understands the map before they have read a word of the key. Custom images and company logos work here too, with one constraint worth respecting. Pins render small on a map, so a detailed logo turns to mush at that size. Bold, simple shapes hold up, a transparent PNG around 50 pixels wide is a safe target, and keeping the familiar pin shape with a point at the bottom helps the icon still read as a pin and not a sticker dropped on the map.
Color for Status Columns
Records that move through a fixed set of states, open, in progress, closed, are what color was made for. Group the rows by that status and give each group its own color. A field team can pick up the triage view in a glance and sort their day before they leave the office. Color is the right channel for status because status is a small, fixed set of states and color reads instantly across a whole map. The one trap in color-coding a status map is common enough that it gets its own treatment further down, so hold the instinct to reach for red and green until then.
Sizing Markers by a Numeric Column
For a numeric column, revenue, headcount, seats, let marker size show the magnitude. Group the rows into bands and assign a larger marker to the top band, so the biggest accounts visibly outweigh the rest. Size pairs cleanly with color, which is how a single map can show two dimensions at once, a color for region and a size for revenue, without crowding either. A bubble map, where the marker scales smoothly with the value, is the close relative when you want the size to track the number itself, scaling past the banded steps to follow each exact figure.
Flagging Priority Records
When a handful of records matter more than the rest, a VIP account, a flagged prospect, a site under review, give those rows a star or a visibly different pin so they pop out of any cluster. The point of the flag is that it stays visible when the map is busy and stays in the key, so a reader scanning a dense map still finds the few points you most wanted them to see.
Three Pin-Styling Mistakes
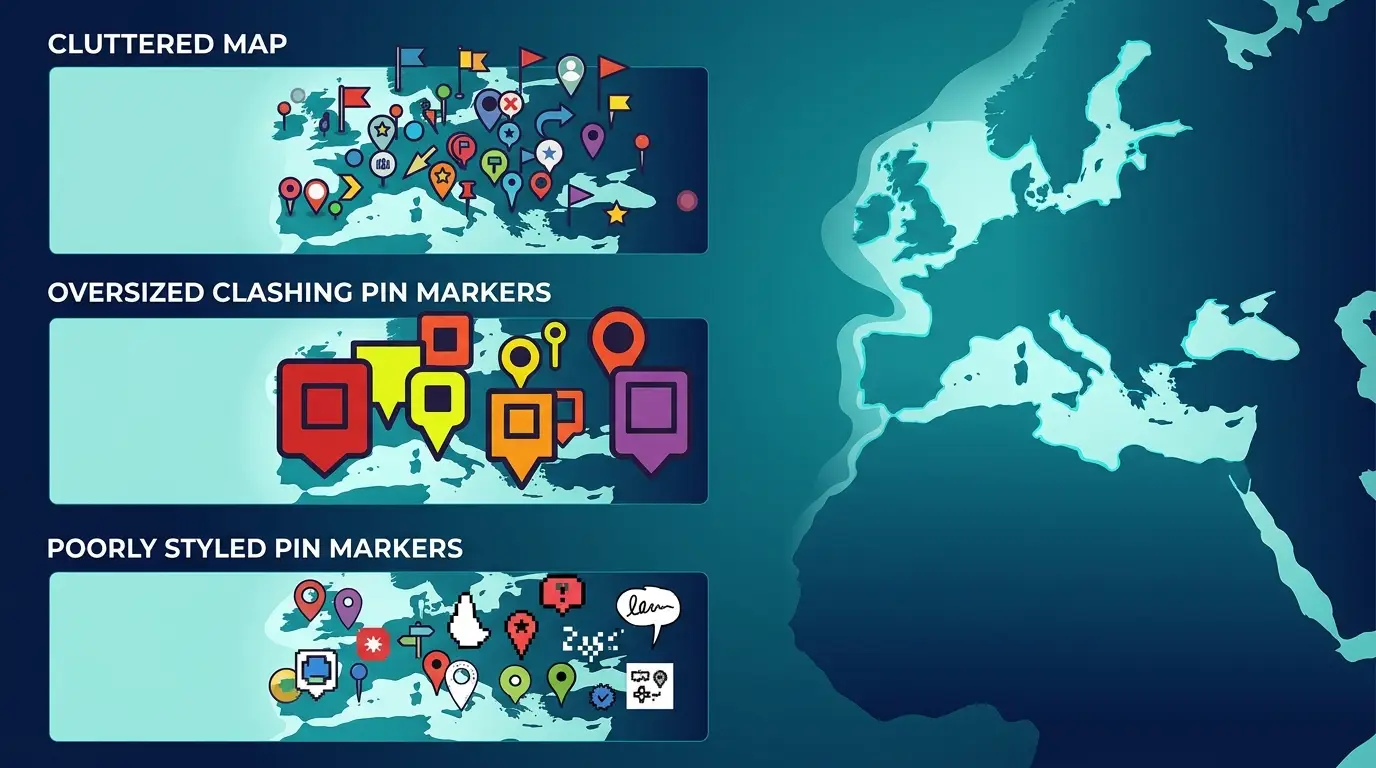
Three habits look productive while you work and leave the map unreadable to everyone but you. Each one is worth naming, because each is the kind of thing nobody warns you about until you have already lost an afternoon to it.
Styling Pins One at a Time
Clicking a single pin and recoloring it looks like progress while you work, and it is the one styling move that does not last. A change made to an individual marker does not show up in the map key, so a colleague opening your map sees a colored pin with no entry in the legend to explain it. Worse, that edit is overwritten the next time the data reloads, so the work disappears the moment the underlying spreadsheet refreshes. The durable path is grouping. When you style through Maptive’s grouping and colored-pins tools, the styling stays with the group across reloads and appears in the legend for every reader. Single-pin edits have a place for a quick test or a one-off fix you do not need to keep, and that is the whole of their place. Anything meant to be seen belongs on the group.
The Red-Green Status Map
The instinctive palette for a status map is the stoplight, red for stalled, green for good, because that is what a stoplight does for you. For part of your audience it collapses. Red and green look identical to the most common forms of color blindness, so the contrast the map is built on vanishes for some of the people you hand it to. Blue and orange separate cleanly for almost everyone, a thin white outline holds each marker against any base map, and using marker shape as a second channel means meaning never rides on color alone. Color also has a ceiling on count. Readers can reliably tell apart only about a dozen colors, and fewer is easier, so once a category column runs past that, the answer is to consolidate the categories, switch to icons, or filter down to a few groups at a time rather than reach for more shades.
Pins Stacked on One Address
Several accounts at one office address, several stops at one depot, and only the top pin shows. People expect zoom to solve this, and it does not, because the pins occupy the exact same coordinate and clustering will not let a reader see or click the one underneath even at full zoom. The fix is to fan the stack apart. Spiderfy springs the overlapping pins into a small circle or spiral, each one tethered to the shared point by a thin line, so every pin becomes clickable while the location context stays intact. Displacing the markers slightly does the same job by nudging each off the shared point. This is a different problem from a map that simply holds too many pins across a wide area, and it needs this specific fix rather than clustering.
Curating the Popup

A pin’s popup can surface any column in your source data, which is why deciding what it shows is real work. Left alone, the info window happily lists every field, and a reader has to hunt for the address among internal IDs and empty columns. The discipline is to turn most fields off. A well-built public-access map, for instance, shows an address, the type of access, and a single photo, and deliberately hides the rest, because the extra fields bury the few that matter. Popups can hold more than text, with images, a small chart, or a link, and that range is all the more reason for restraint. Show the reader the handful of things they opened the pin to learn, and leave the rest in the data where it belongs.
Scaling Pins and the Handoff
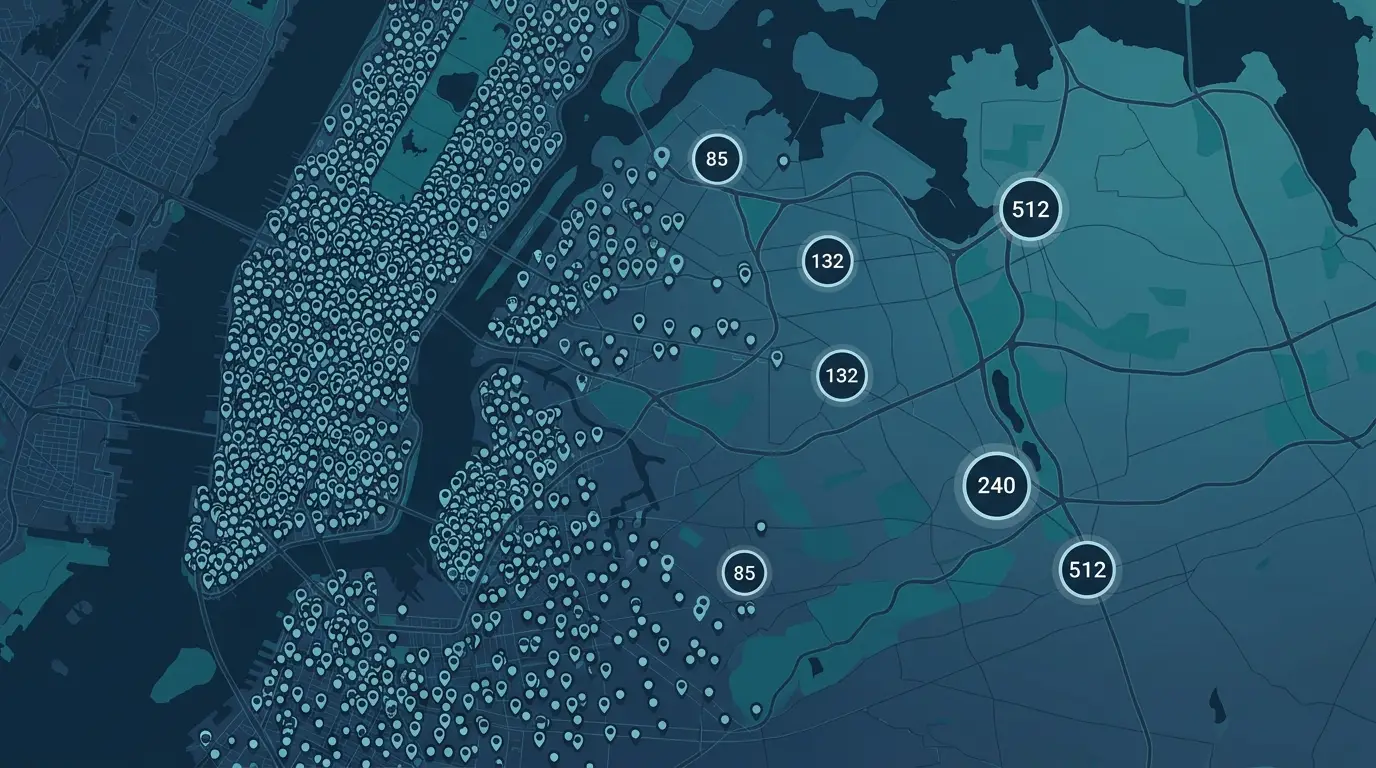
As the point count climbs, the map starts to work against you. A few dozen pins read fine, a few hundred begin to overlap, and a full account export of thousands can bog the map down and hide the pattern under a wall of markers. Clustering helps by collapsing nearby pins into a numbered bubble that splits as you zoom, which keeps both readability and performance in hand. There is a point past that, though, where individual identity stops mattering and only the density does, and at that point the honest move is to stop rendering thousands of markers and switch to a heat or density layer that draws the pattern directly. Keep pins when a reader needs to click and identify a single record. When the overlap starts hiding the pattern you wanted to show, switch to a density view instead.
All of this matters because of what happens at the end, when the map leaves your screen. A pin map usually ends as a shared artifact, a live link with controlled menus for viewers, an embed on a page, or an exported image for a slide. The styling and the legend have to survive that handoff, and only the styling you built through groups appears in the map key every viewer sees. That is the practical reason grouping is worth the small extra effort over editing pins by hand. A pin map you can hand to a colleague who reads it on their own is one where every marker says a second thing about its place and the legend carries that meaning all the way to their screen.