Share, Embed, & Export Custom Maps
Send a live map link to anyone, drop an interactive map on a website page, or push the data behind a filtered view out to a file. Maptive keeps the 3 handoffs in 1 panel.
Maps Shared, Embedded, Sent Anywhere
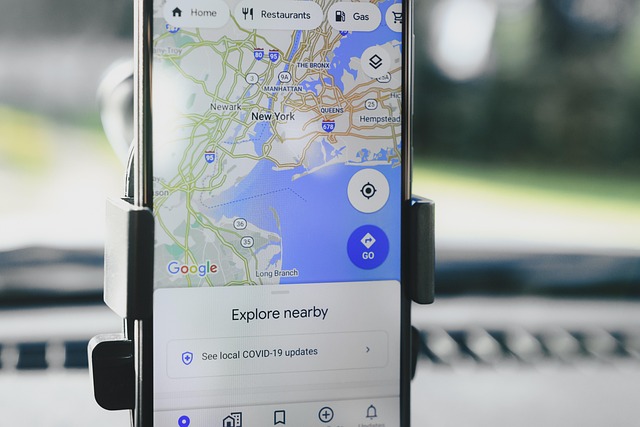
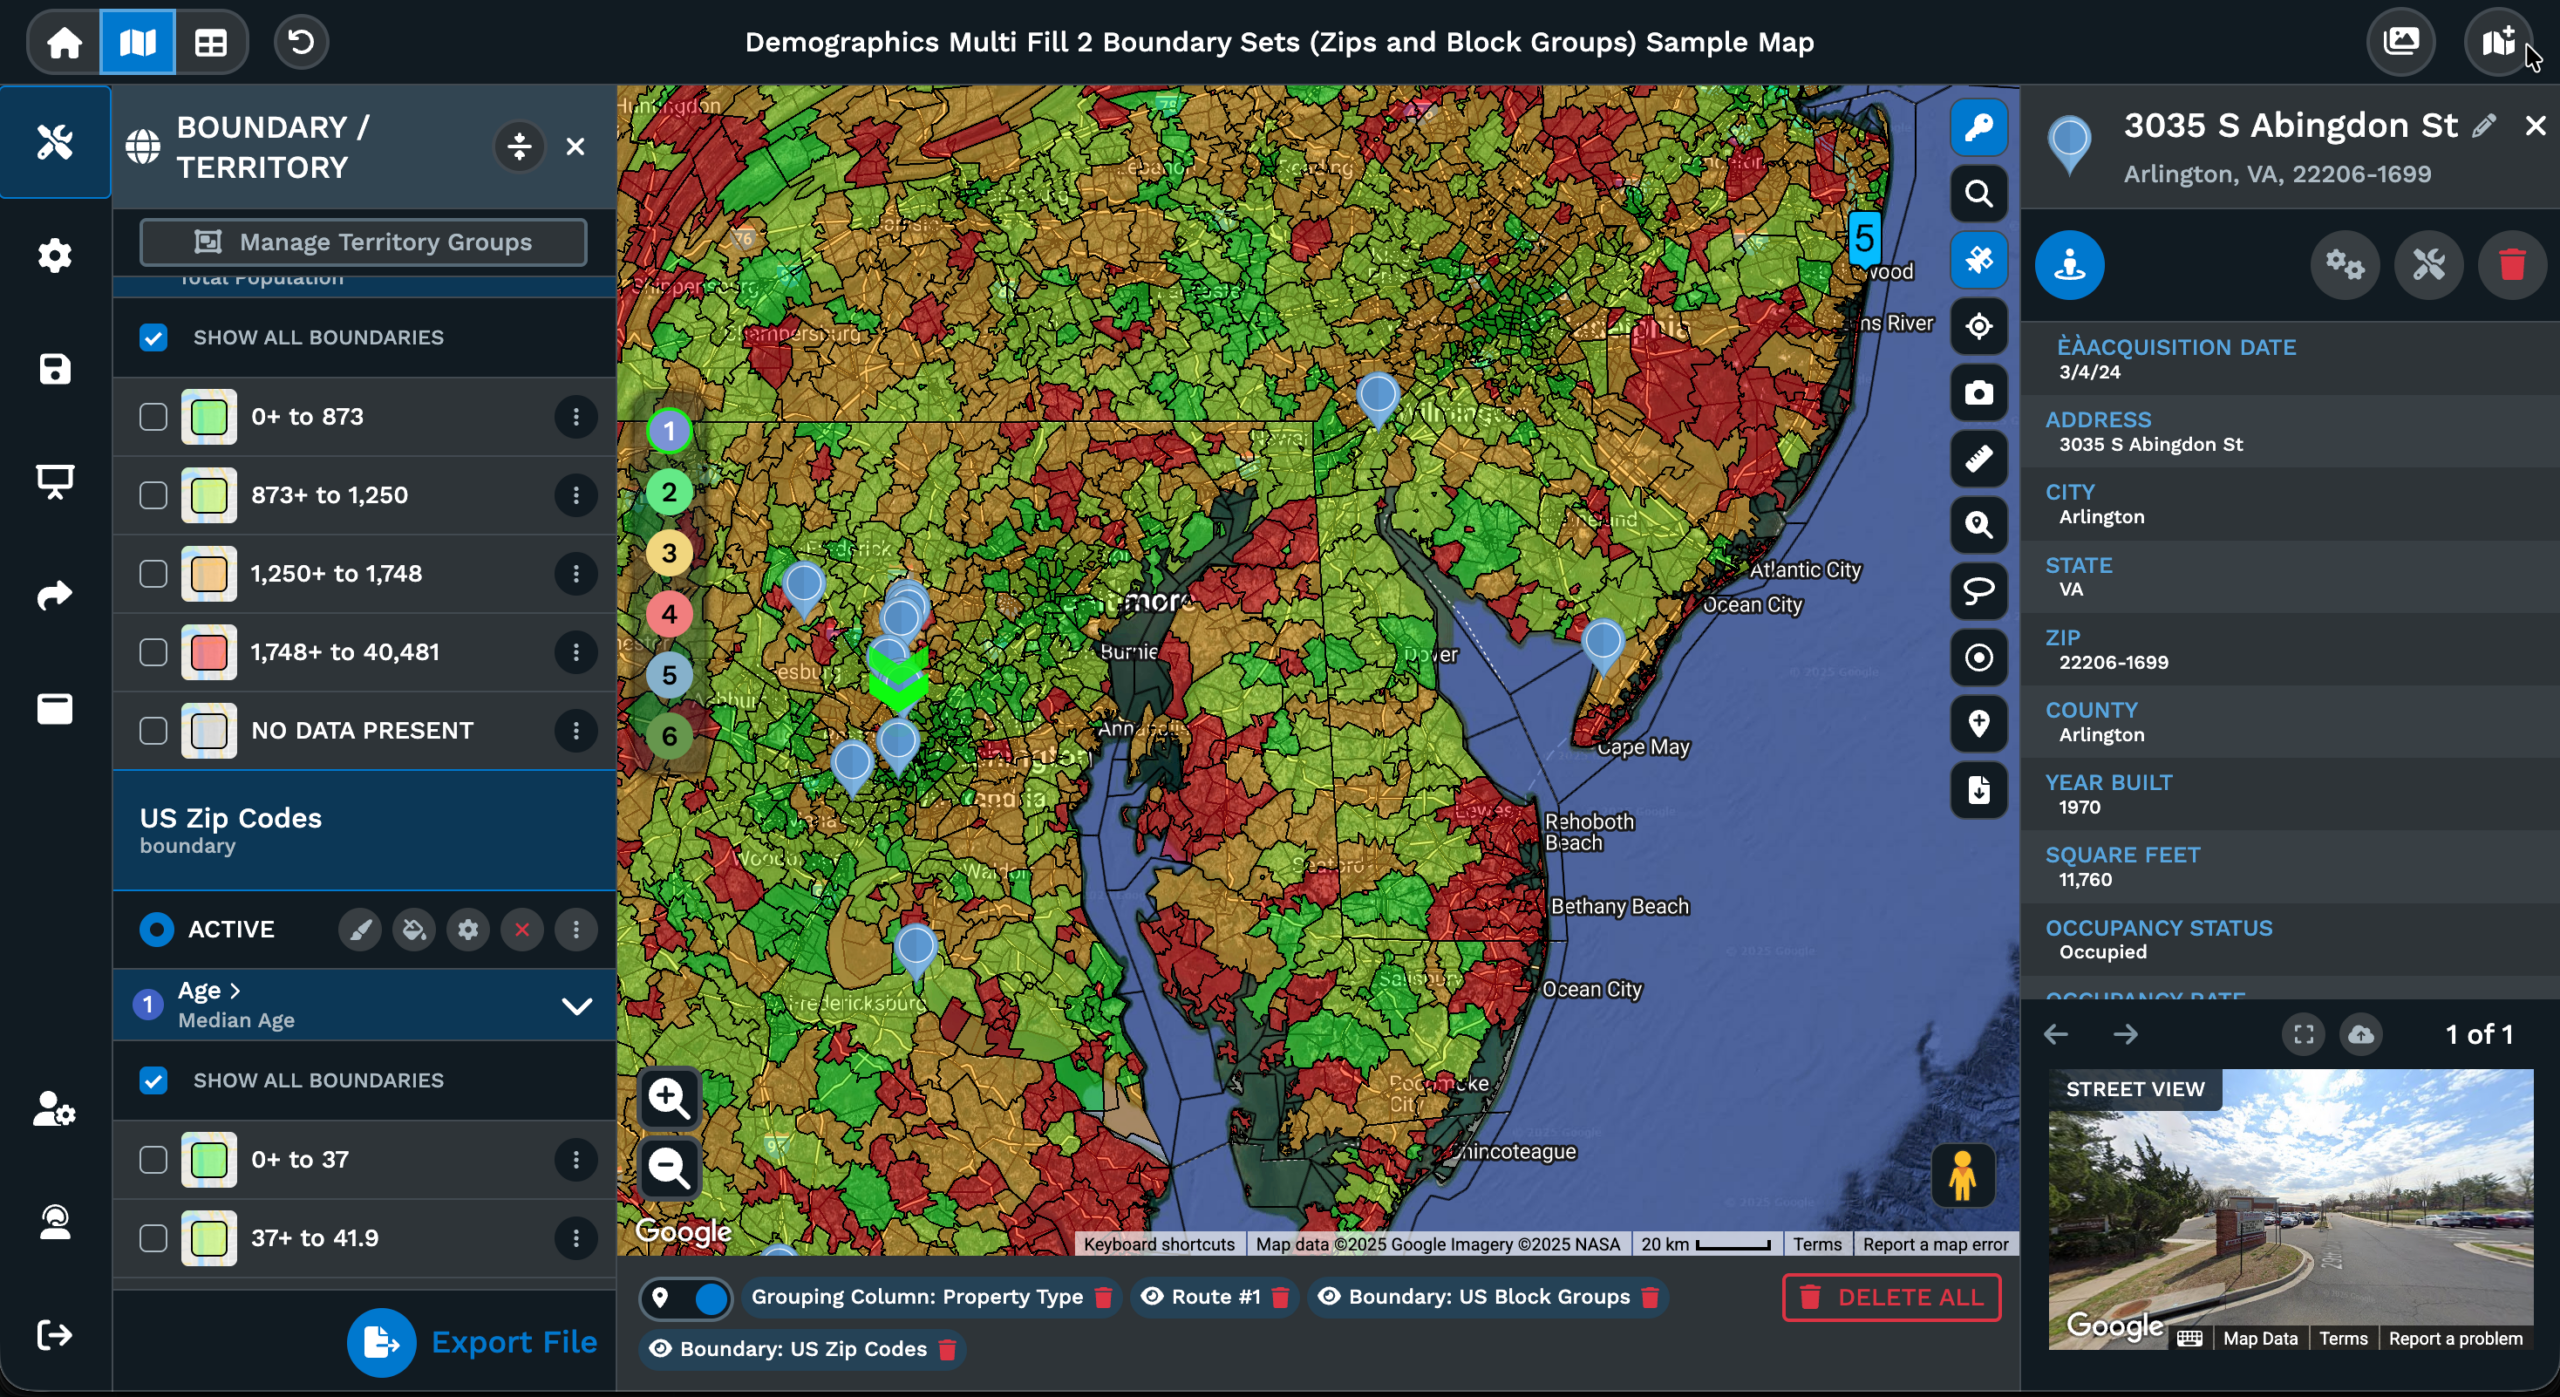
Share icon: Sits on the left-hand column of the map and opens a window where you pick a privacy level, a starting view, and a sharing method for the link you hand off.
Privacy options: Password Protected and Public are the 2 levels you pick before a map link or embed code is generated for the audience that opens it on the other end.
Starting Map view: Send the primary default view or send your current view with filters, routes, and zoom levels in place, or name a new map view before the link is built.
Sharing method: Send the link straight from the share window using the email option, or hit Copy to drop the URL into a chat thread, a doc, or a ticket on the way out.
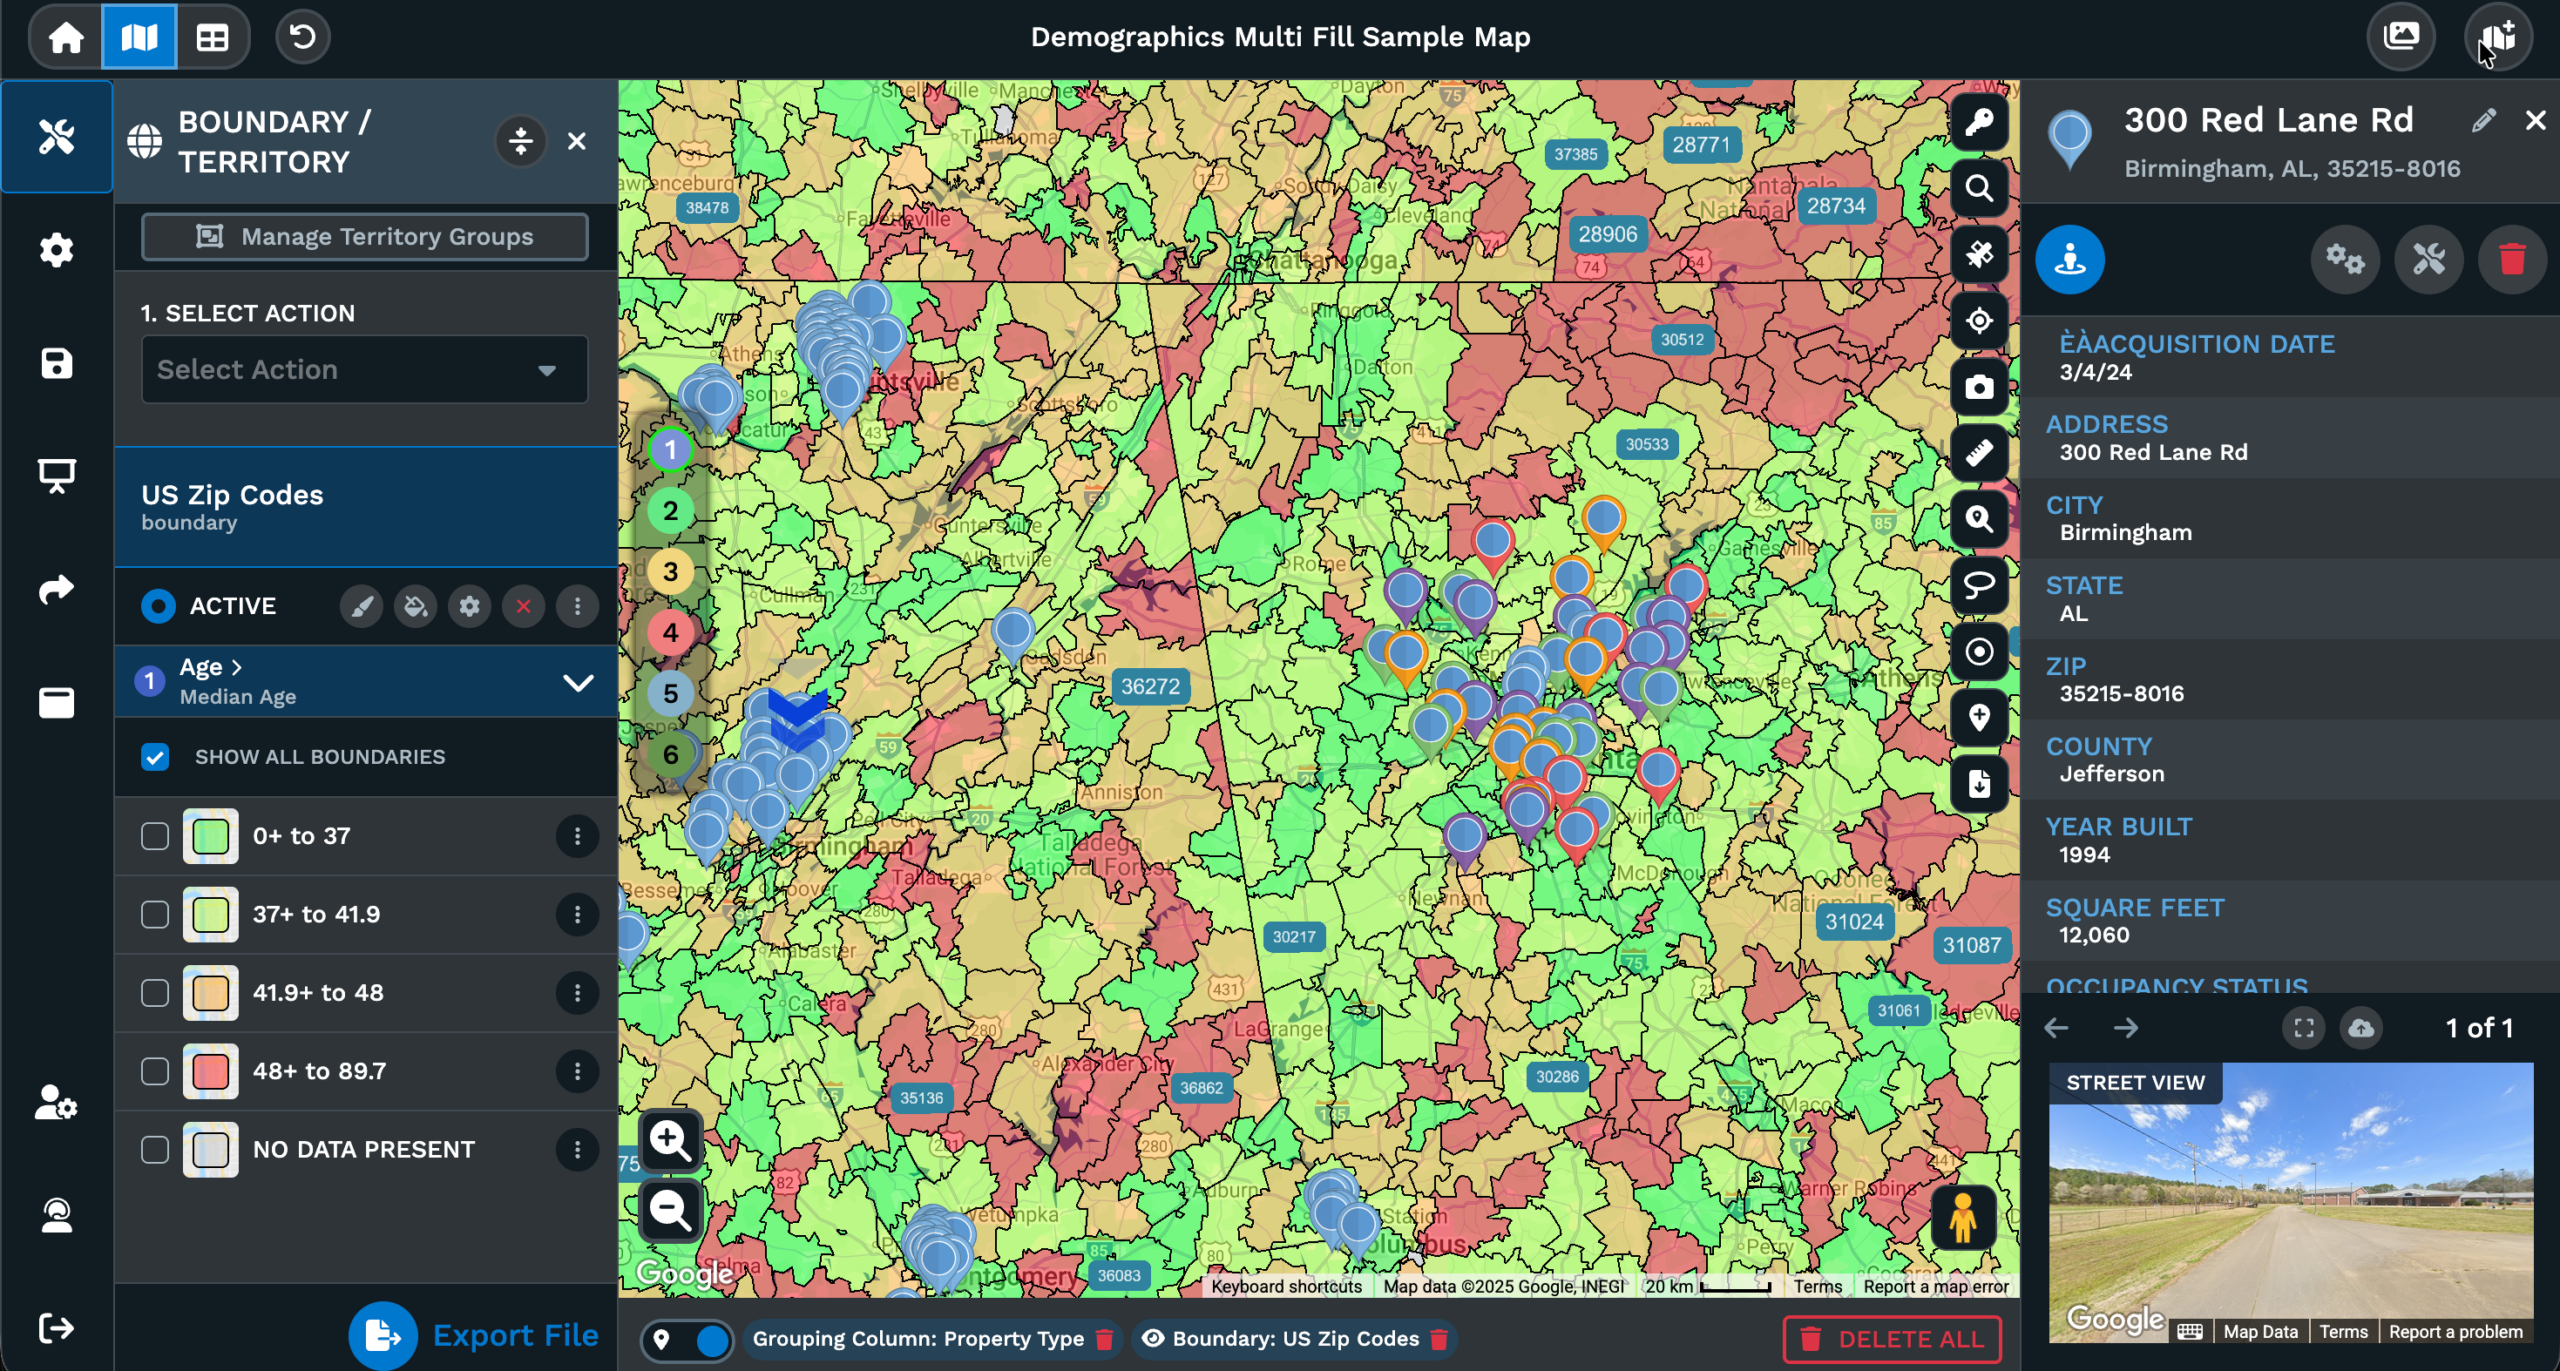
Embed Map option: Found under Settings, then Shared/Display Maps, which opens a window with privacy, width, and height controls plus the embed code for your site or blog.
Export Data icon: Lives on the right-hand side of the map and writes a .xlsx, .tsv, or .csv file, or sends rows to the clipboard, ready for paste-in to the next tool.
Share Your Map in 3 Steps
1
Pick
Click the Share icon on the left-hand column of your map, then select Password Protected or Public as the privacy level.
2
Choose
Select the starting Map view: the primary default, or your current view with filters, routes, and zoom levels in place.
3
Share
The recipient clicks the link and gets the live map at its current state, with the privacy and starting view in place.
Live Link Replaces Screenshots
Interactive Map on Site
Filtered Lists for Handoff
Slide-Ready Map Image
PDF for Offline Review
Access Set by Map
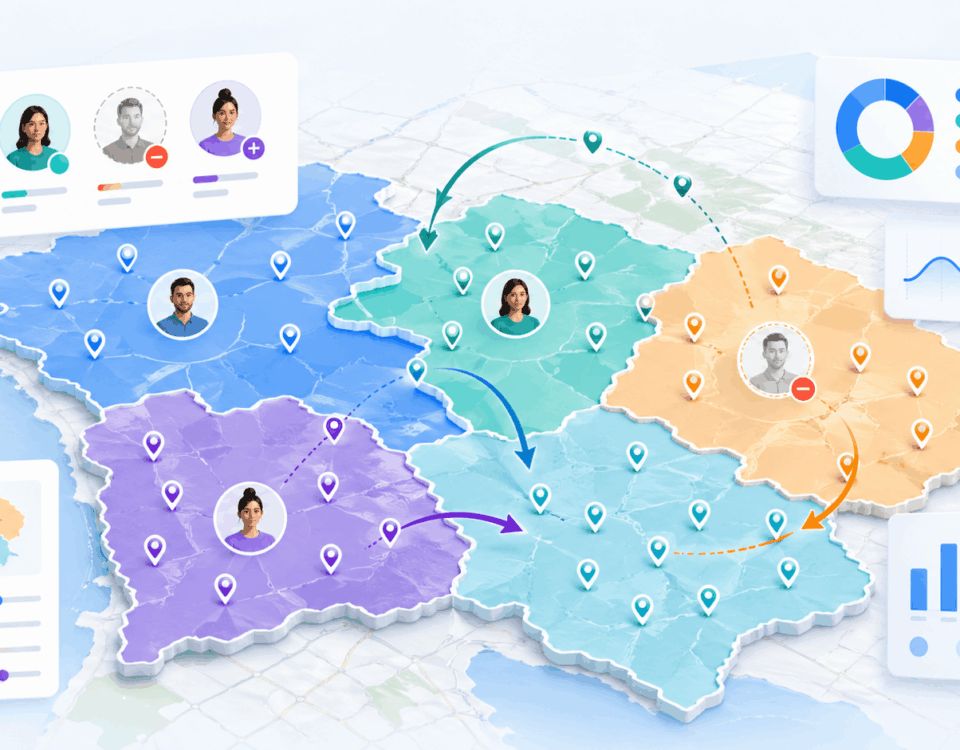
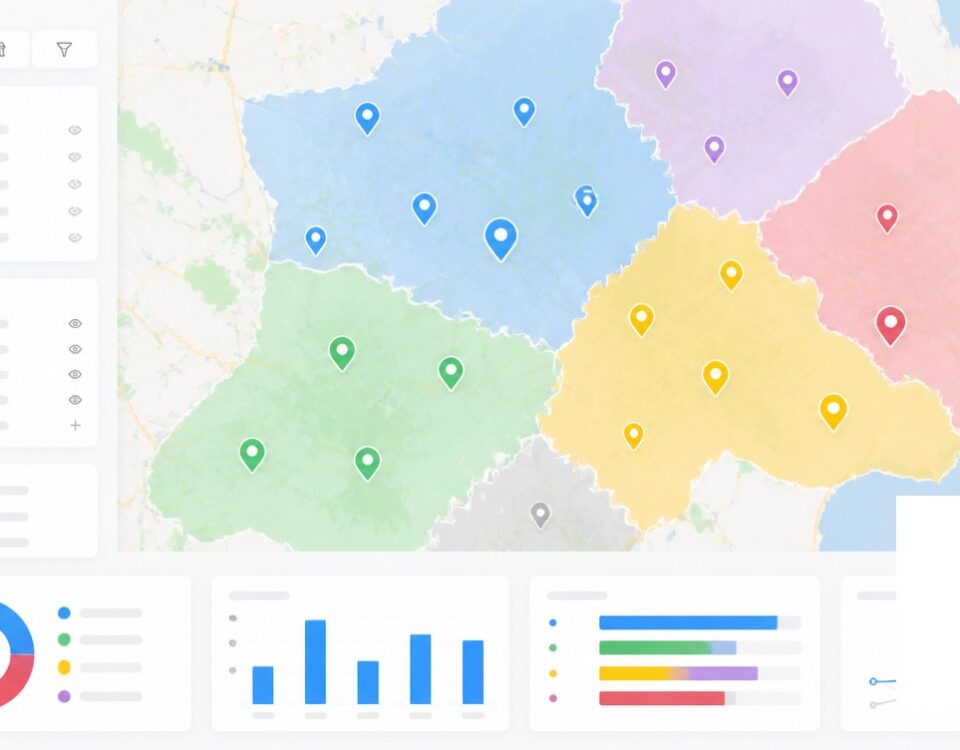
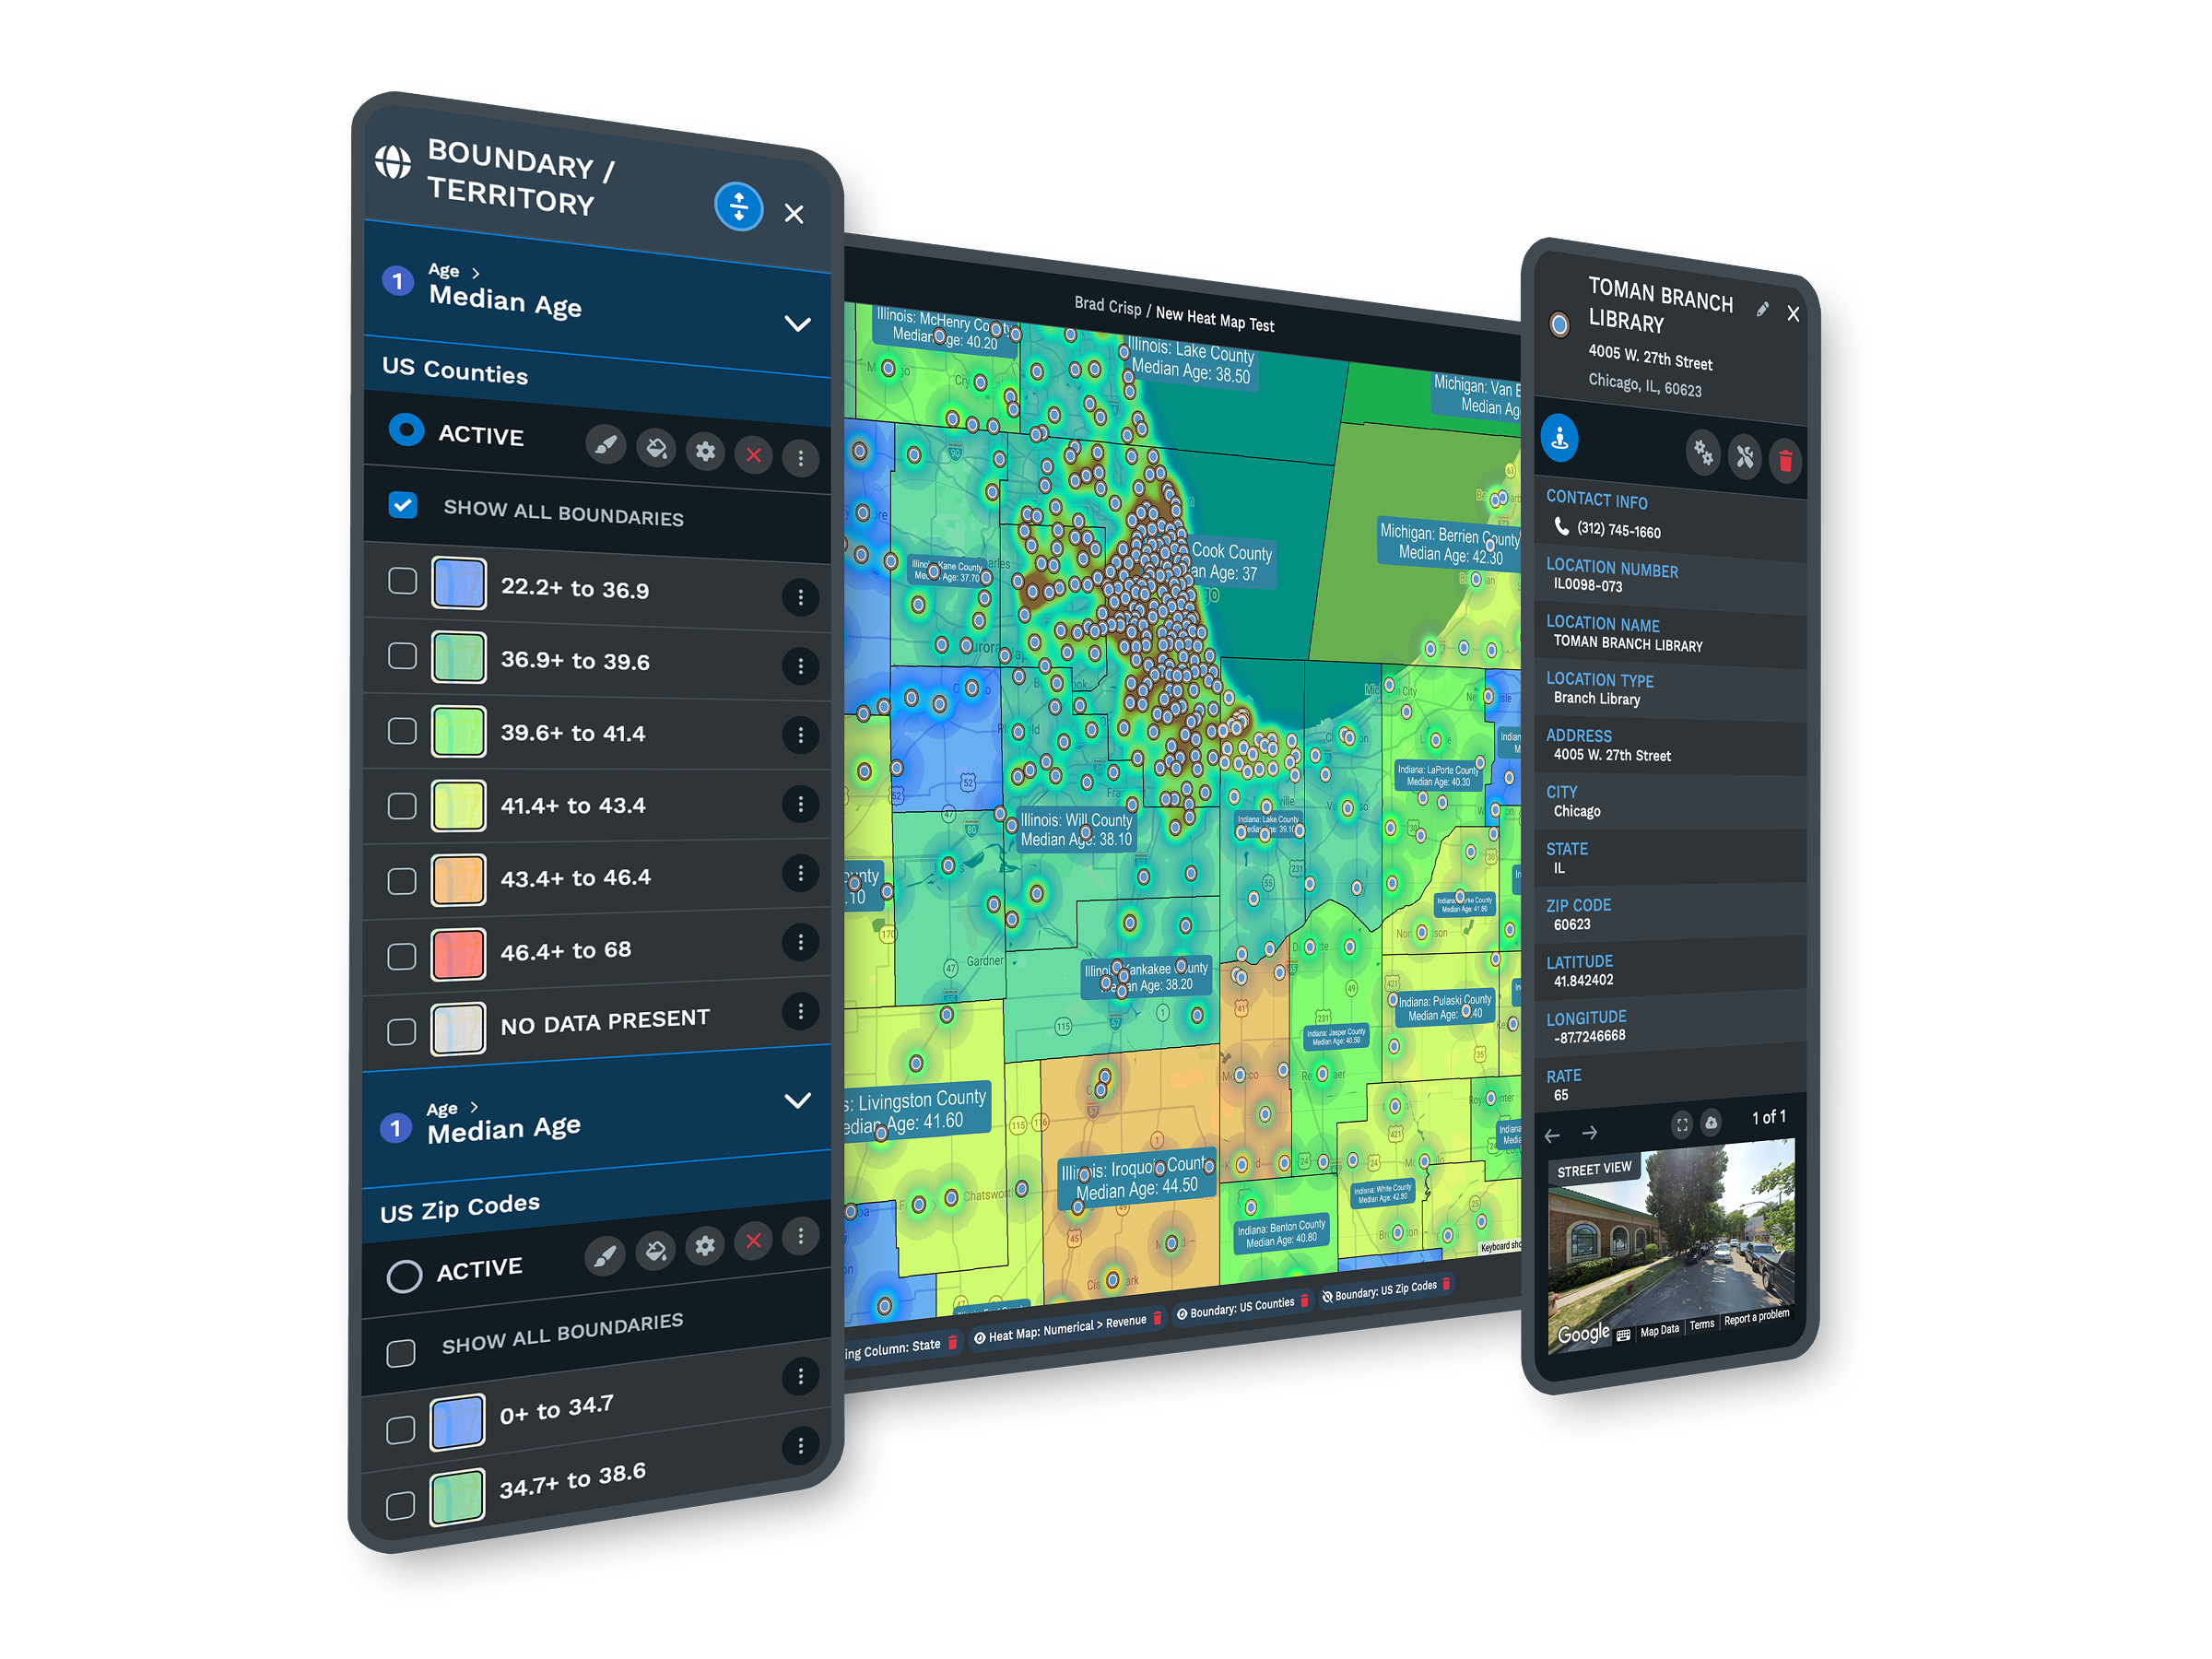
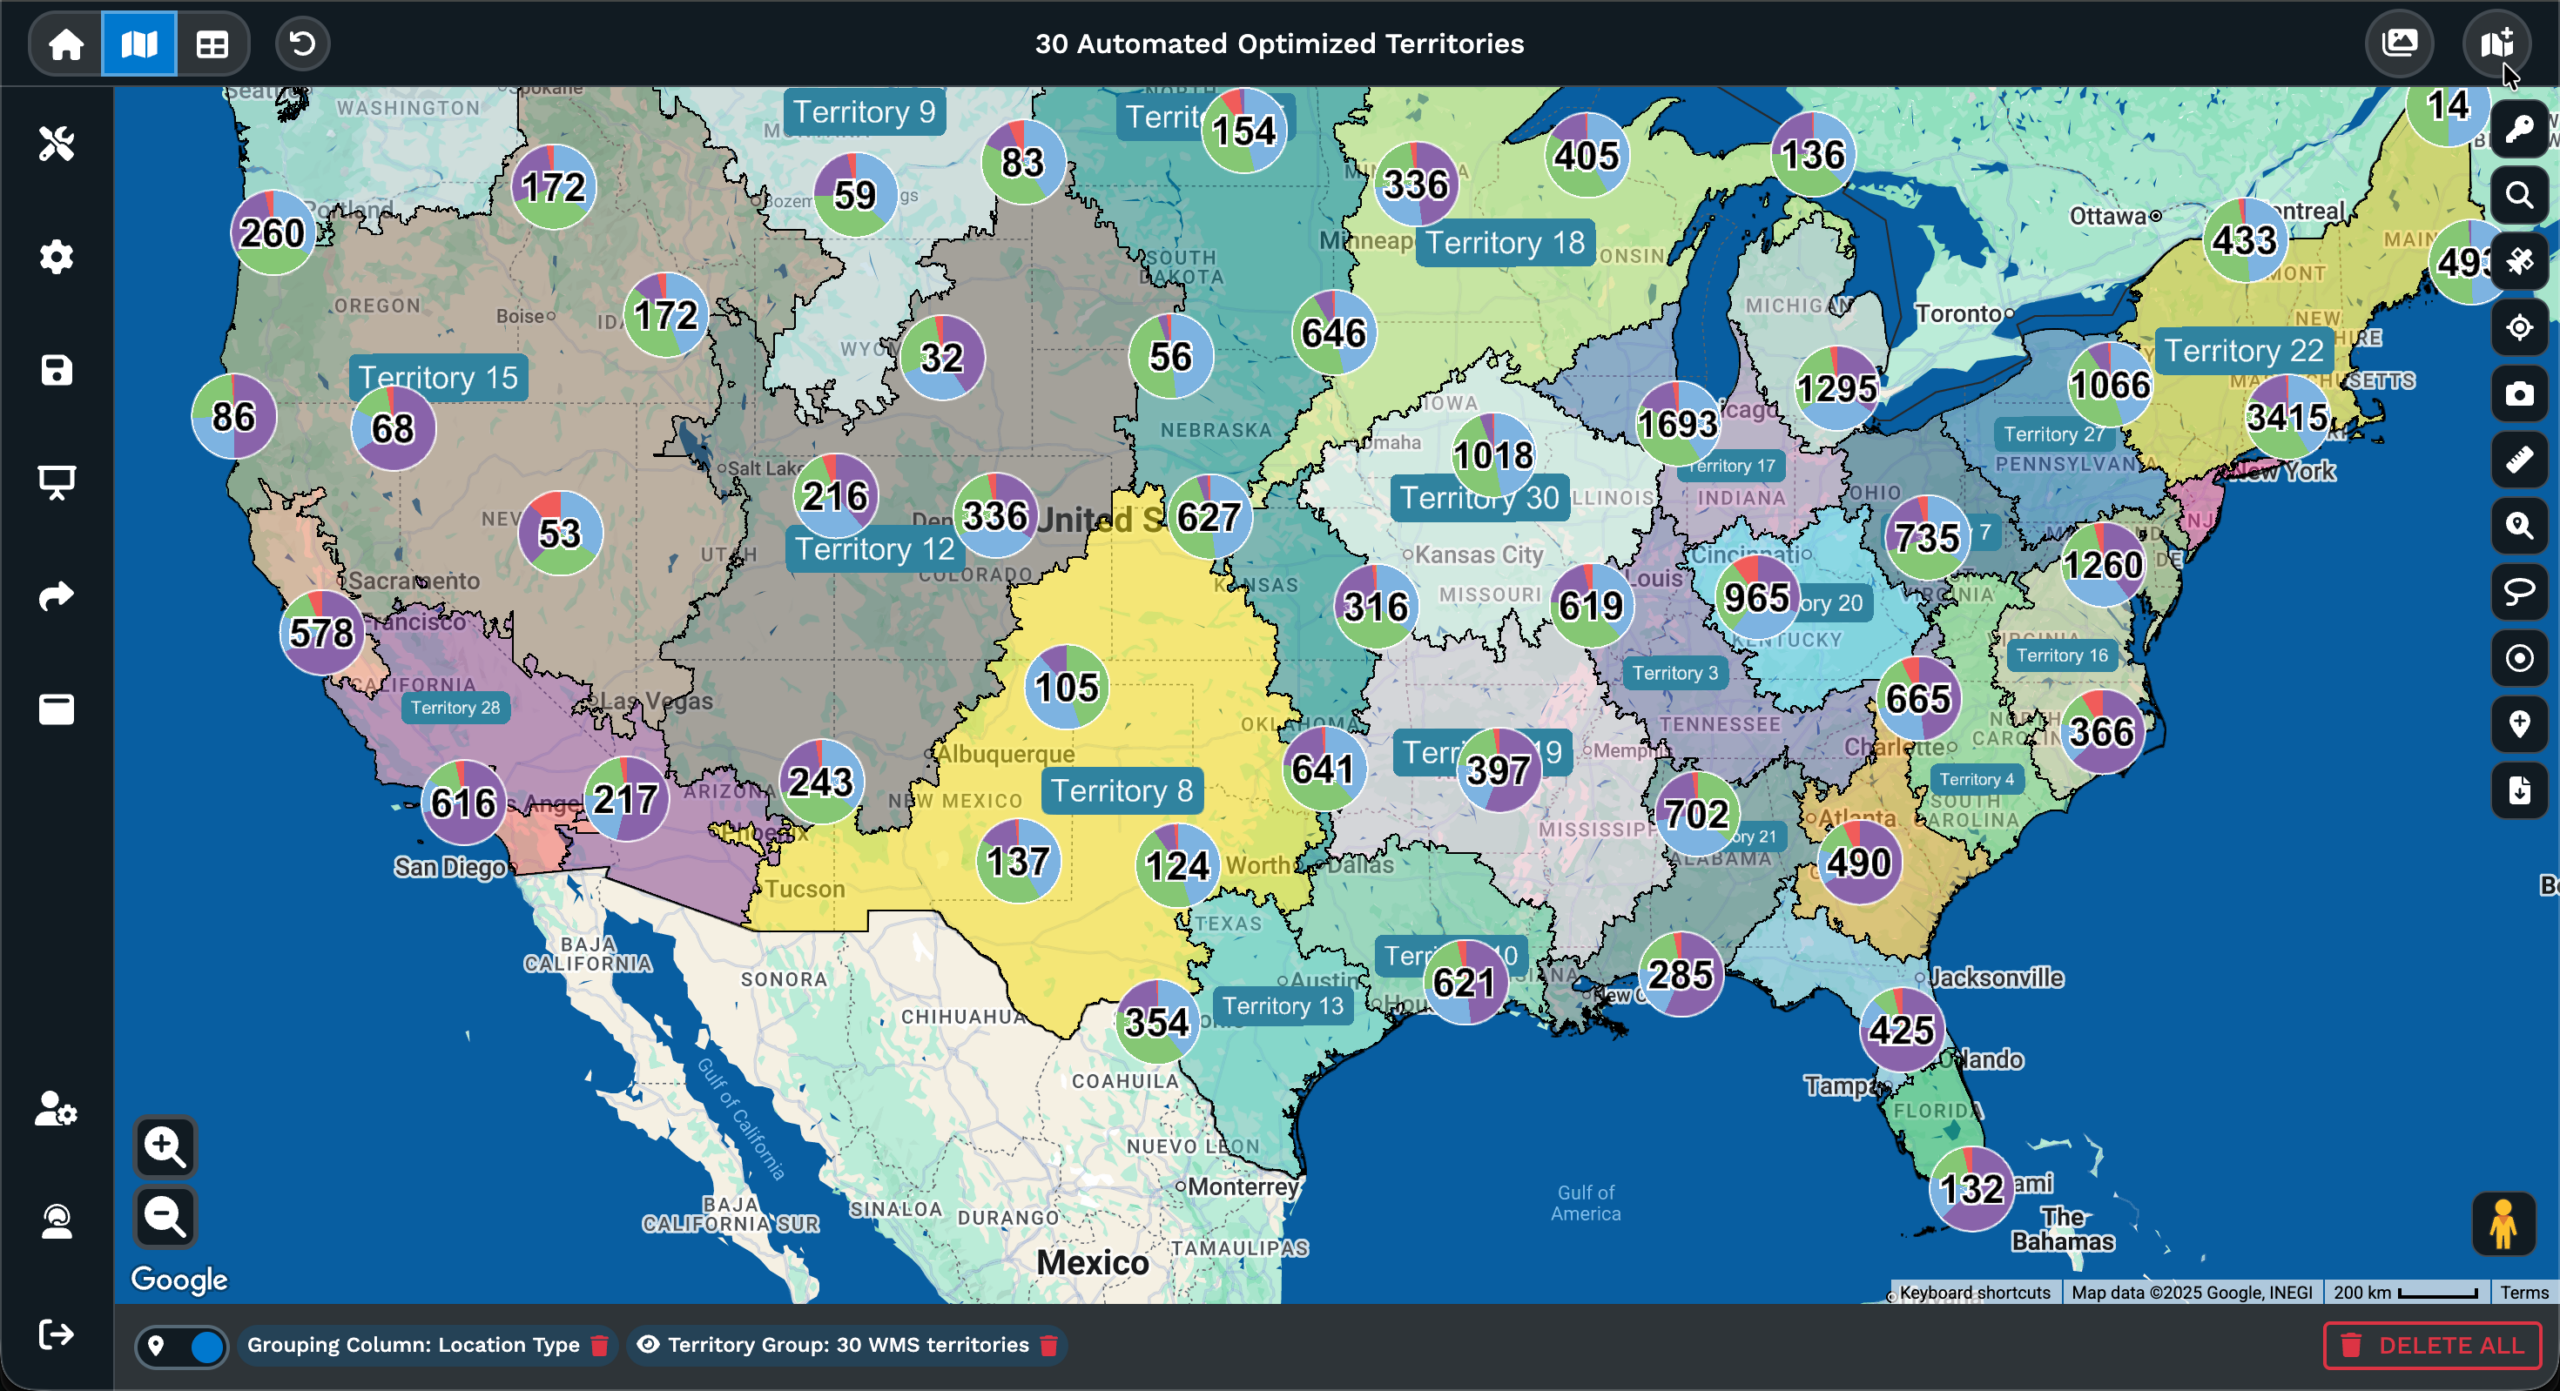
Map Sharing and Export Patterns
Live Map Sharing Setup
The Share icon on the left-hand column of your map is the starting point for any link you send out of the app. Click it, and a window opens with the privacy, starting view, and sharing controls in 1 place. Password Protected and Public are the 2 privacy levels available, and you pick the level that fits who should see the data on the other end of the link you generate.
The starting Map view step decides what the recipient sees first when the URL loads in a browser. You can send the primary default map, or you can send your current view with the filters, routes, and zoom levels already applied. If you want a named view that survives later edits, the dialog lets you Create a Map View and give it a new name before the link is built. That kept view is what loads when the link opens.
The sharing method step gives you 2 options for getting the URL out. Use the email link option to send the URL out of the share window straight to the recipient, or hit Copy to put the URL on your clipboard for pasting into a chat thread, a doc, a ticket, or any tool that takes a URL. The recipient opens the link and sees the map as it stands at that moment, with the privacy and view settings you picked in place.
Embedding a Live Map
The Embed Map option lives under the Settings icon on the left side of your map. Click Settings, click Shared/Display Maps from the menu options, then scroll down and click Open next to the Embed Map option. A window opens with the same privacy controls as the share link, plus a width field and a height field you can change from the default sizes that Maptive fills in for you.
Privacy works the same way as with the share link from the Share icon. Password Protected gates the embedded map behind a password the visitor types in before the map renders, and Public lets any site visitor load the map and pan, click, and explore on their own. The width and height fields let you size the embed to fit a page column, a hero block, or a full-width section, so the map fits the space on the page.
Once the privacy and the size are set, copy the embed code from the window and paste it into the page of your website or blog where the map should appear. The embedded map stays tied to the source map in Maptive. When you update the underlying data, change a filter, or tweak a marker style, the embedded version picks up the new state, so your public-facing page never drifts from what you have in Maptive.
Exporting Data and Images
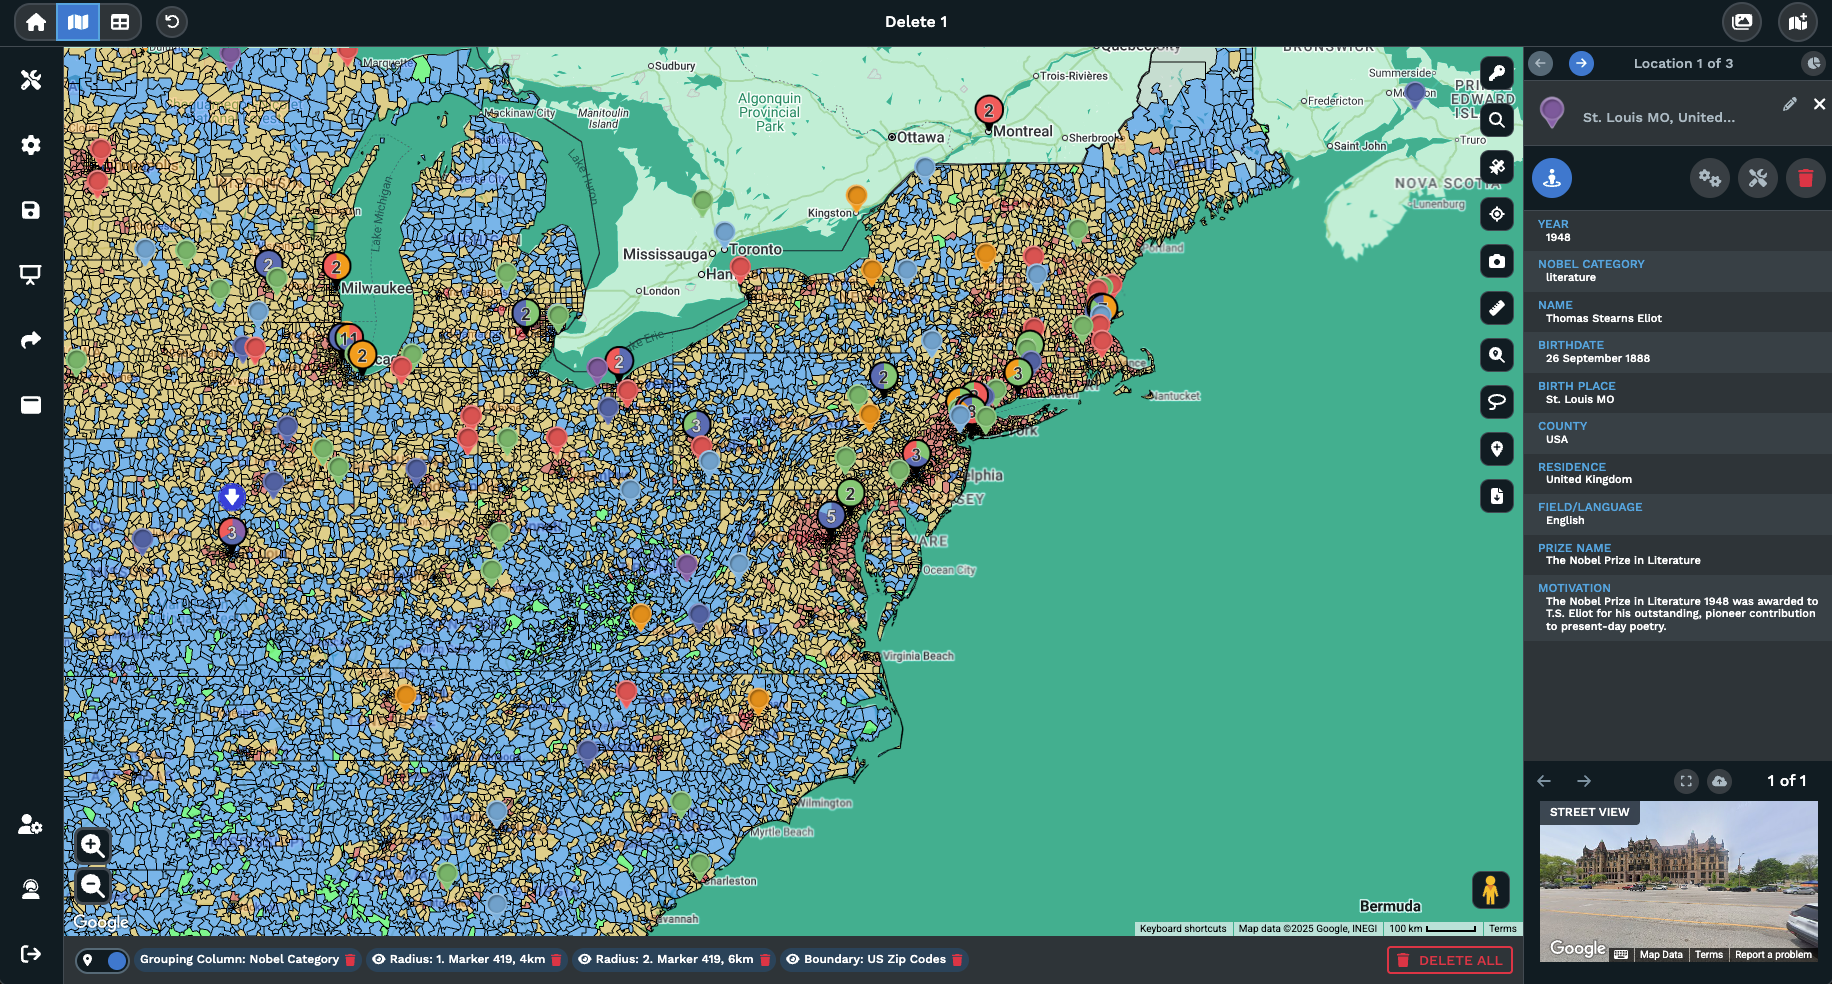
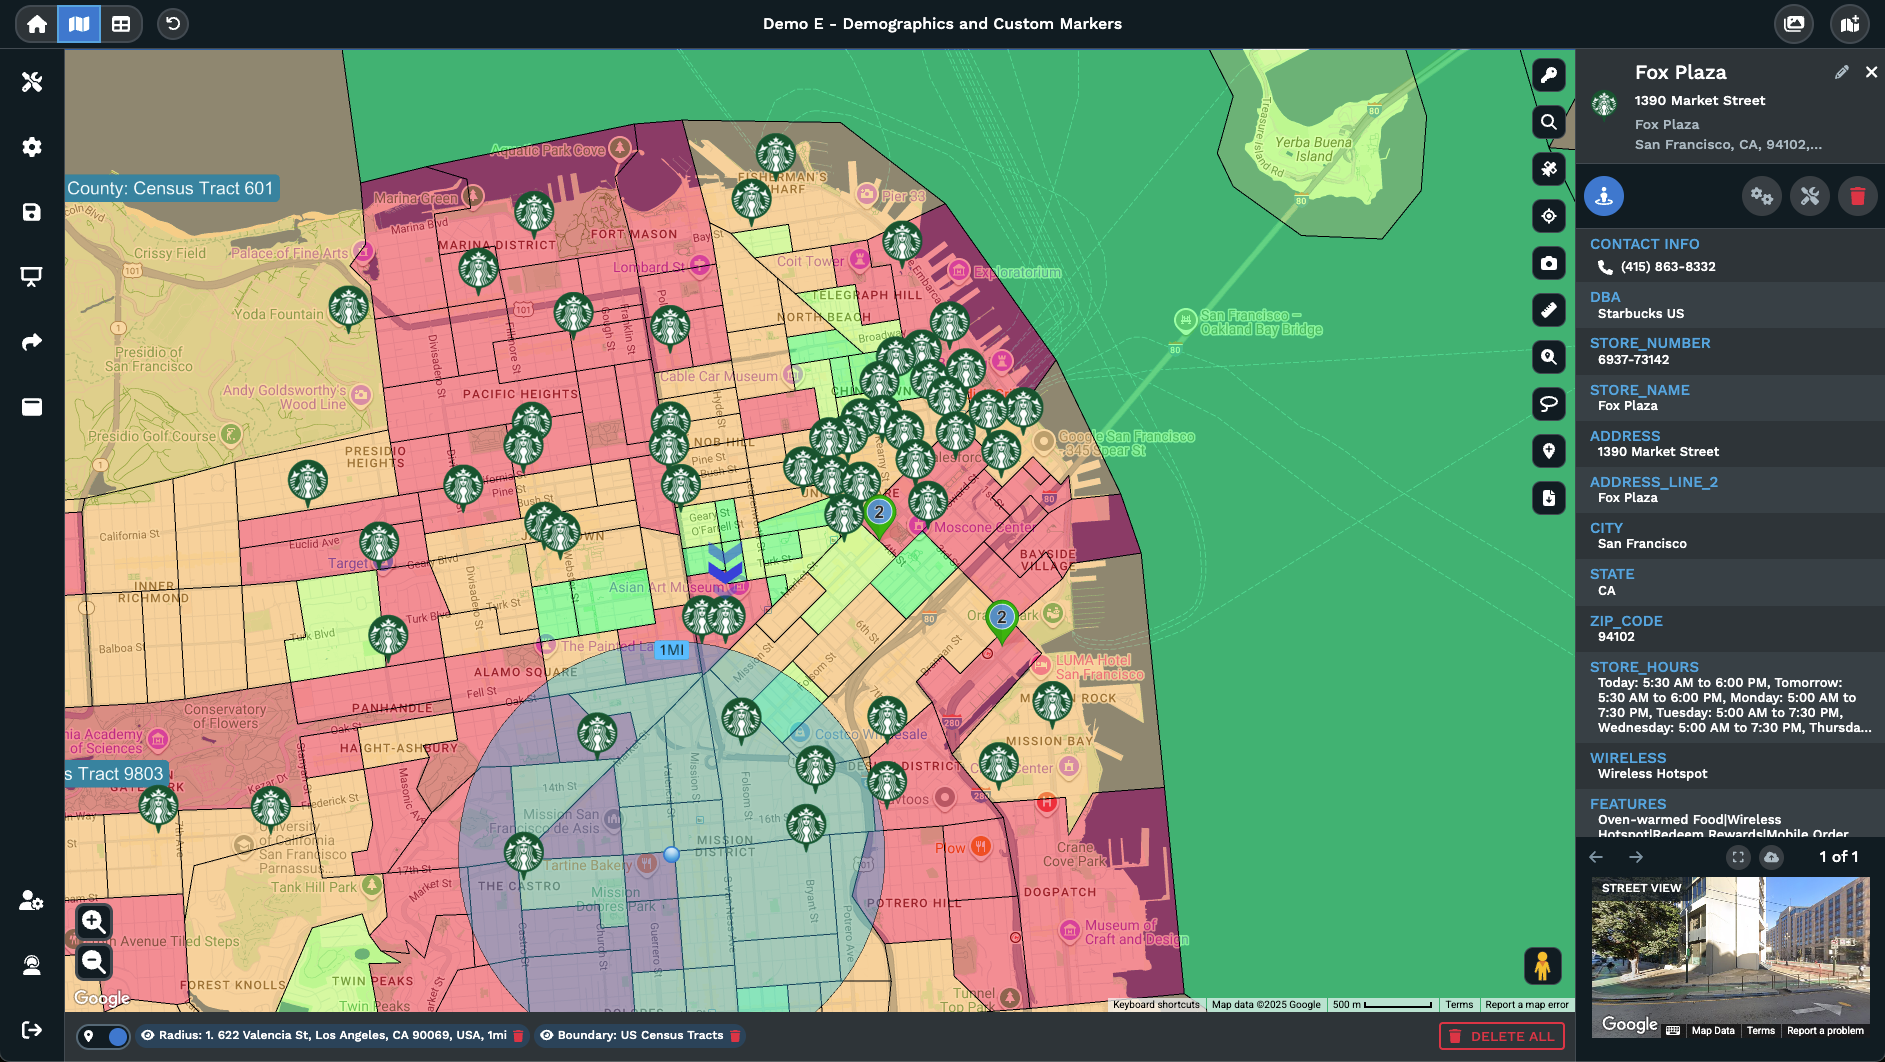
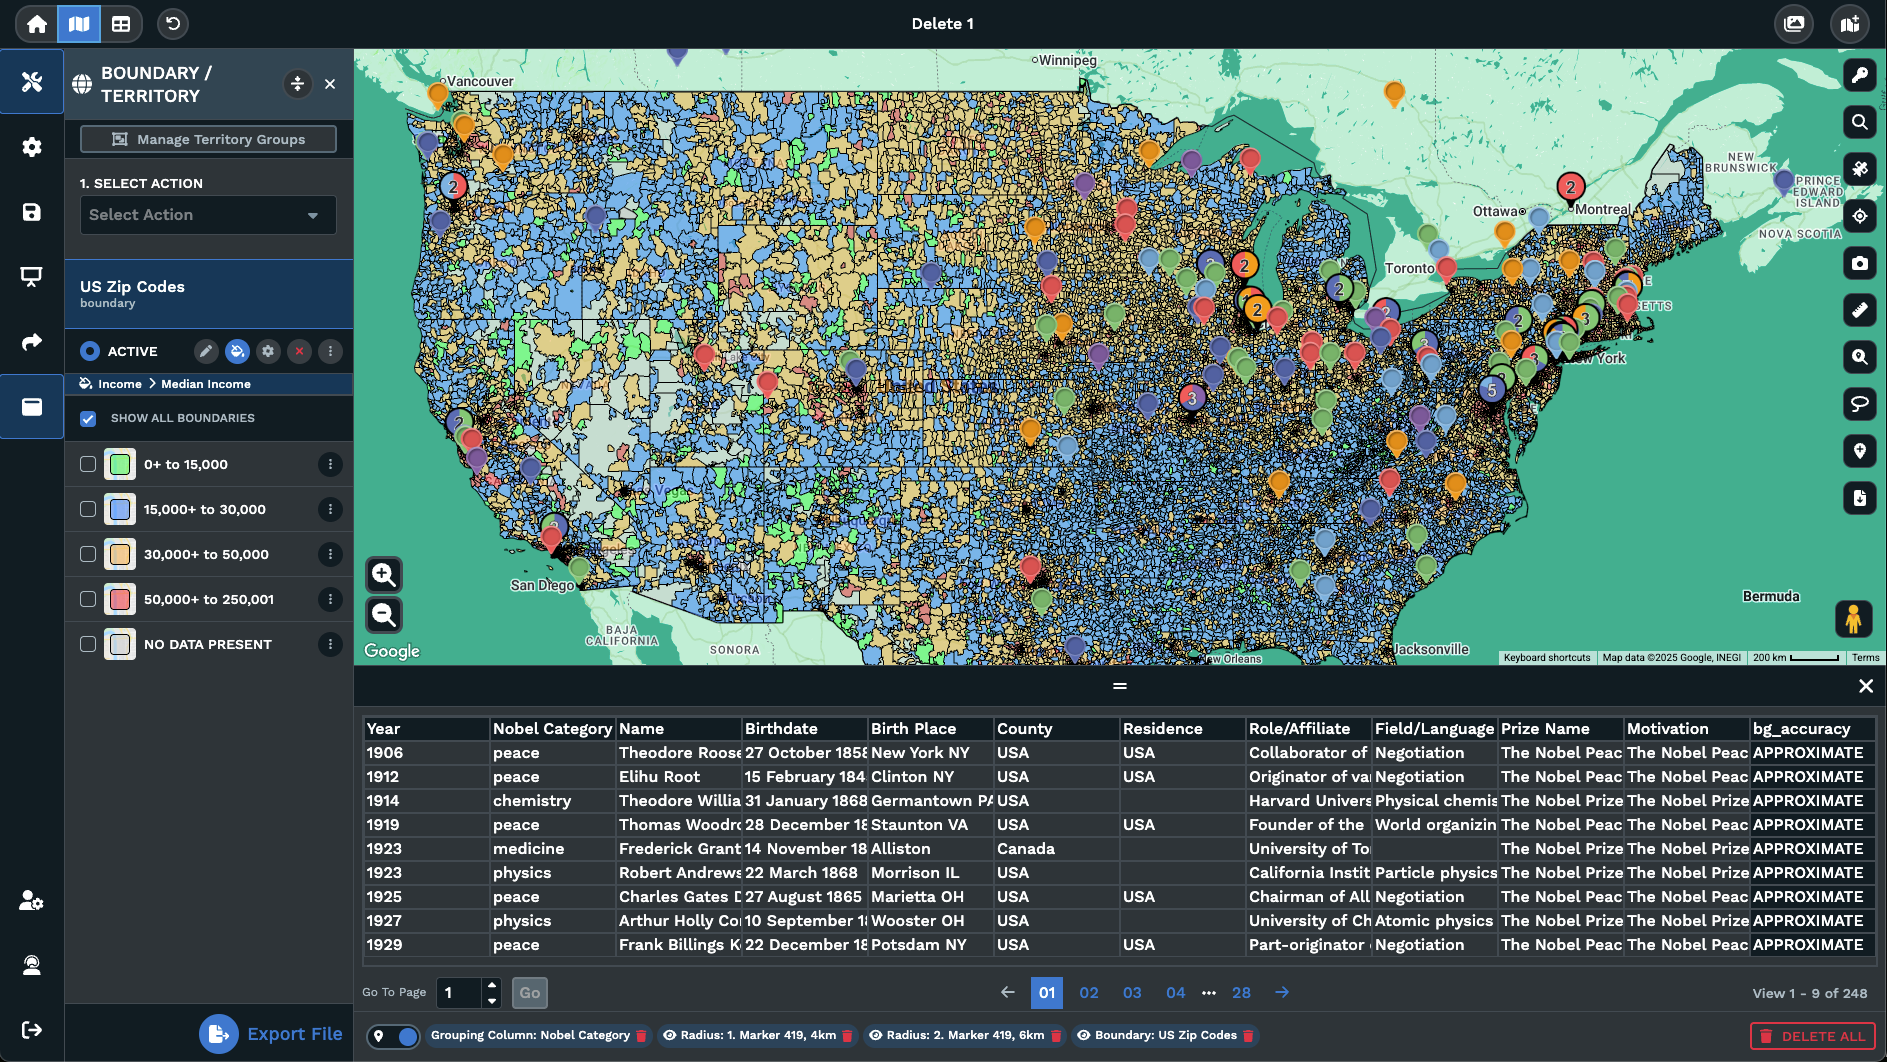
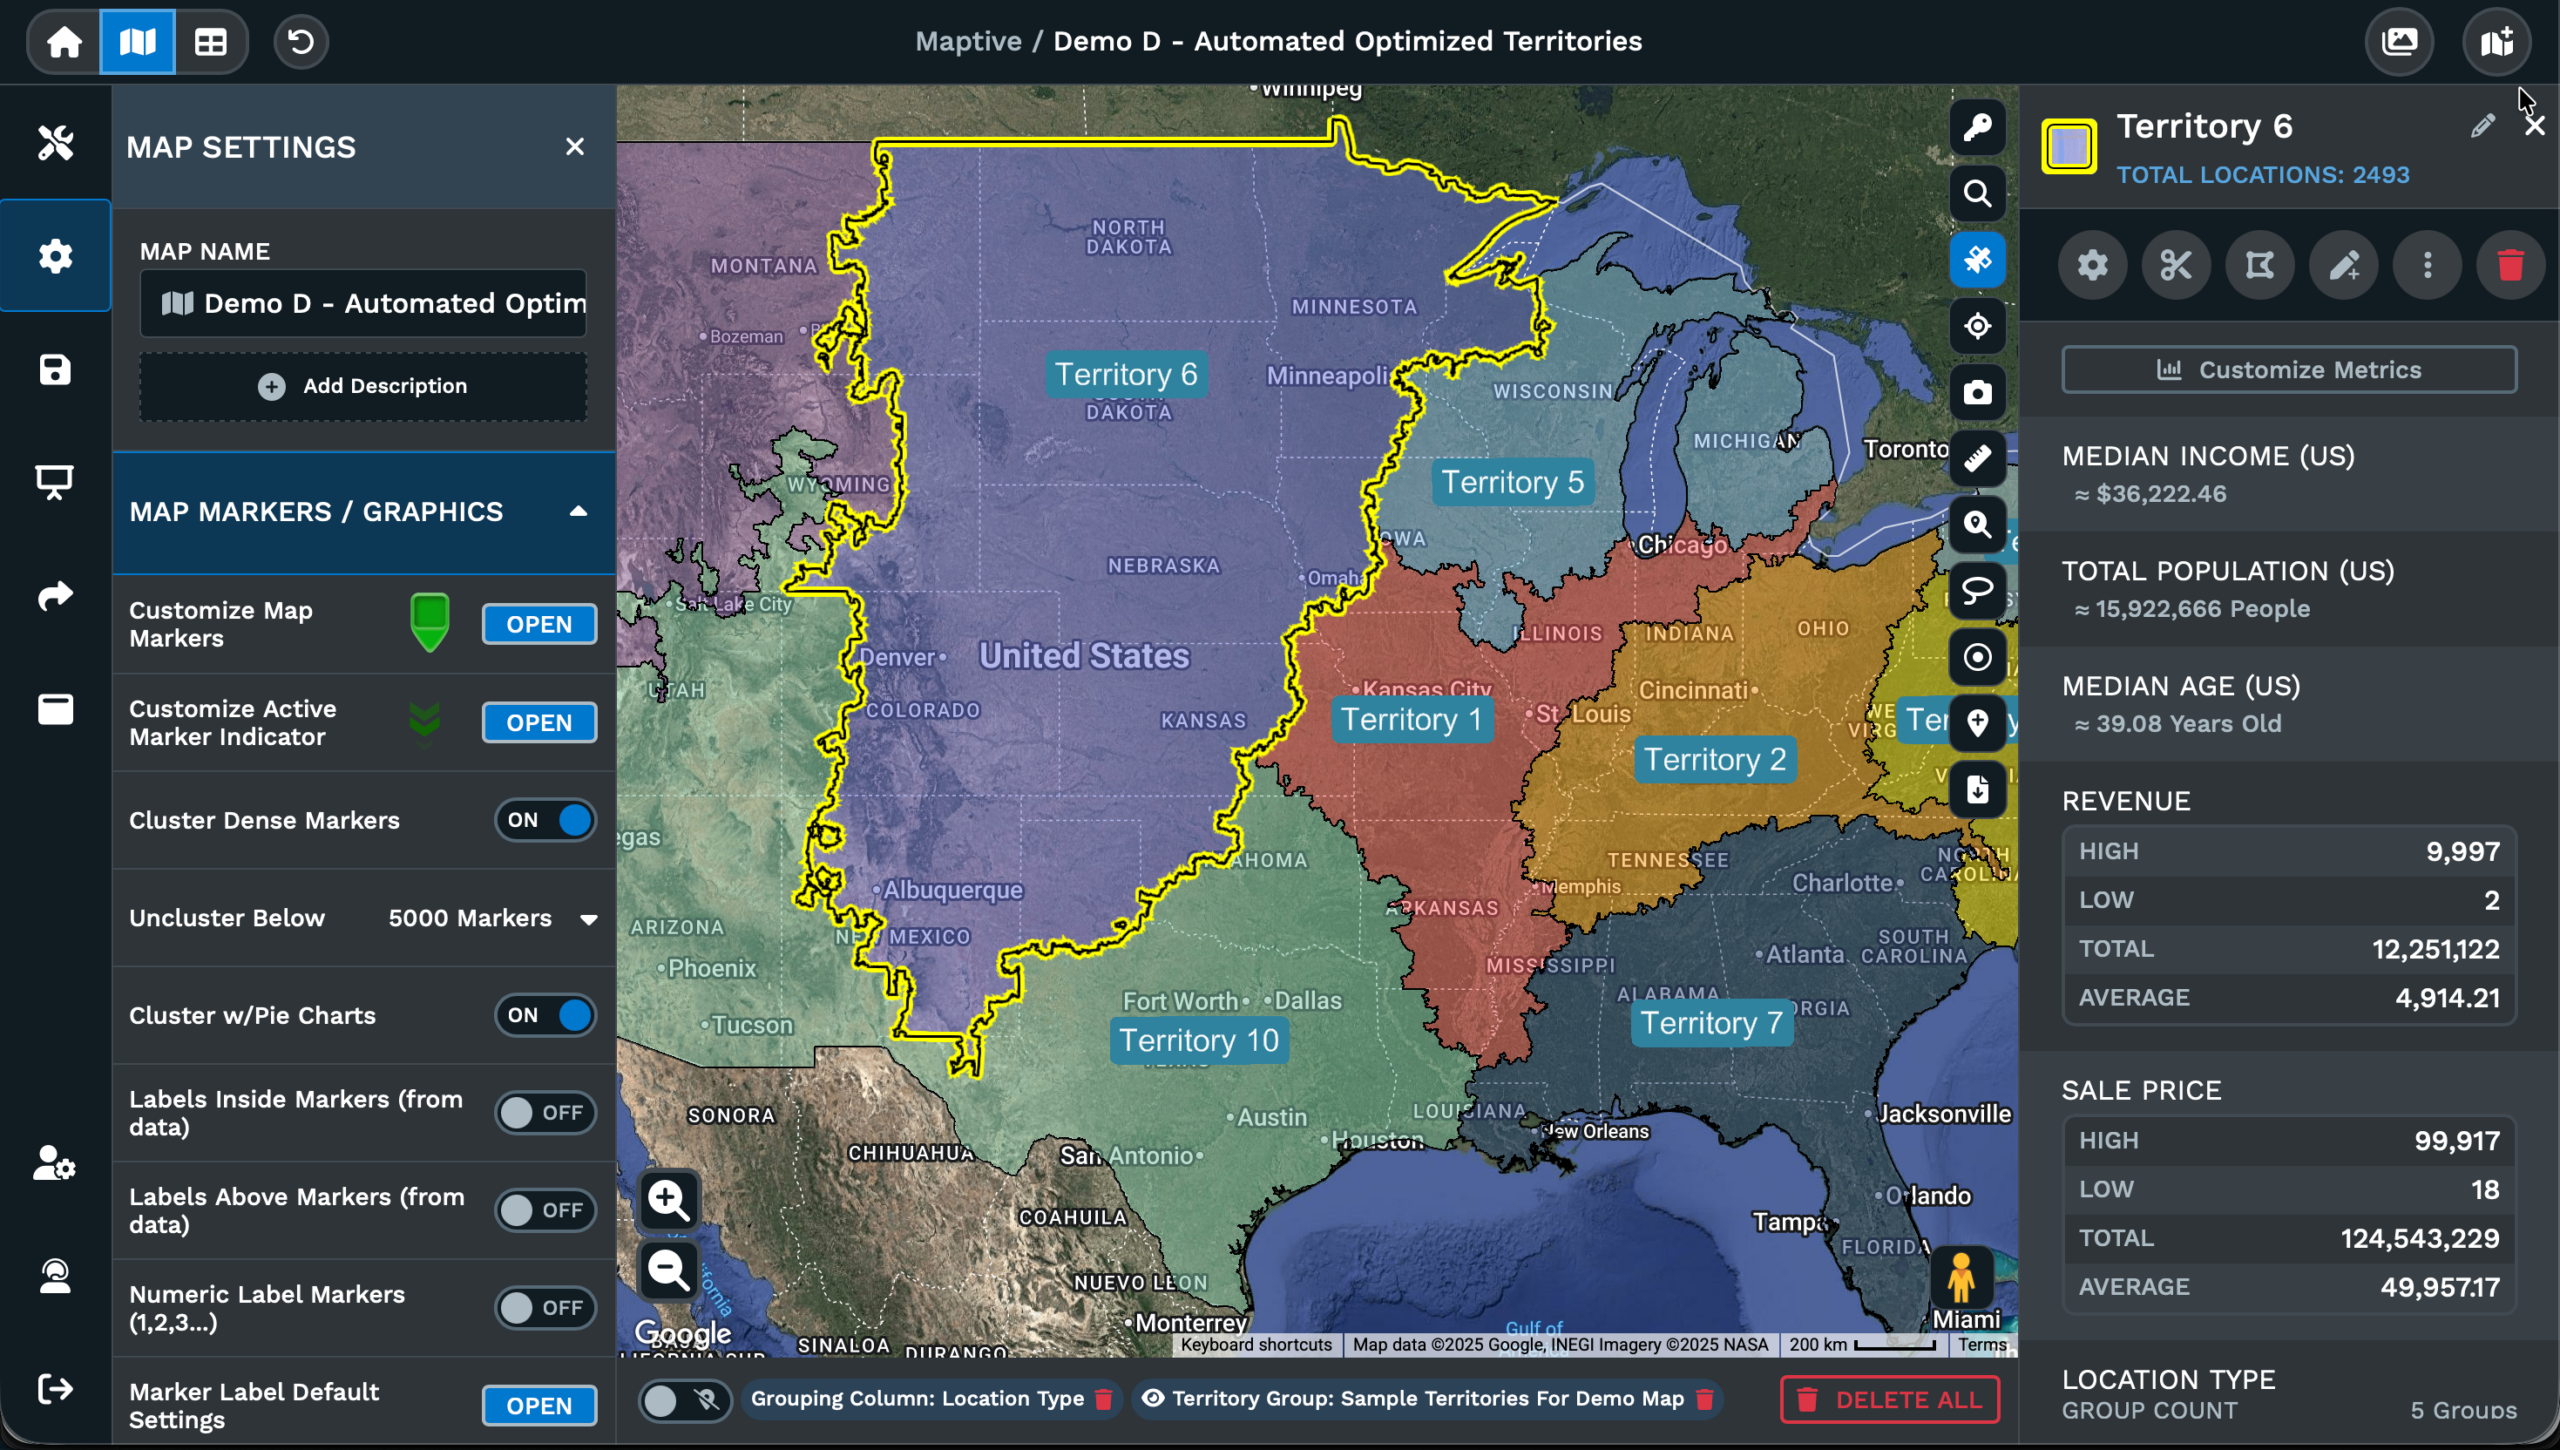
The Export Data icon on the right-hand side of the map writes the rows behind your view out to a file. The dialog gives you 3 scopes to pick from: Export Entire Dataset returns every row in the map, Export Filtered Data returns rows that match the filter tool, the grouping tool, and the search bar, and Export Data Visible on Map returns only rows in the current view. Pick .xlsx, .tsv, .csv, or Copy to Clipboard.
The Export Map Image icon, also on the right-hand side of the map, writes a picture of the view rather than the rows behind it. The dialog offers PNG, PDF, or JPG as the file type and 4 export styles: Screenshot exports the menus and map as they appear, Map exports the map portion by itself, Legend exports the legend of the grouping or boundary tool, and Map + Legend gives you the map with a simplified legend beside it. The size options are Normal and Large.
Click Continue and the image downloads to your desktop. The result is a finished file you can drop into a slide, attach to an email, hand to a print vendor, or post to an internal wiki. The data export and the image export are 2 separate files for 2 separate purposes, so pick the format that fits the audience you have in mind.
FAQs About Sharing, Embedding, and Exporting Maps
How do I share a map link with someone?
Open the map and click the Share icon on the left-hand column. Pick Password Protected or Public as the privacy level, then pick the starting Map view, which can be the default or your current view with filters, routes, and zoom levels applied. Use the email link option to send the URL from the dialog or hit Copy to drop the URL on your clipboard for paste into chat or a doc. The recipient opens the link and sees the map at its current state without an account on the other side.
Can I embed a Maptive map on my website?
Yes. Click the Settings icon on the left side of the map, then click Shared/Display Maps from the menu options. Scroll to the Embed Map option and click Open. A window opens with privacy controls plus width and height fields you can edit. Pick Password Protected or Public, set the size to fit the page column or hero block, then copy the embed code and paste it into the page of your site or blog. The embedded map stays tied to the source and reflects the underlying data as you change it.
What file types can I export the data as?
The Export Data dialog gives you .xlsx, .tsv, and .csv as file types, plus a Copy to Clipboard option for pasting rows directly into another tool. You also pick the scope before you hit Export Now: Export Entire Dataset, Export Filtered Data, or Export Data Visible on Map. The file downloads to your desktop in the format you picked. Use .csv for plain tools that read comma-separated data, .xlsx for Excel formatting, and .tsv for tab-aware pipelines that handle values with commas inside them.
Can I password-protect a shared map?
Yes. Both the Share icon flow and the Embed Map flow give you 2 privacy levels: Password Protected and Public. Pick Password Protected when the audience should not be able to load the map without the password you set on the dialog, and pick Public when any visitor with the link or any site visitor on the embedded version should see it. The level is set per map, so you can keep some maps internal behind a password and keep some maps open to the public on the same account in Maptive.
How do I export a map as a PDF or image?
Click the Export Map Image icon on the right-hand side of the map. The dialog offers PNG, PDF, and JPG as file types. Pick an export style next: Screenshot exports the menus and map as they appear, Map exports the map portion by itself, Legend exports the legend of the grouping or boundary tool on its own, and Map + Legend exports both with a simplified legend beside the map. Pick Normal or Large for size, then click Continue to send the image to your desktop as a finished file.
Can I export only the locations that match my filter?
Yes. Apply your filters with the filter tool, the grouping tool, or the search bar, then click the Export Data icon on the right-hand side of the map. In the dialog, pick Export Filtered Data, which returns the rows that match the current filter state. Pick .xlsx, .tsv, .csv, or Copy to Clipboard as the format, then click Export Now to send the file to your desktop. The result holds only the rows that matched your filters, so the recipient gets a pre-cut list ready for the next step.
Does the embed code work in any website?
The Embed Map option gives you a piece of embed code with the privacy, width, and height you set in the dialog before copying. You copy the code from the window and paste it into your website page or blog post where the map should appear. Any site builder or CMS that accepts an embed code as a content block will render the live map for site visitors. The embed stays tied to the source map in Maptive, so later edits in the app flow through to the embedded version on the site.
What sizes are available for the map image export?
The Export Map Image dialog gives you 2 size options: Normal and Large. Pick Large when the image needs to hold up at full slide width or full page width in a printed report, and pick Normal when the image will sit in a smaller spot, like a section of a doc or an email body. The size pairs with PNG, PDF, or JPG as the file type and with the export style you picked: Screenshot, Map, Legend, or Map + Legend, so the file you download fits the place it is going.
Can I share a current view with filters and routes applied?
Yes. After you pick a privacy level in the Share dialog, the starting Map view step lets you send the primary default view or your current view with the filters, routes, and zoom levels already applied to it. You can also Create a Map View and give it a new name before the link is generated, which gives the link a saved view that survives later changes to the map. The recipient opens the link and sees that exact view rather than a default state of the data.
Where does the export file save to?
The Export Data file and the Export Map Image file both download to your desktop automatically after you click Export Now or Continue in the dialog. From your desktop, attach the file to an email, drop it into a shared folder, upload it to a portal, or open it in Excel, a slide deck, or a PDF reader. The file is a finished artifact with the data or the picture you exported, so the workflow on the other end does not depend on a Maptive login or account.