Multi-Stop Route Planning Software

Map Out the Best Routes Between Multiple Locations, Every Time.
Create beautiful, colorful, and insightful maps with Maptive’s grouping tool. When you first upload your location data to a mapping software platform like Maptive, you likely want some color differentiation between data points.
Optimize Your Routes & Your Business
Stop wasting time planning your routes manually. With Maptive, your teams on the ground can save you time and money, and start arriving at their appointments on time.
With Maptive’s route planning software, you can:
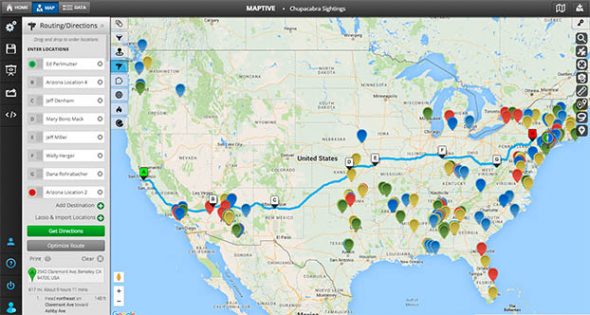
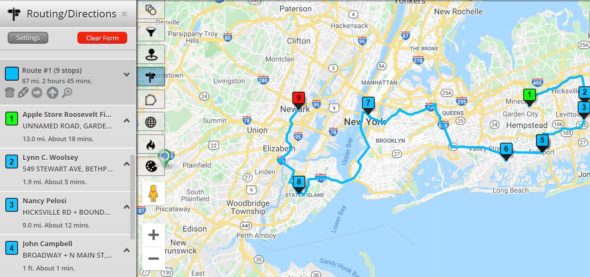
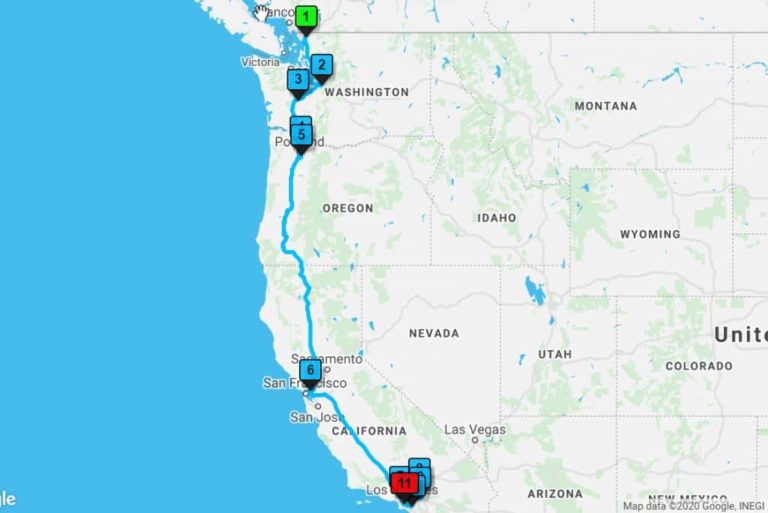
- Find the most efficient route between as many as 25 locations and up to 73 stops.
- Calculate distances and projected travel times between locations.
- Optimize for the shortest route and stop wasting time and fuel.
- Easily update the order of your stops with a drag-and-drop function.
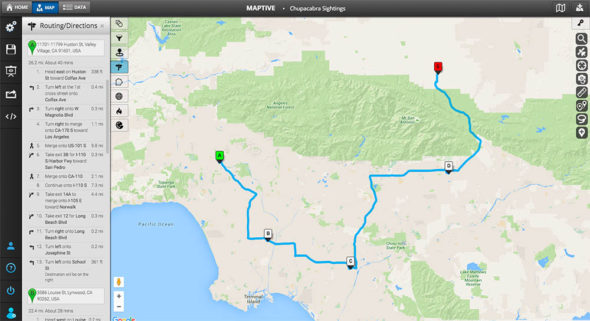
- Export your route as directions on a map.
The Power of Google Maps, Without the Restrictions
Maptive takes Google Maps’ route planning to the next level. Our tool integrates seamlessly with Google Maps, offering a fully customizable, intuitive experience that goes beyond simple directions.
Get more than just directions–Maptive’s optimization features help you plan the most efficient routes, considering factors like distance, time, and even specific locations.
How to use our Multi-Stop Route Planner
Step 1: Choose a starting point.
You have a couple of options to do this:
- Select your current location as the default starting point.
- Click on an existing map marker and select “Add to Route.”
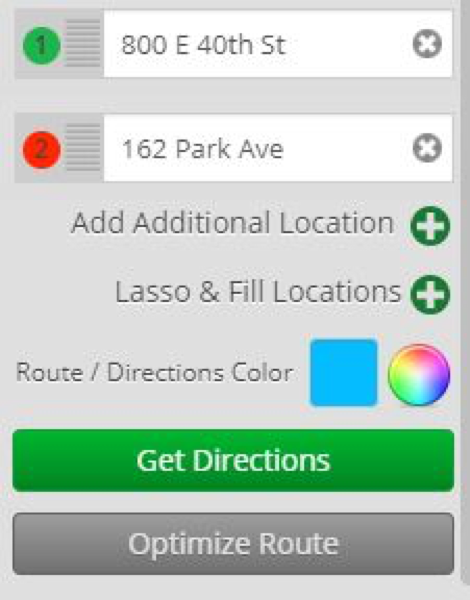
- Manually type in a new location into the location window.
Step 2: Add your locations.
- In the location window, click on the + sign next to “Add Additional Location.”
- You will then see the same options as in Step 1.
- You can use the Lasso and Fill Location option to add all the locations in an area to your route.
Step 3: Get directions.
Visualize your route by clicking on the “Get Directions” button.
Step 4: Optimize your route.
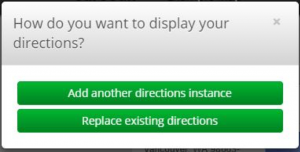
To optimize your route, you’ll see a few options:
- Add additional directions instances if you would like to compare different route options to each other.
- Replace existing directions if your goal is to find the most efficient route.
Step 5: Use your optimized map!
You can read driving directions in the side panel, follow along on the map, or use Maptive’s other tools to customize your routes further.
You can also print your directions or easily export them in an Excel spreadsheet.


